Portraiture
Before
After
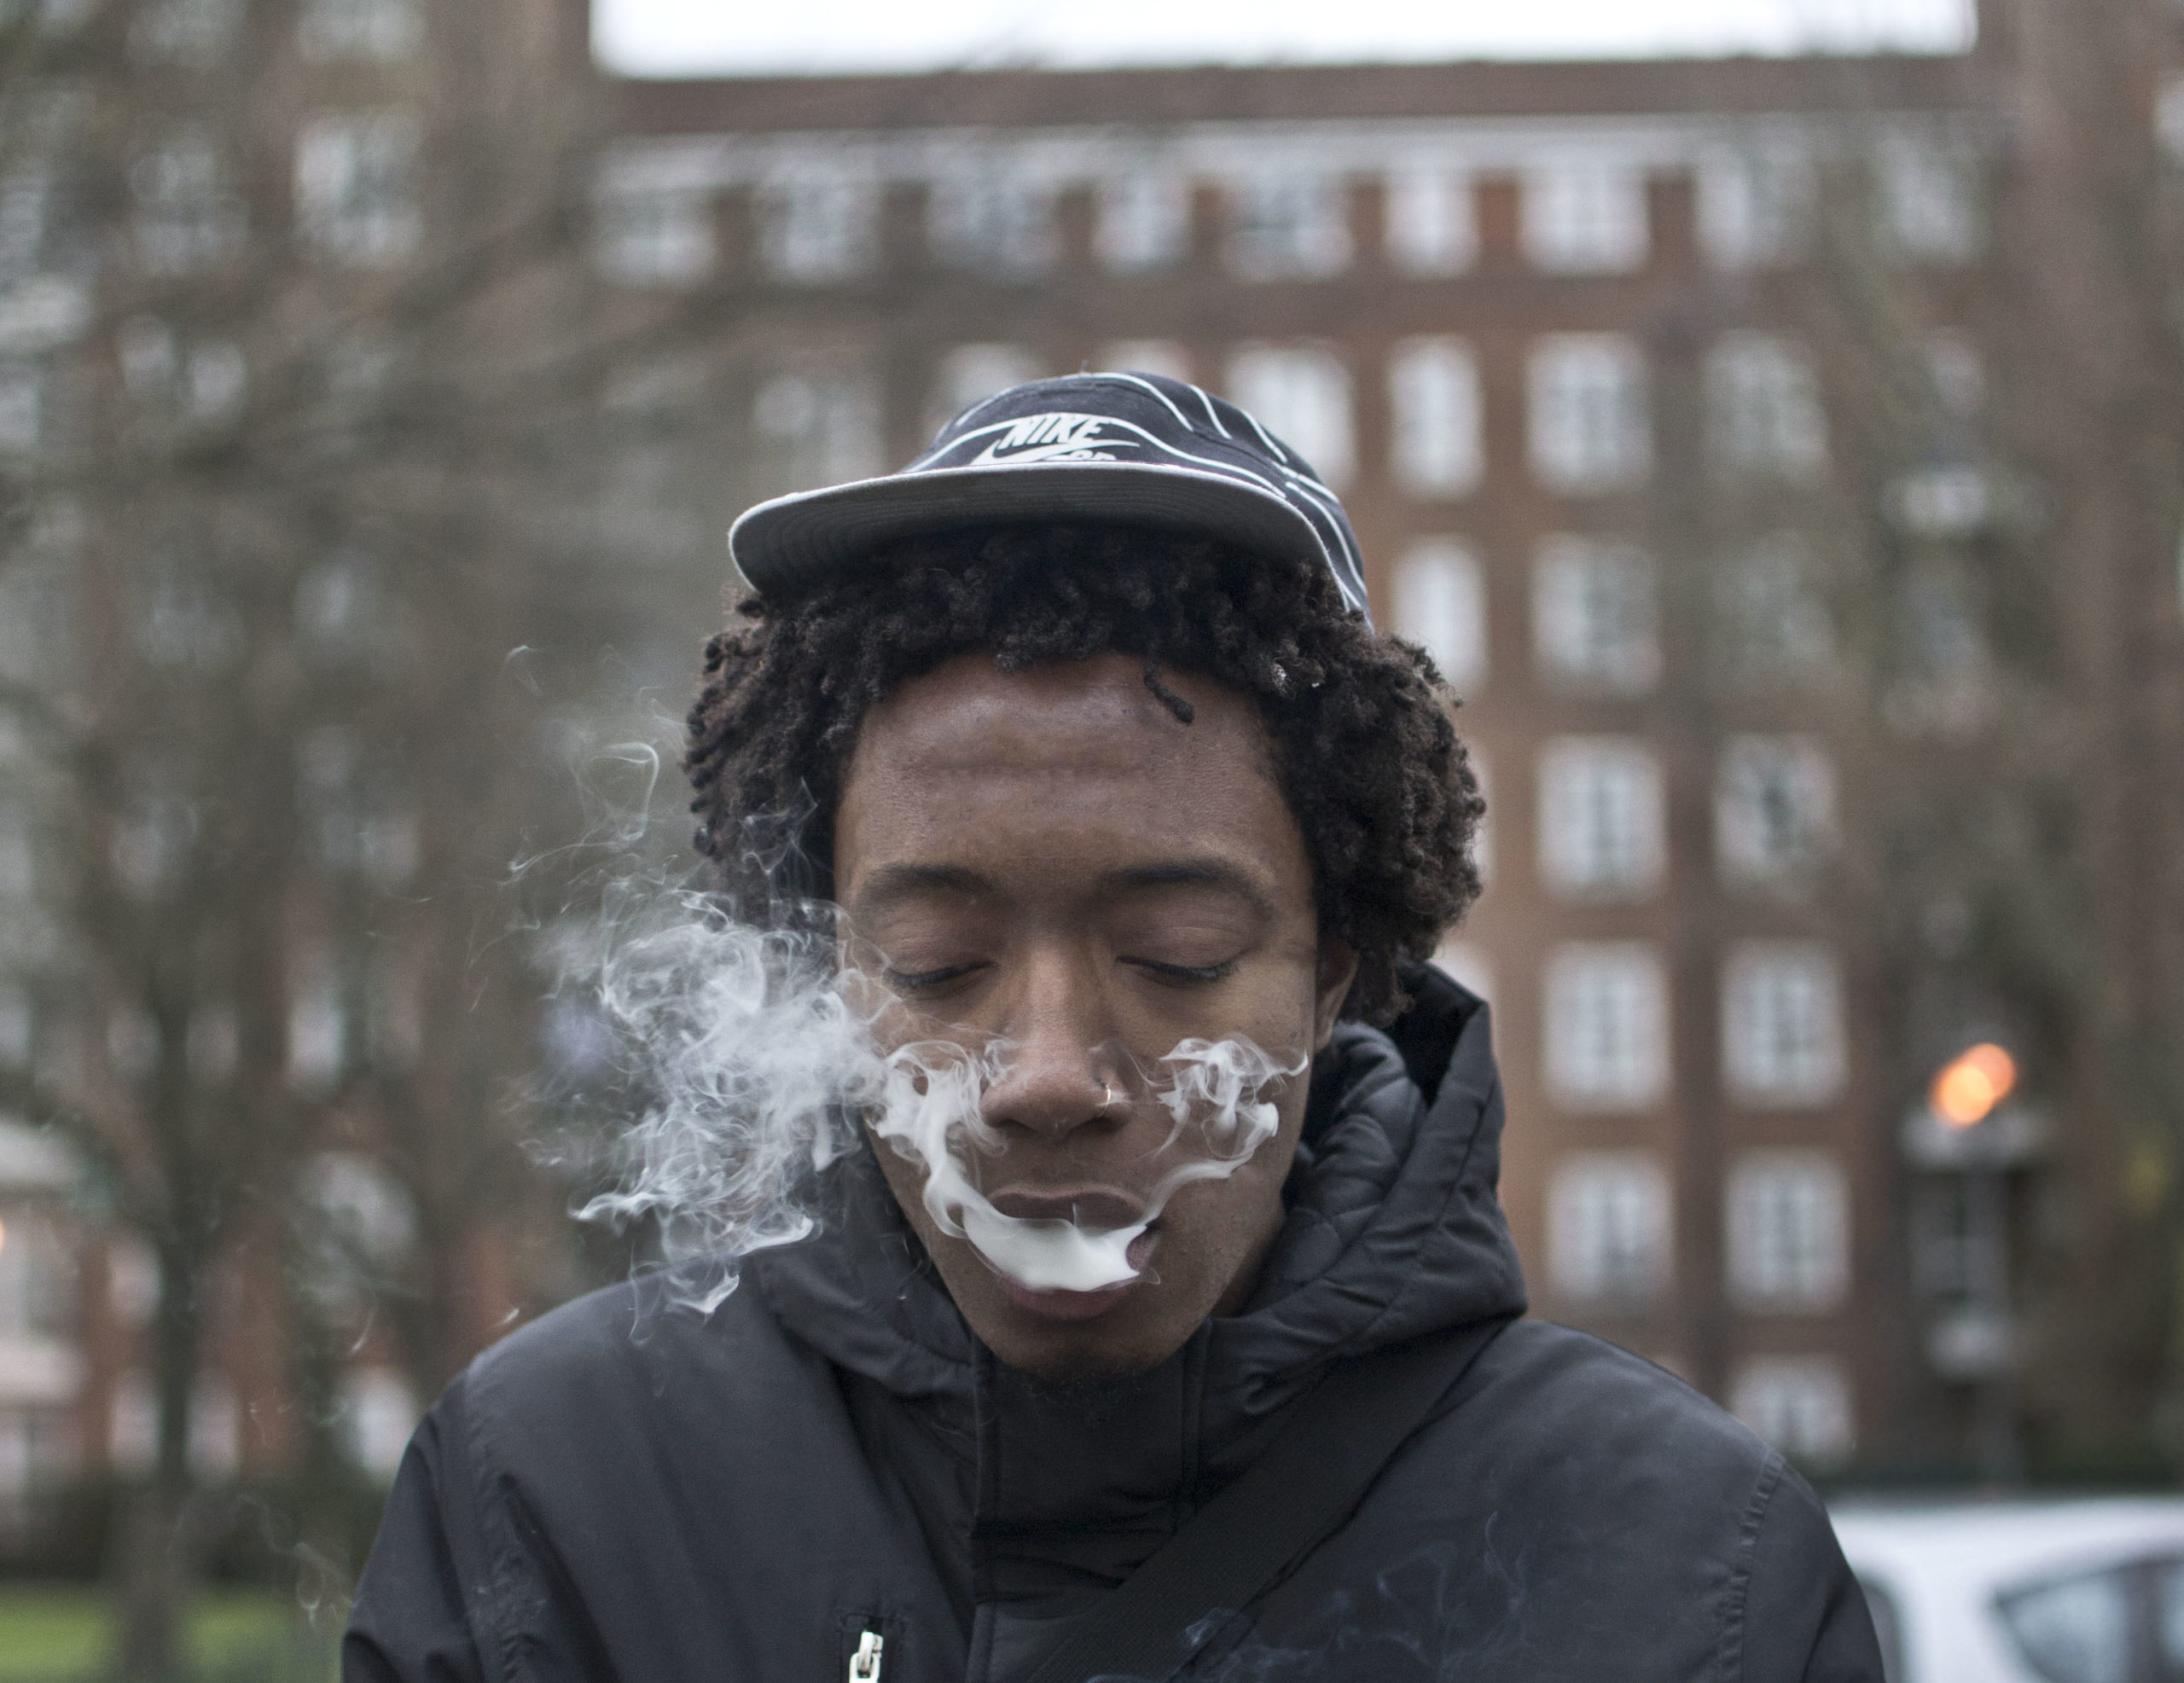
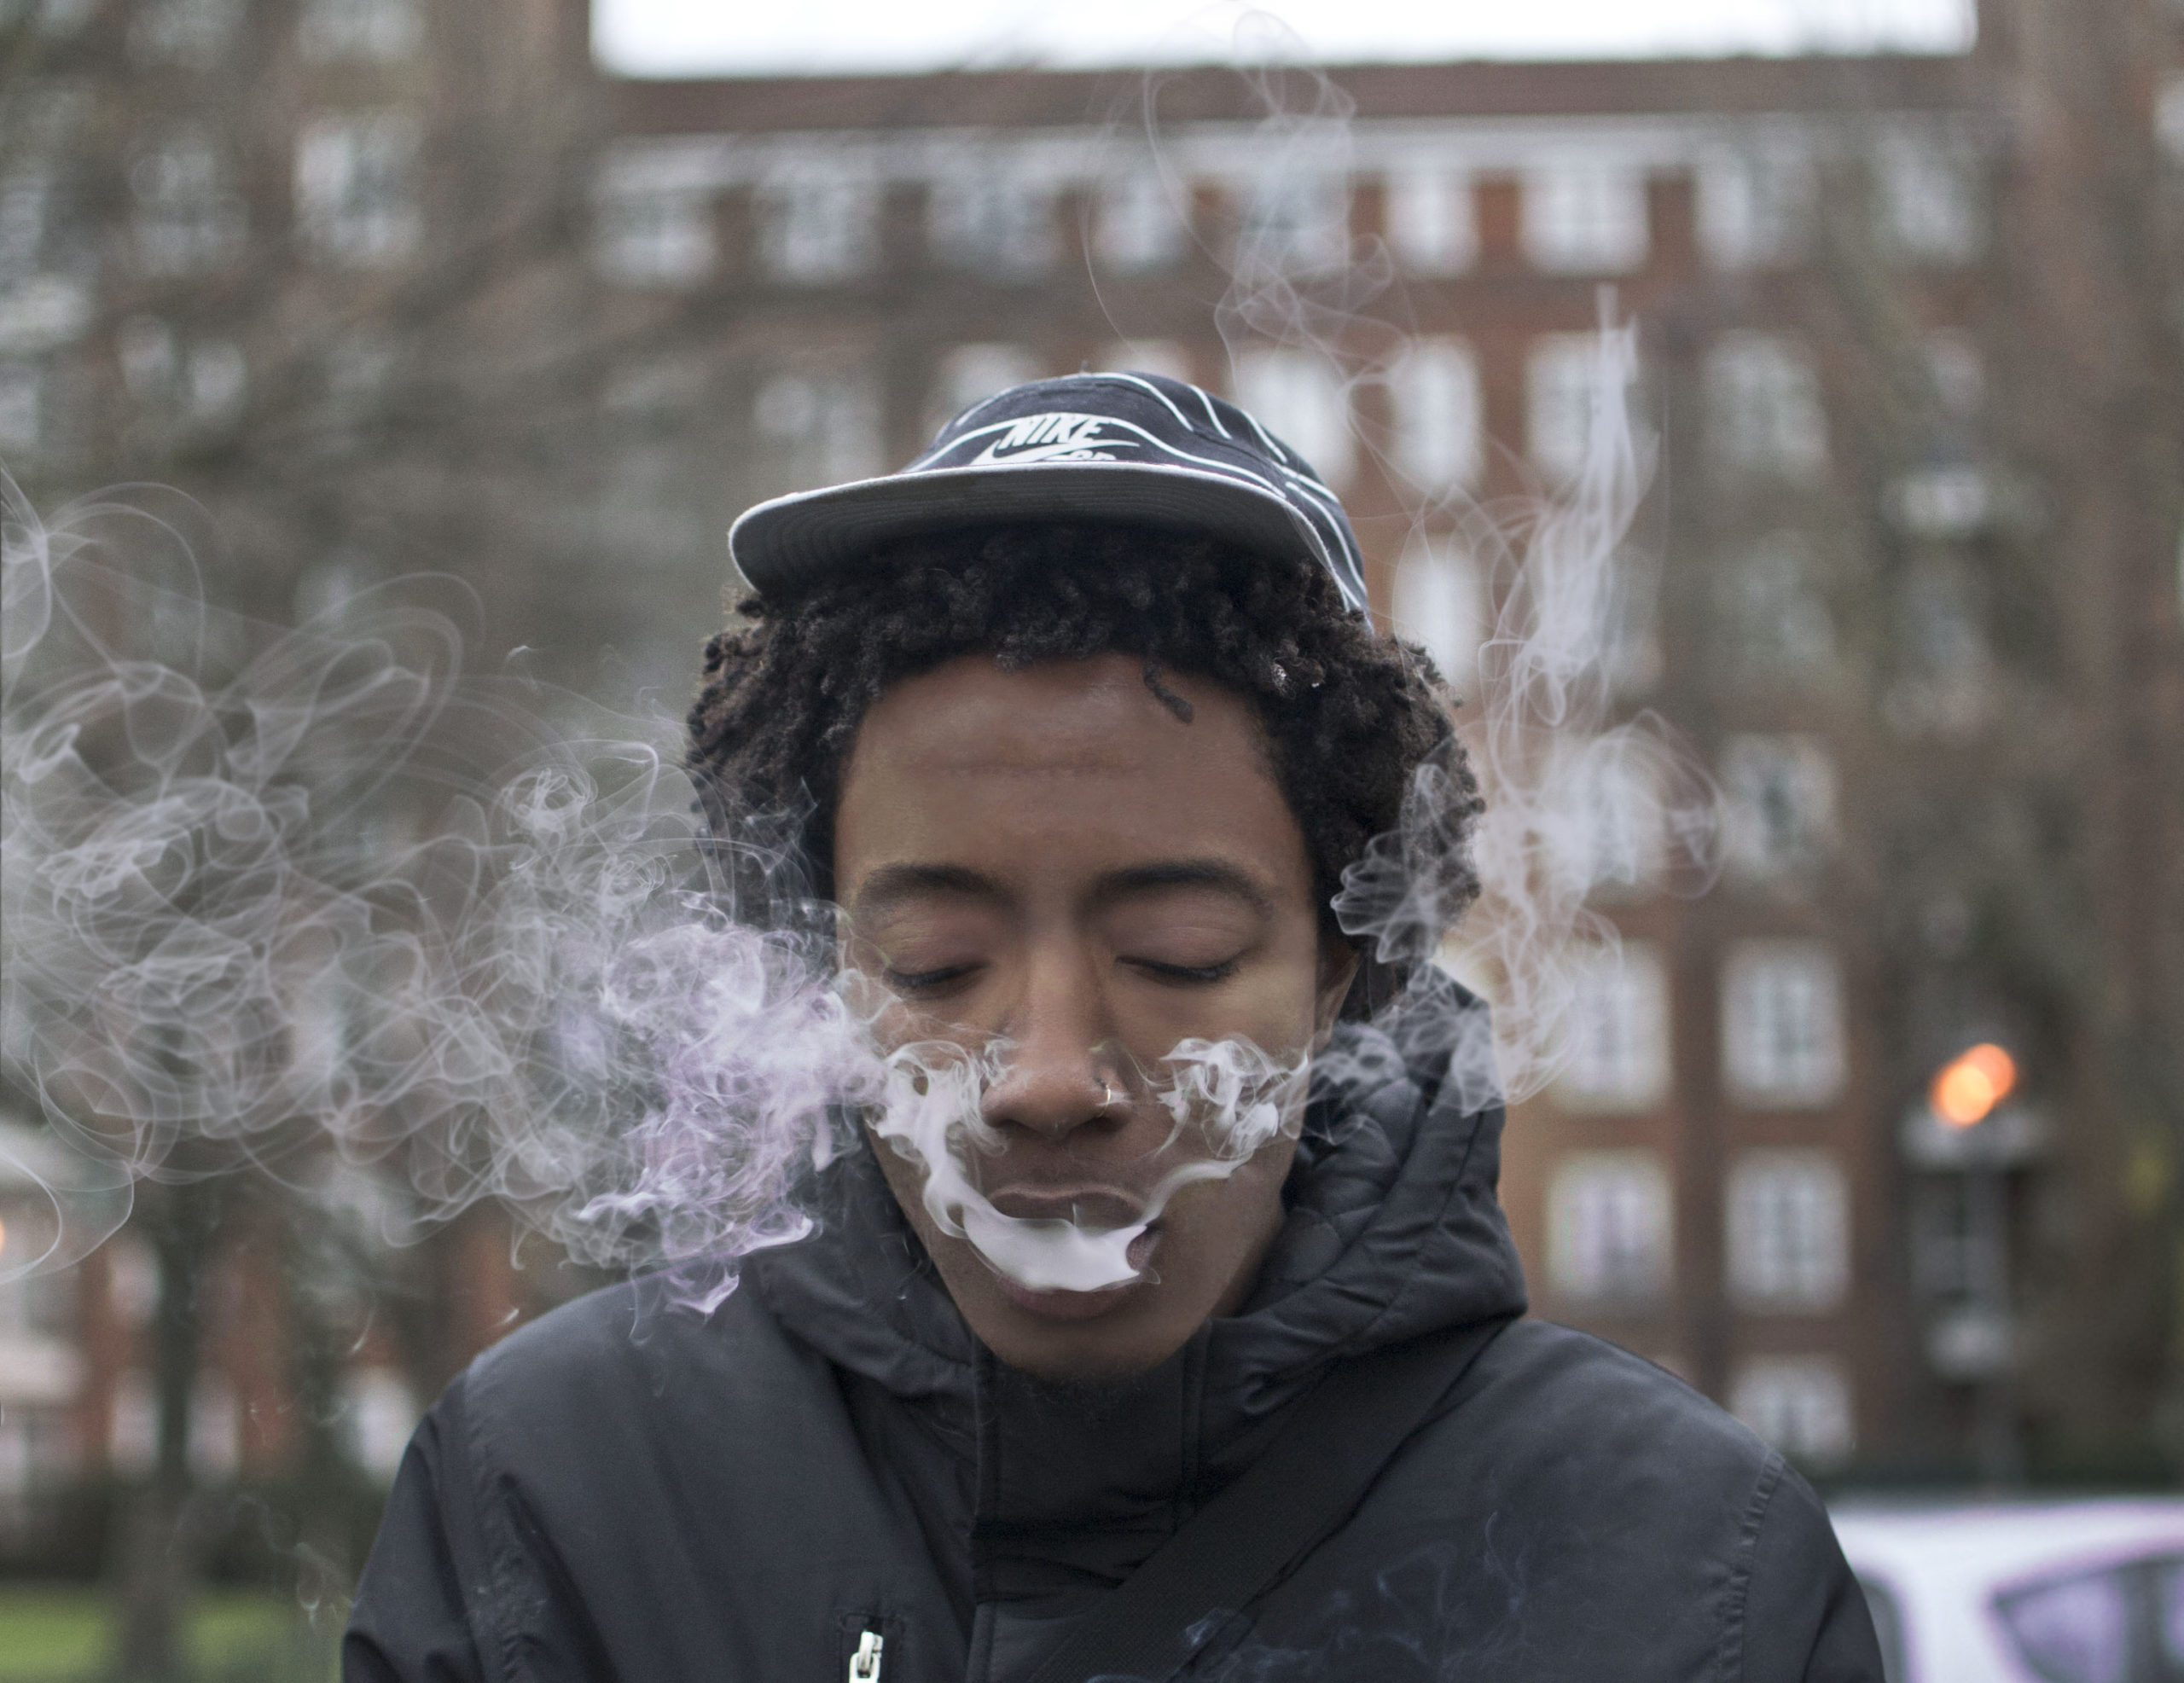


- Used downloaded brushes to create smoke elements.
- Used Blend Modes and Masks to edit the new smoke.
- Used Adjustment Layers to play with the colouring of the smoke.
- Using brushes with Colour Picker to even skin tones and face sculpt.
- Used Curve Adjustment Layers to Dodge and Burn to remove shadows on the face.
Before
After
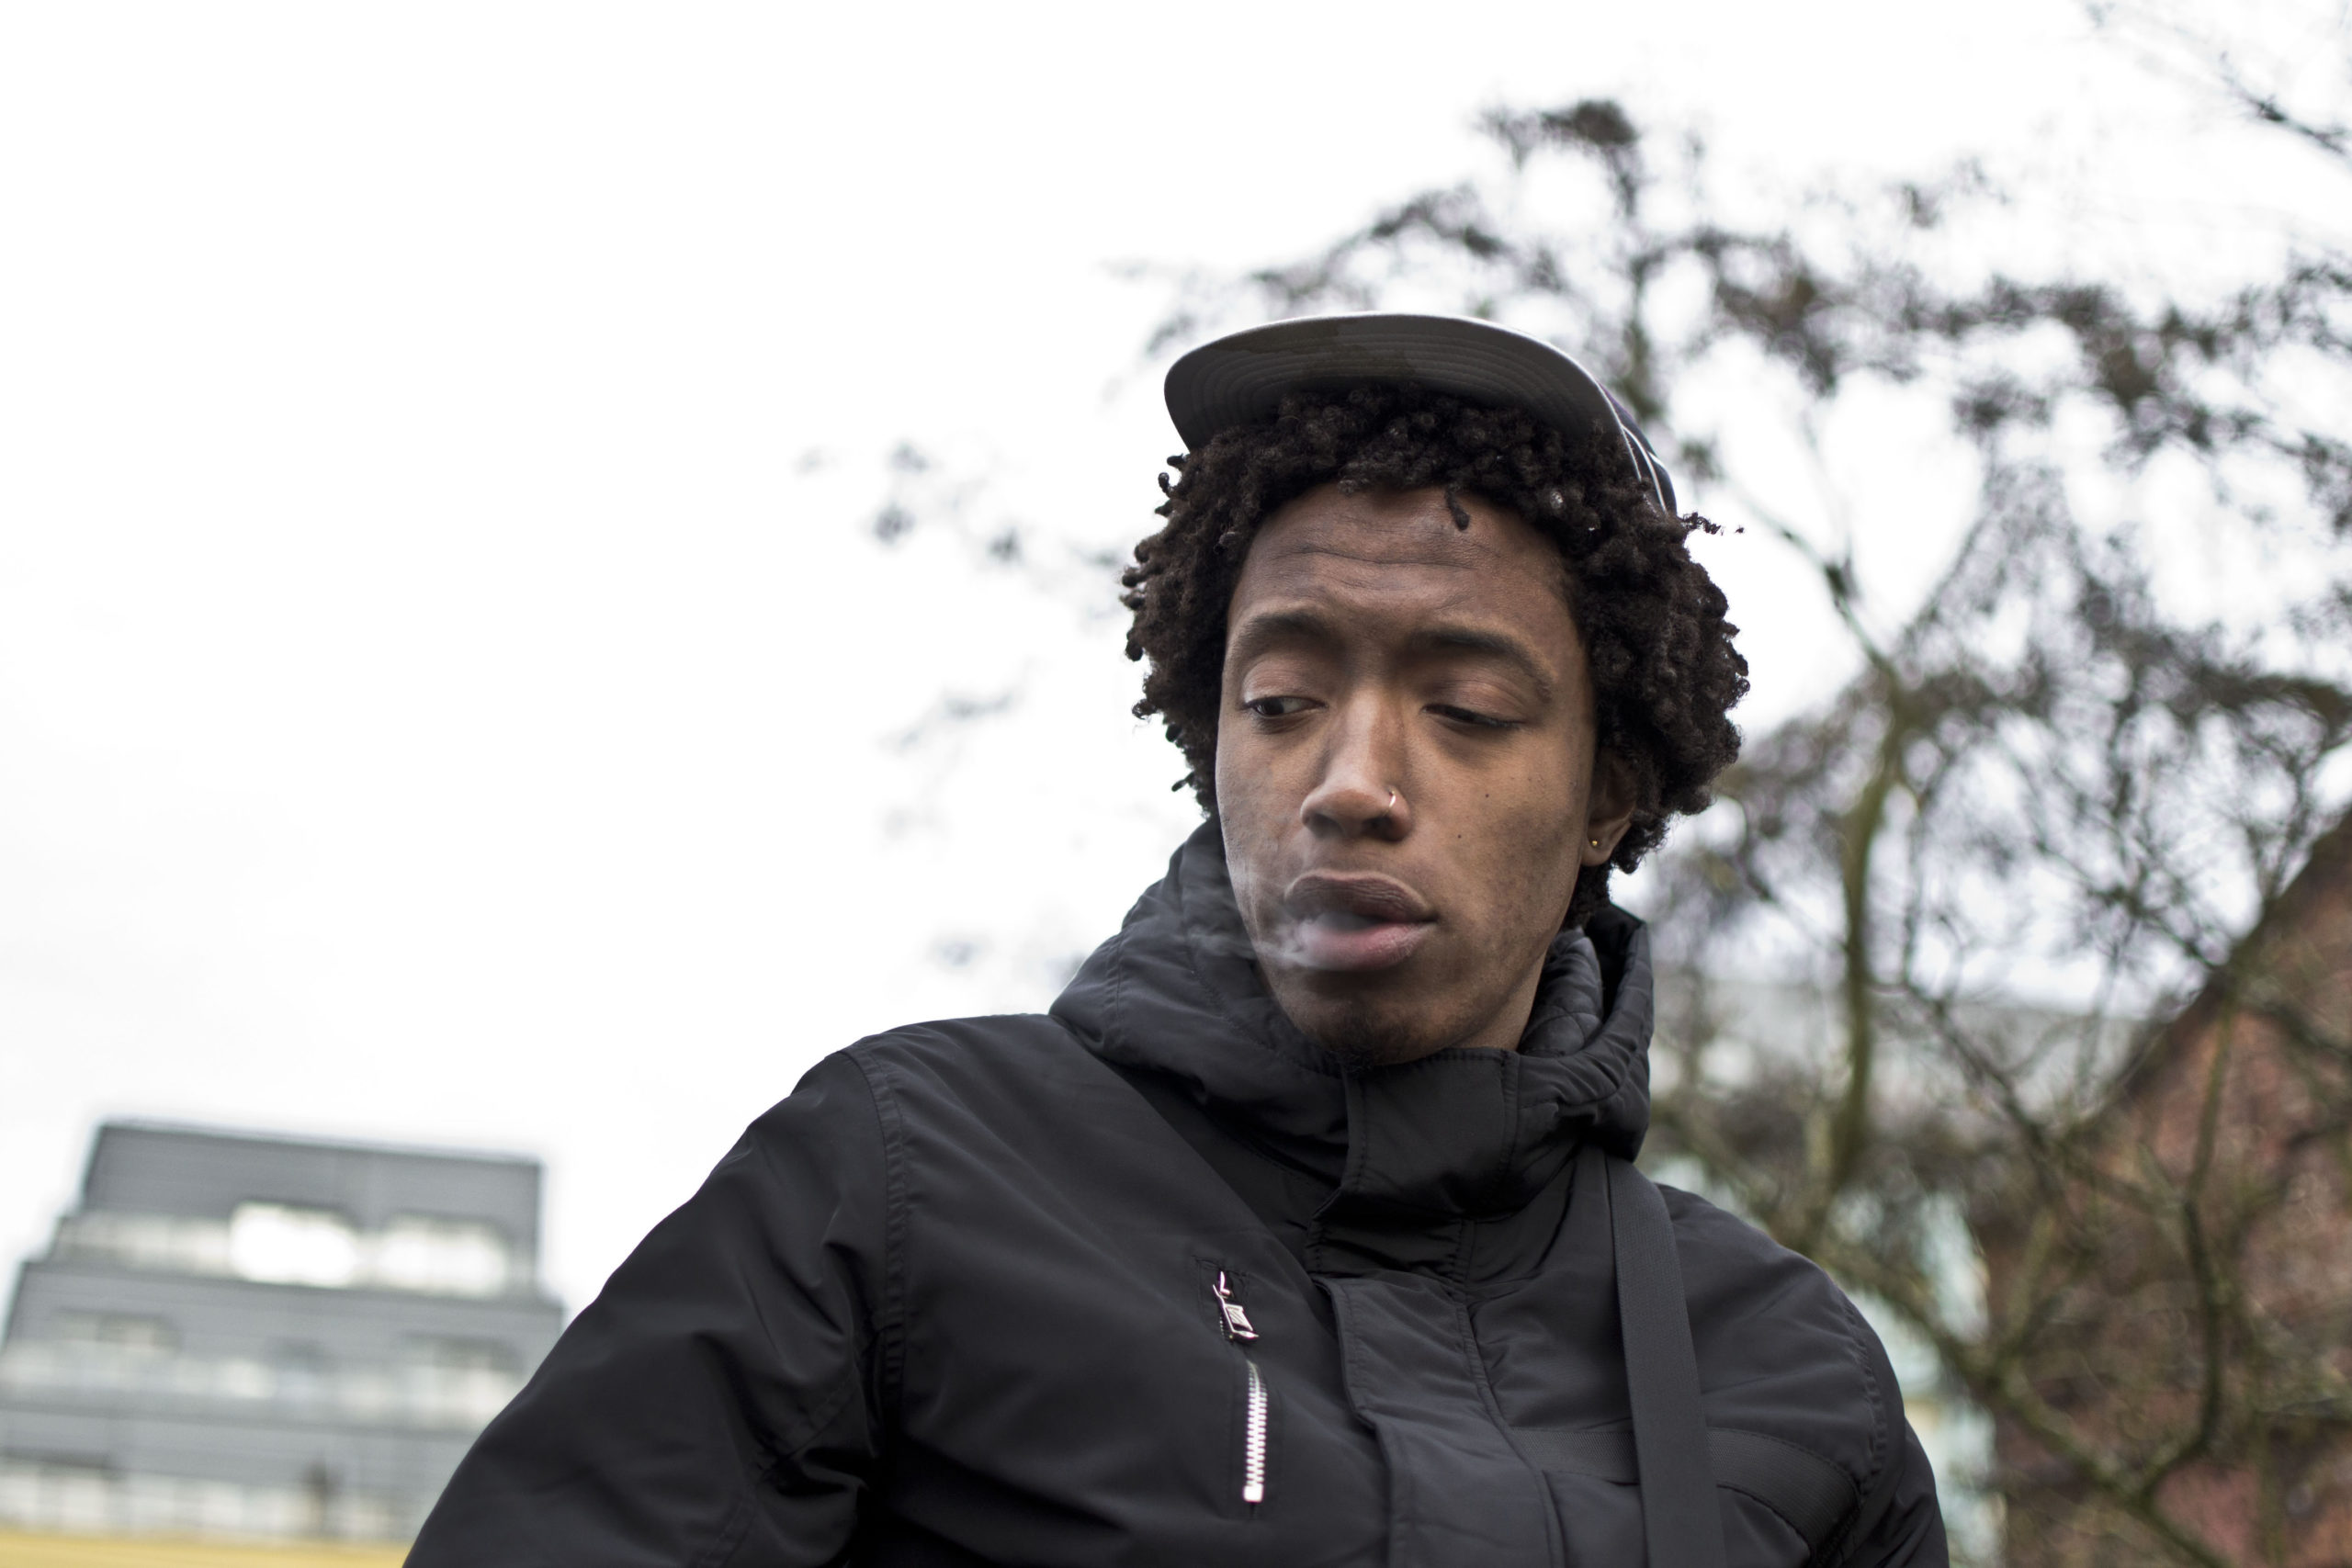


Before
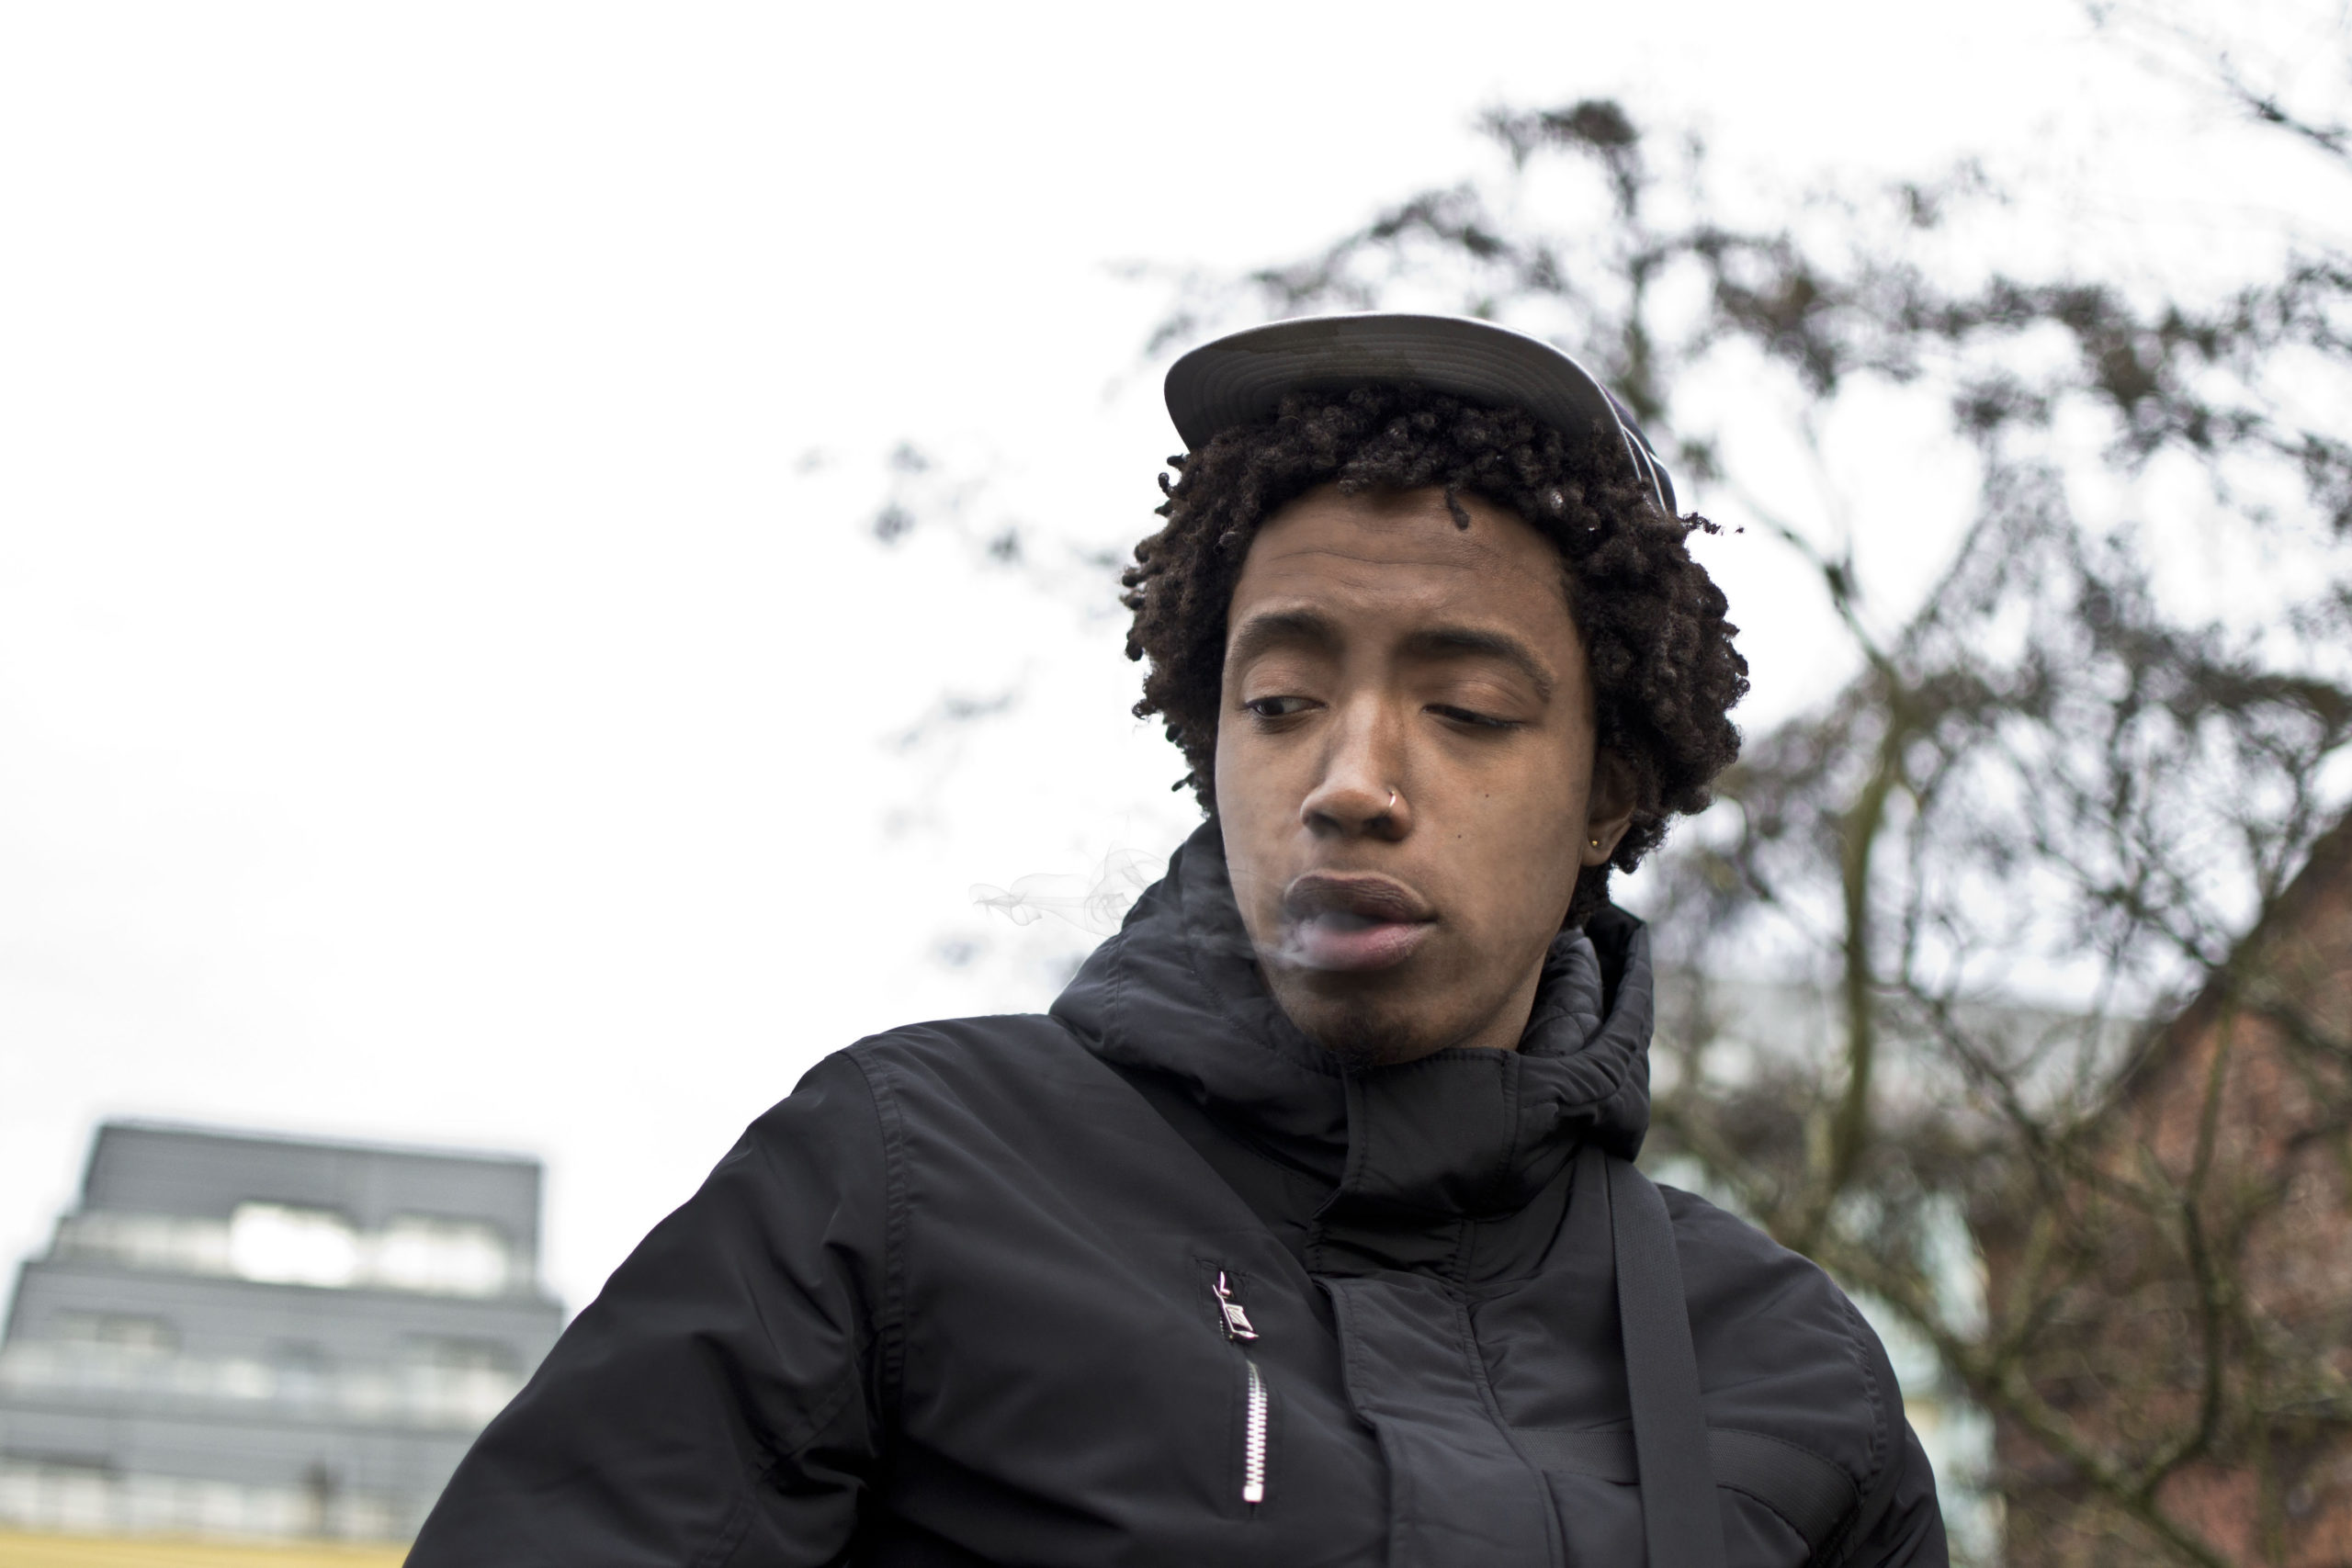
After
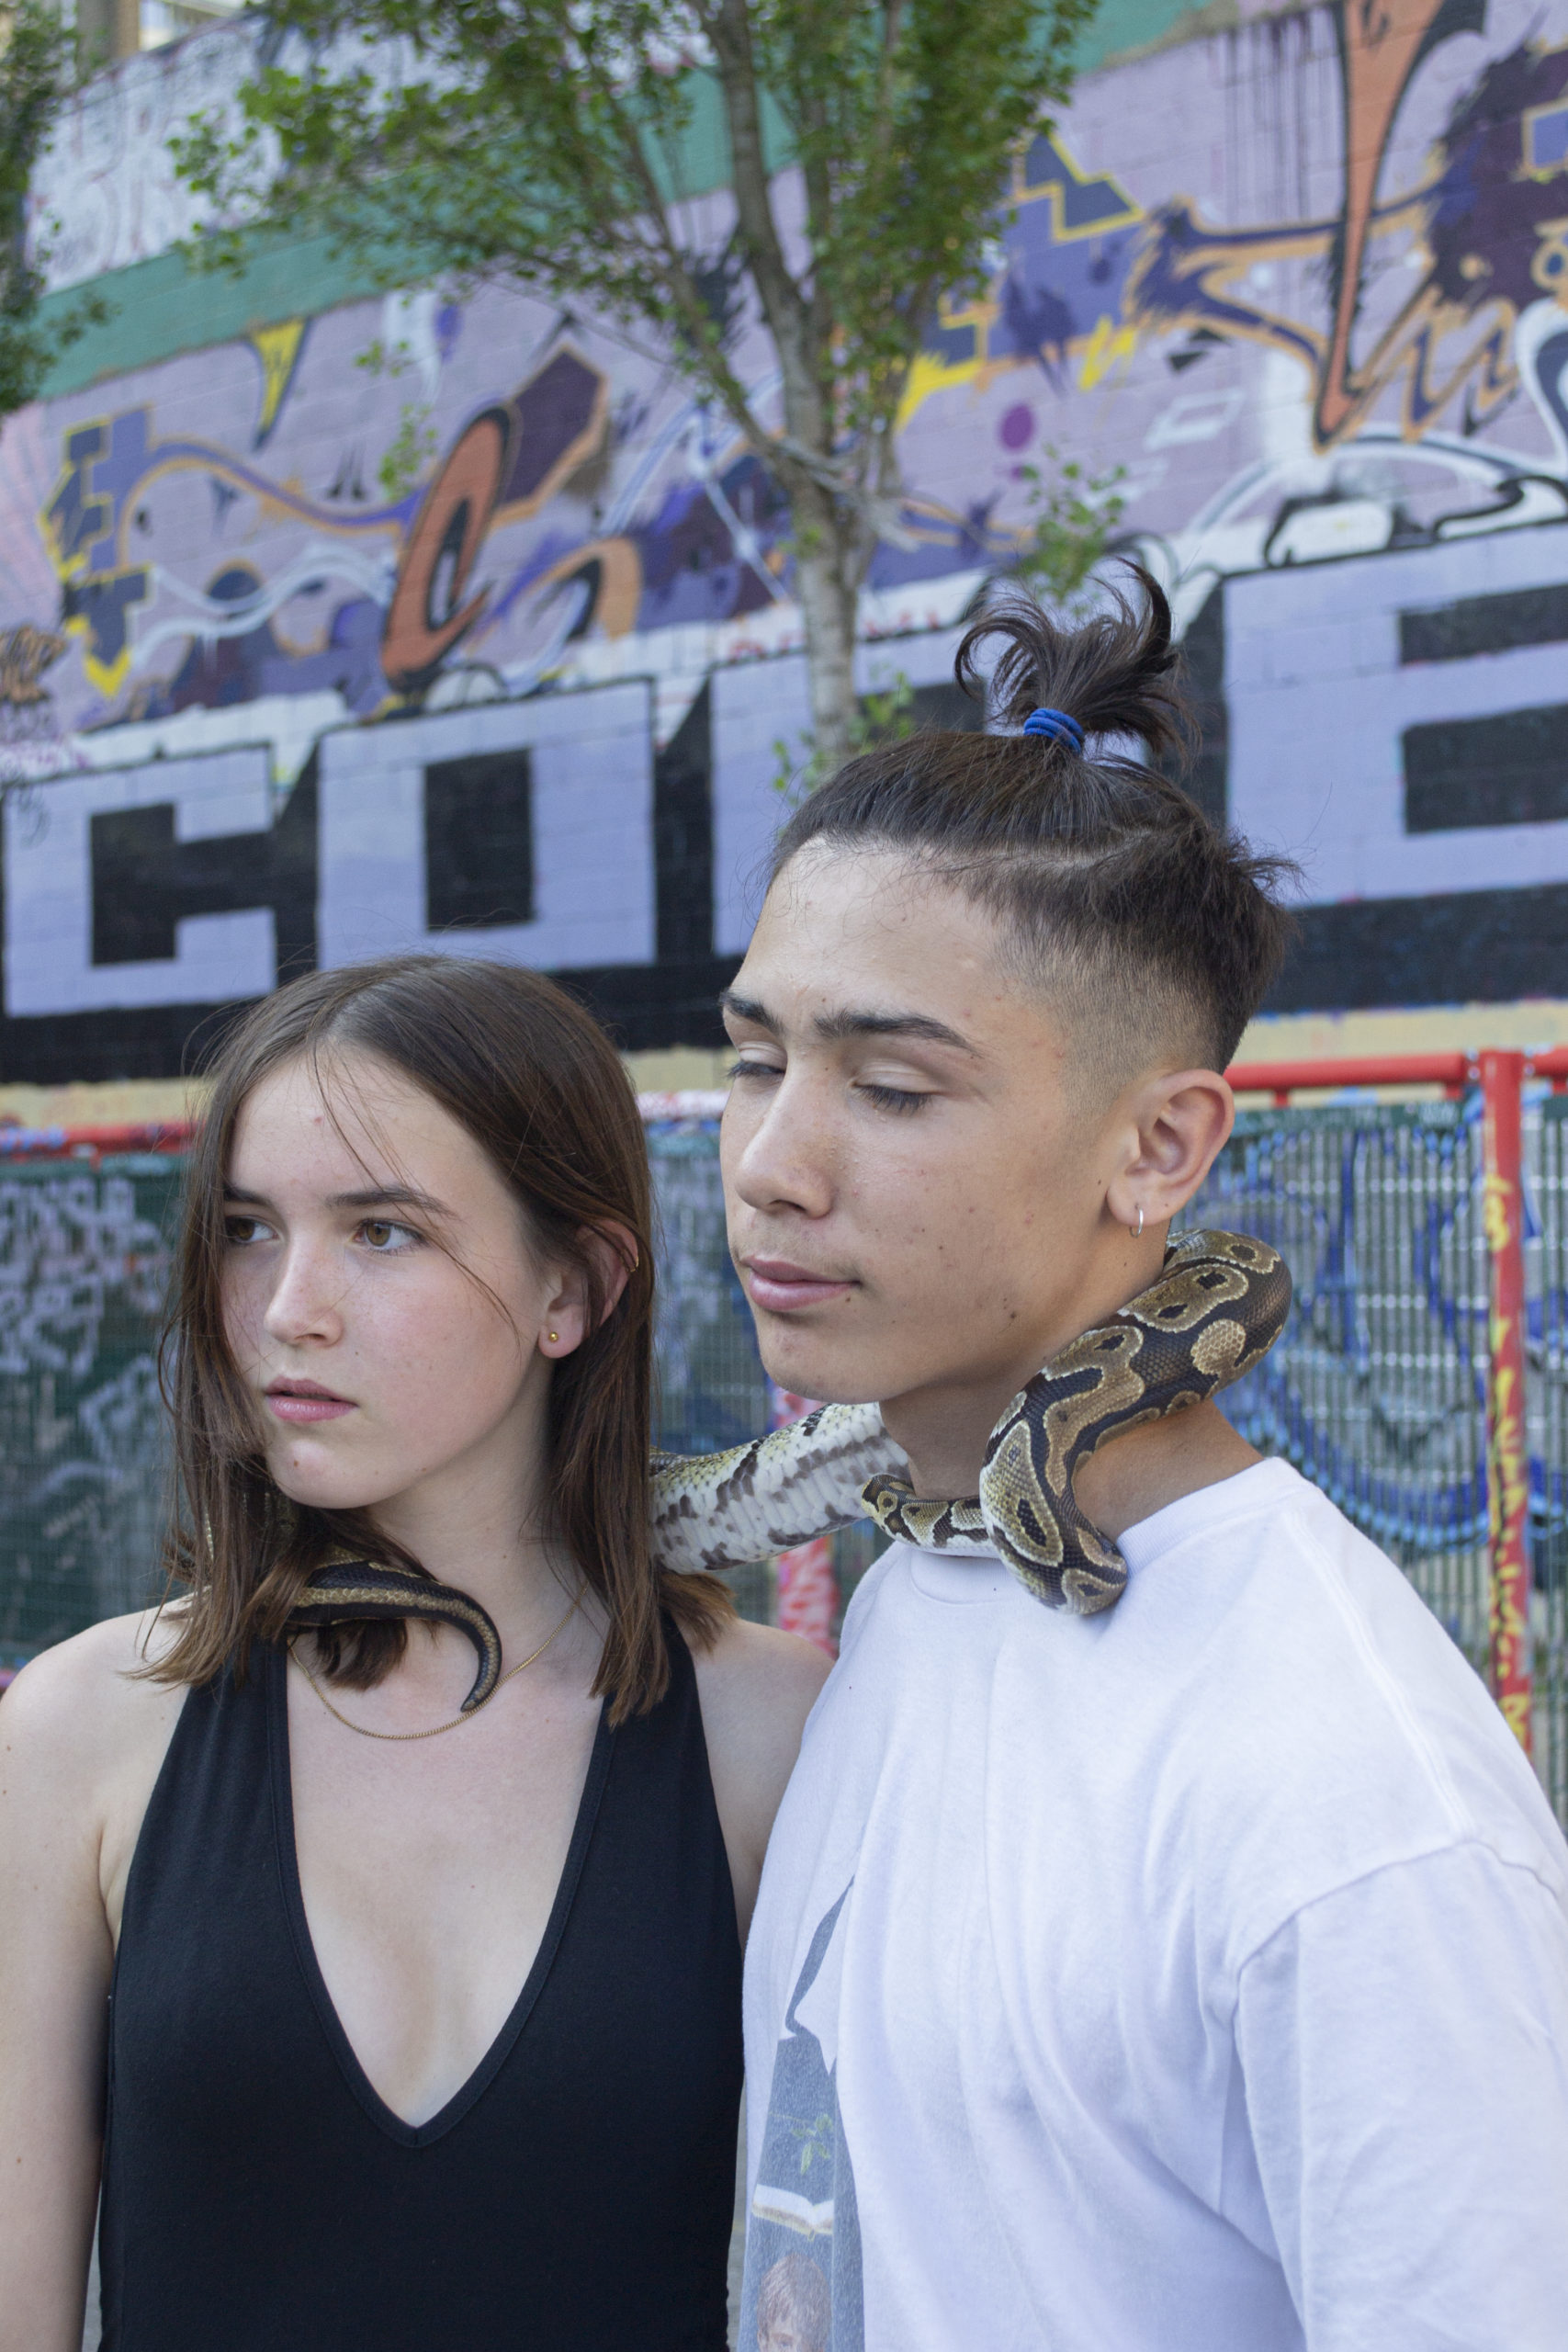
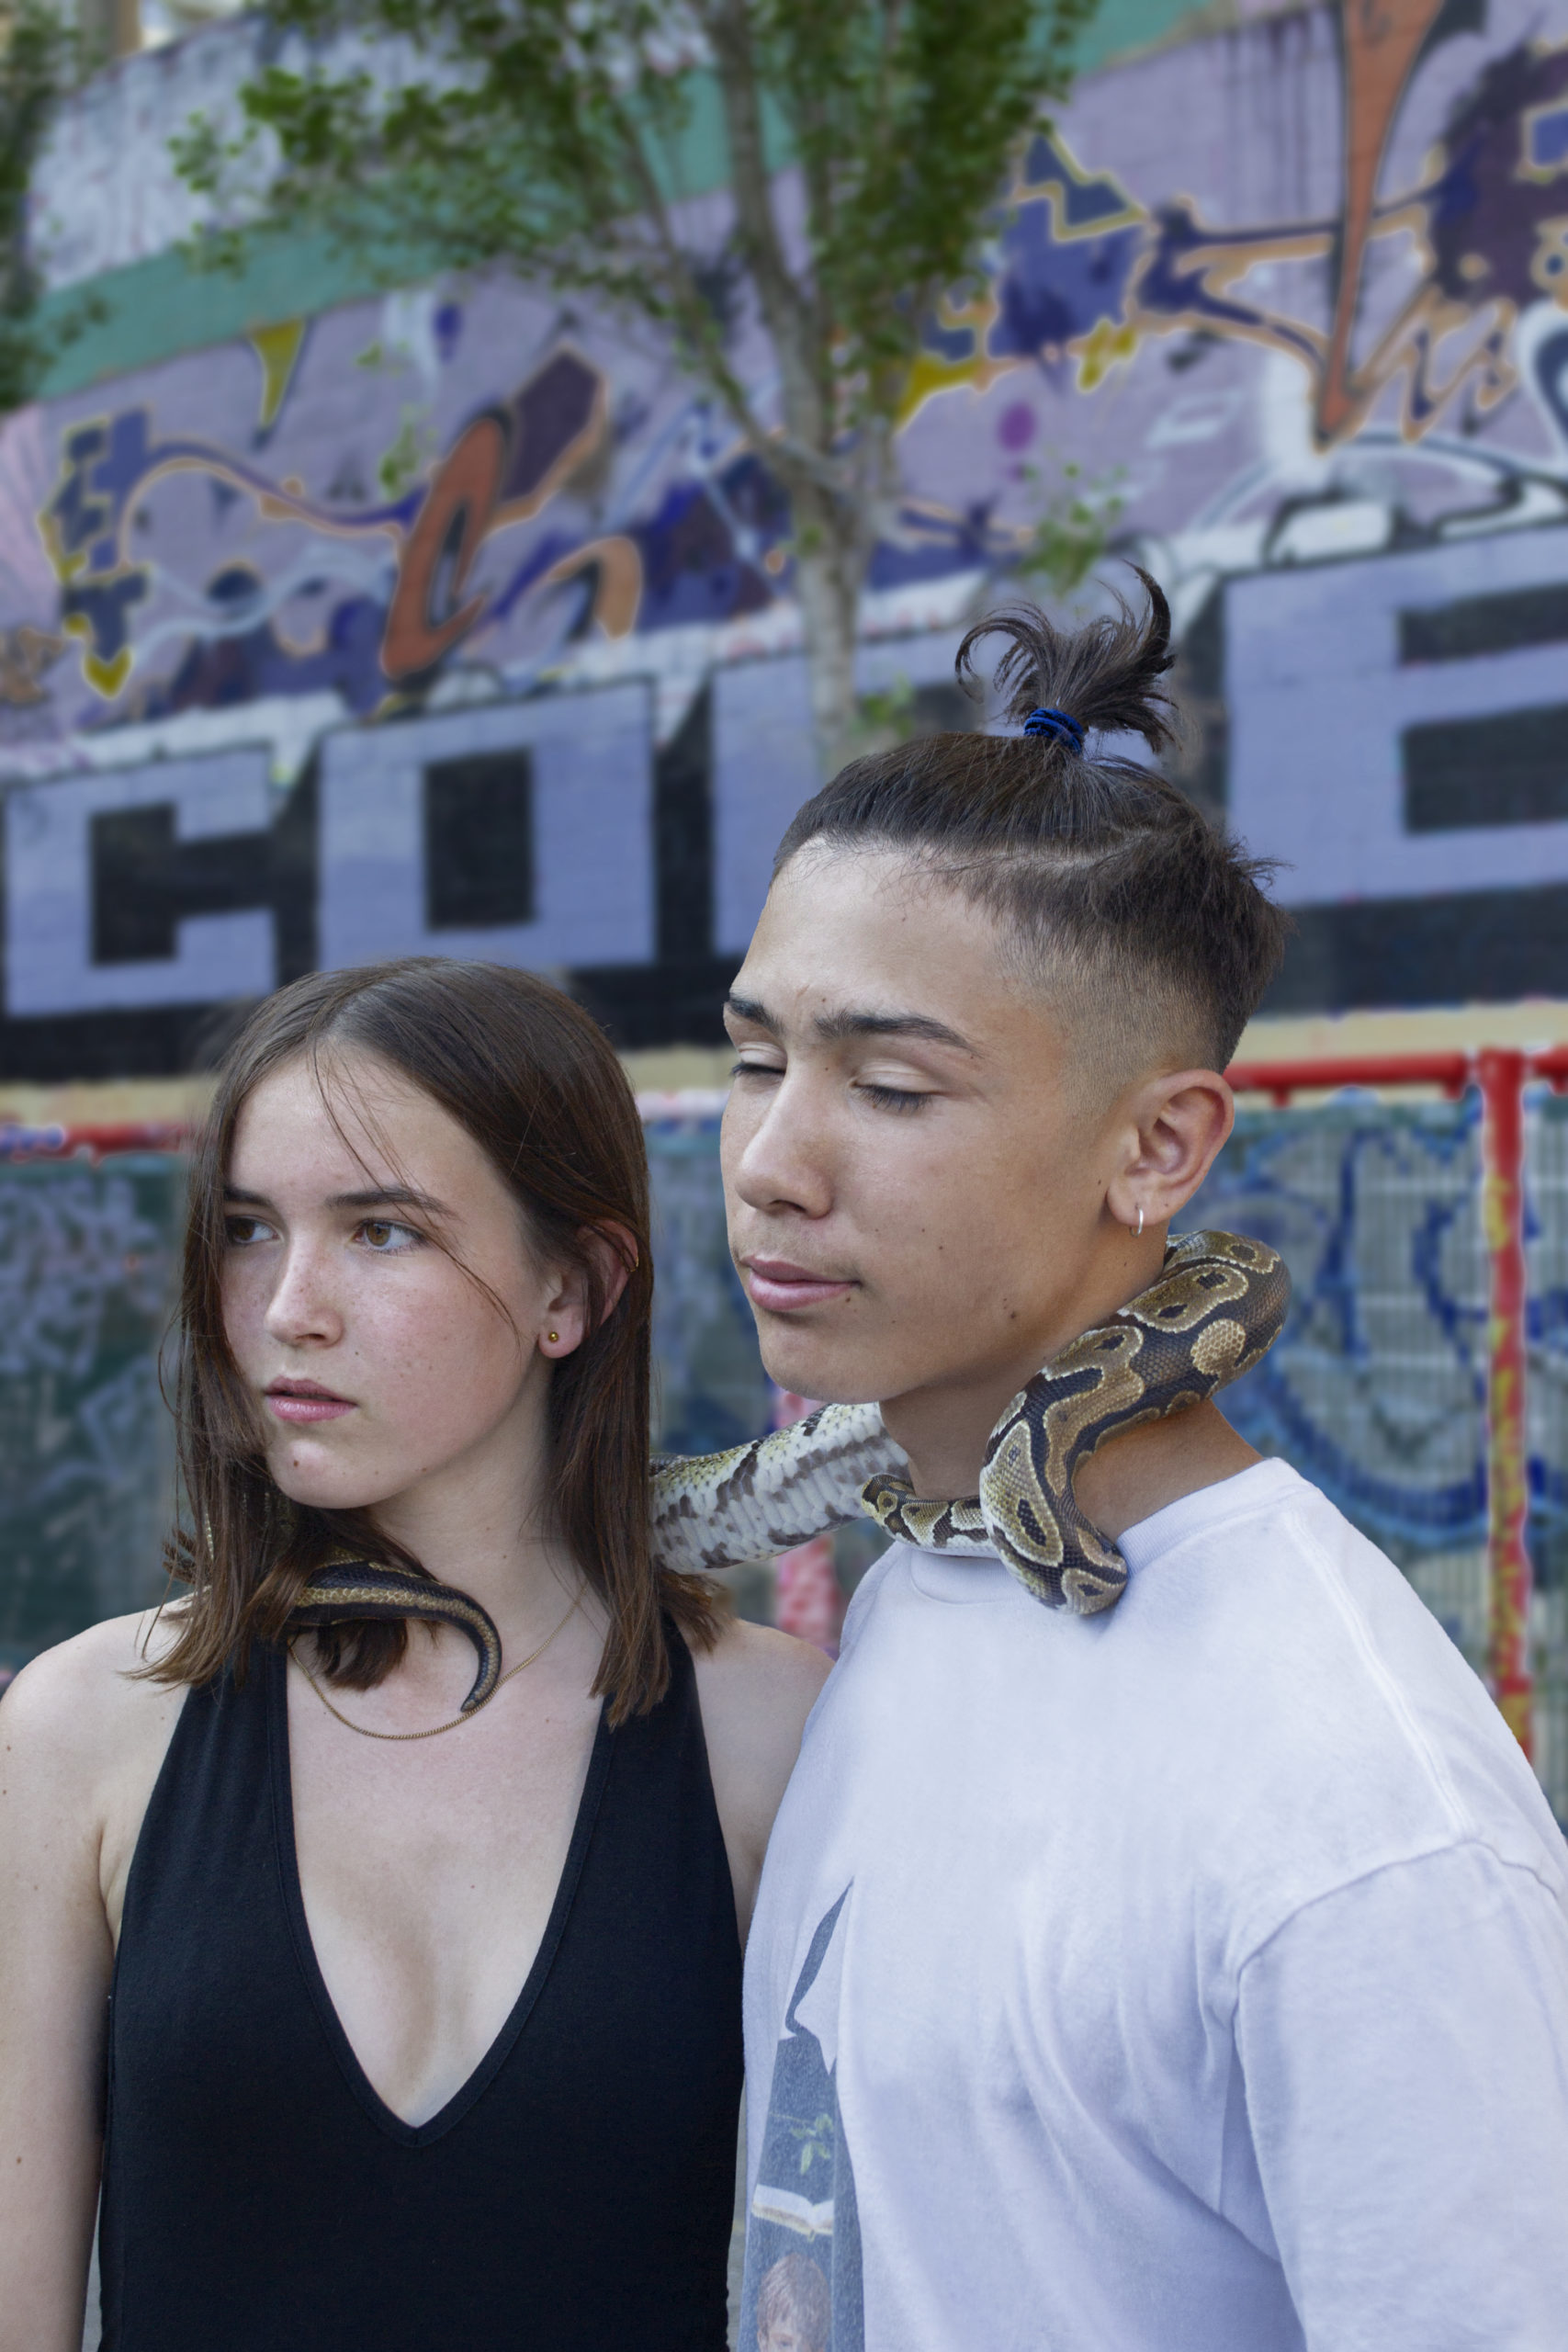


- Used Selection, pen tool and Refine Edge brush to cut out the models.
- Used Content-Aware and Gaussian Blur on a Smart Layer to create a blurred background.
- Used Spot Healing, Patch tool, and Liquify to get rid of blemishes and stray hairs.
- Used Black and White Adjustment Layer to bring out skin detailing such as freckles, and skin texture and enhances eyebrows and lashes.
- Used Lasso Tool to iron out T-Shirt.
- Used Eyedropper tool and brushes to fix discolouration on the skin.
Before
After
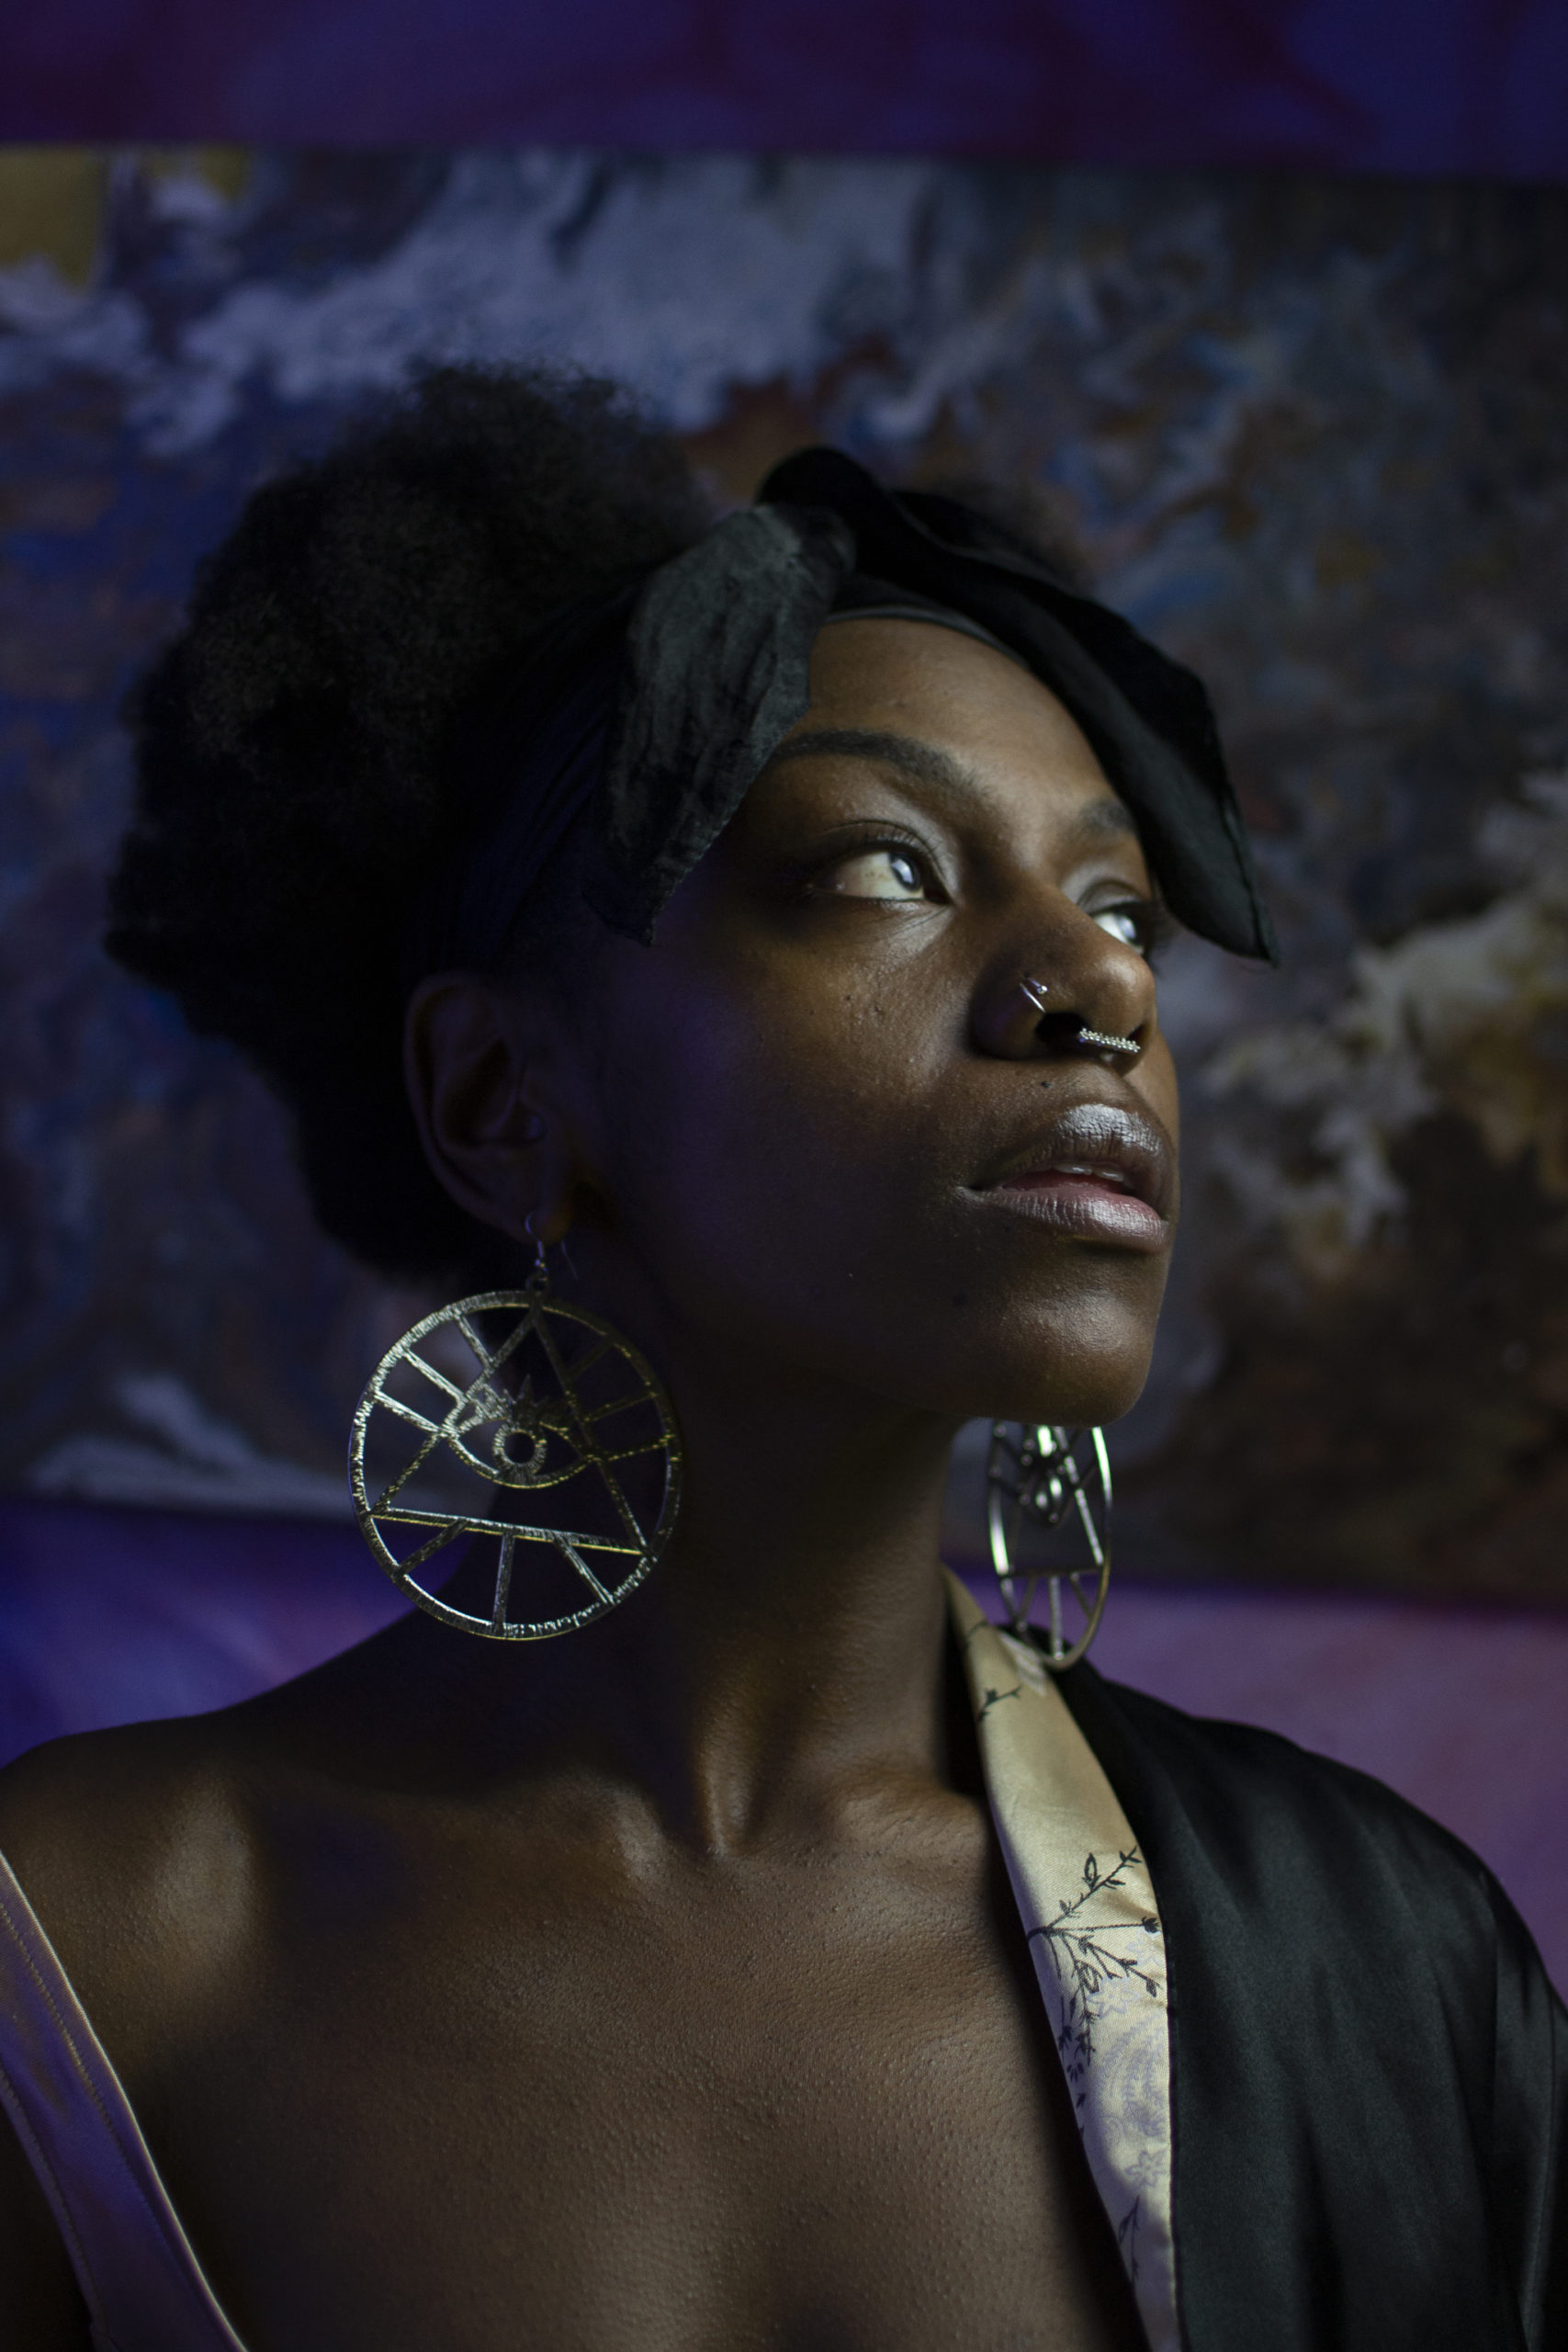
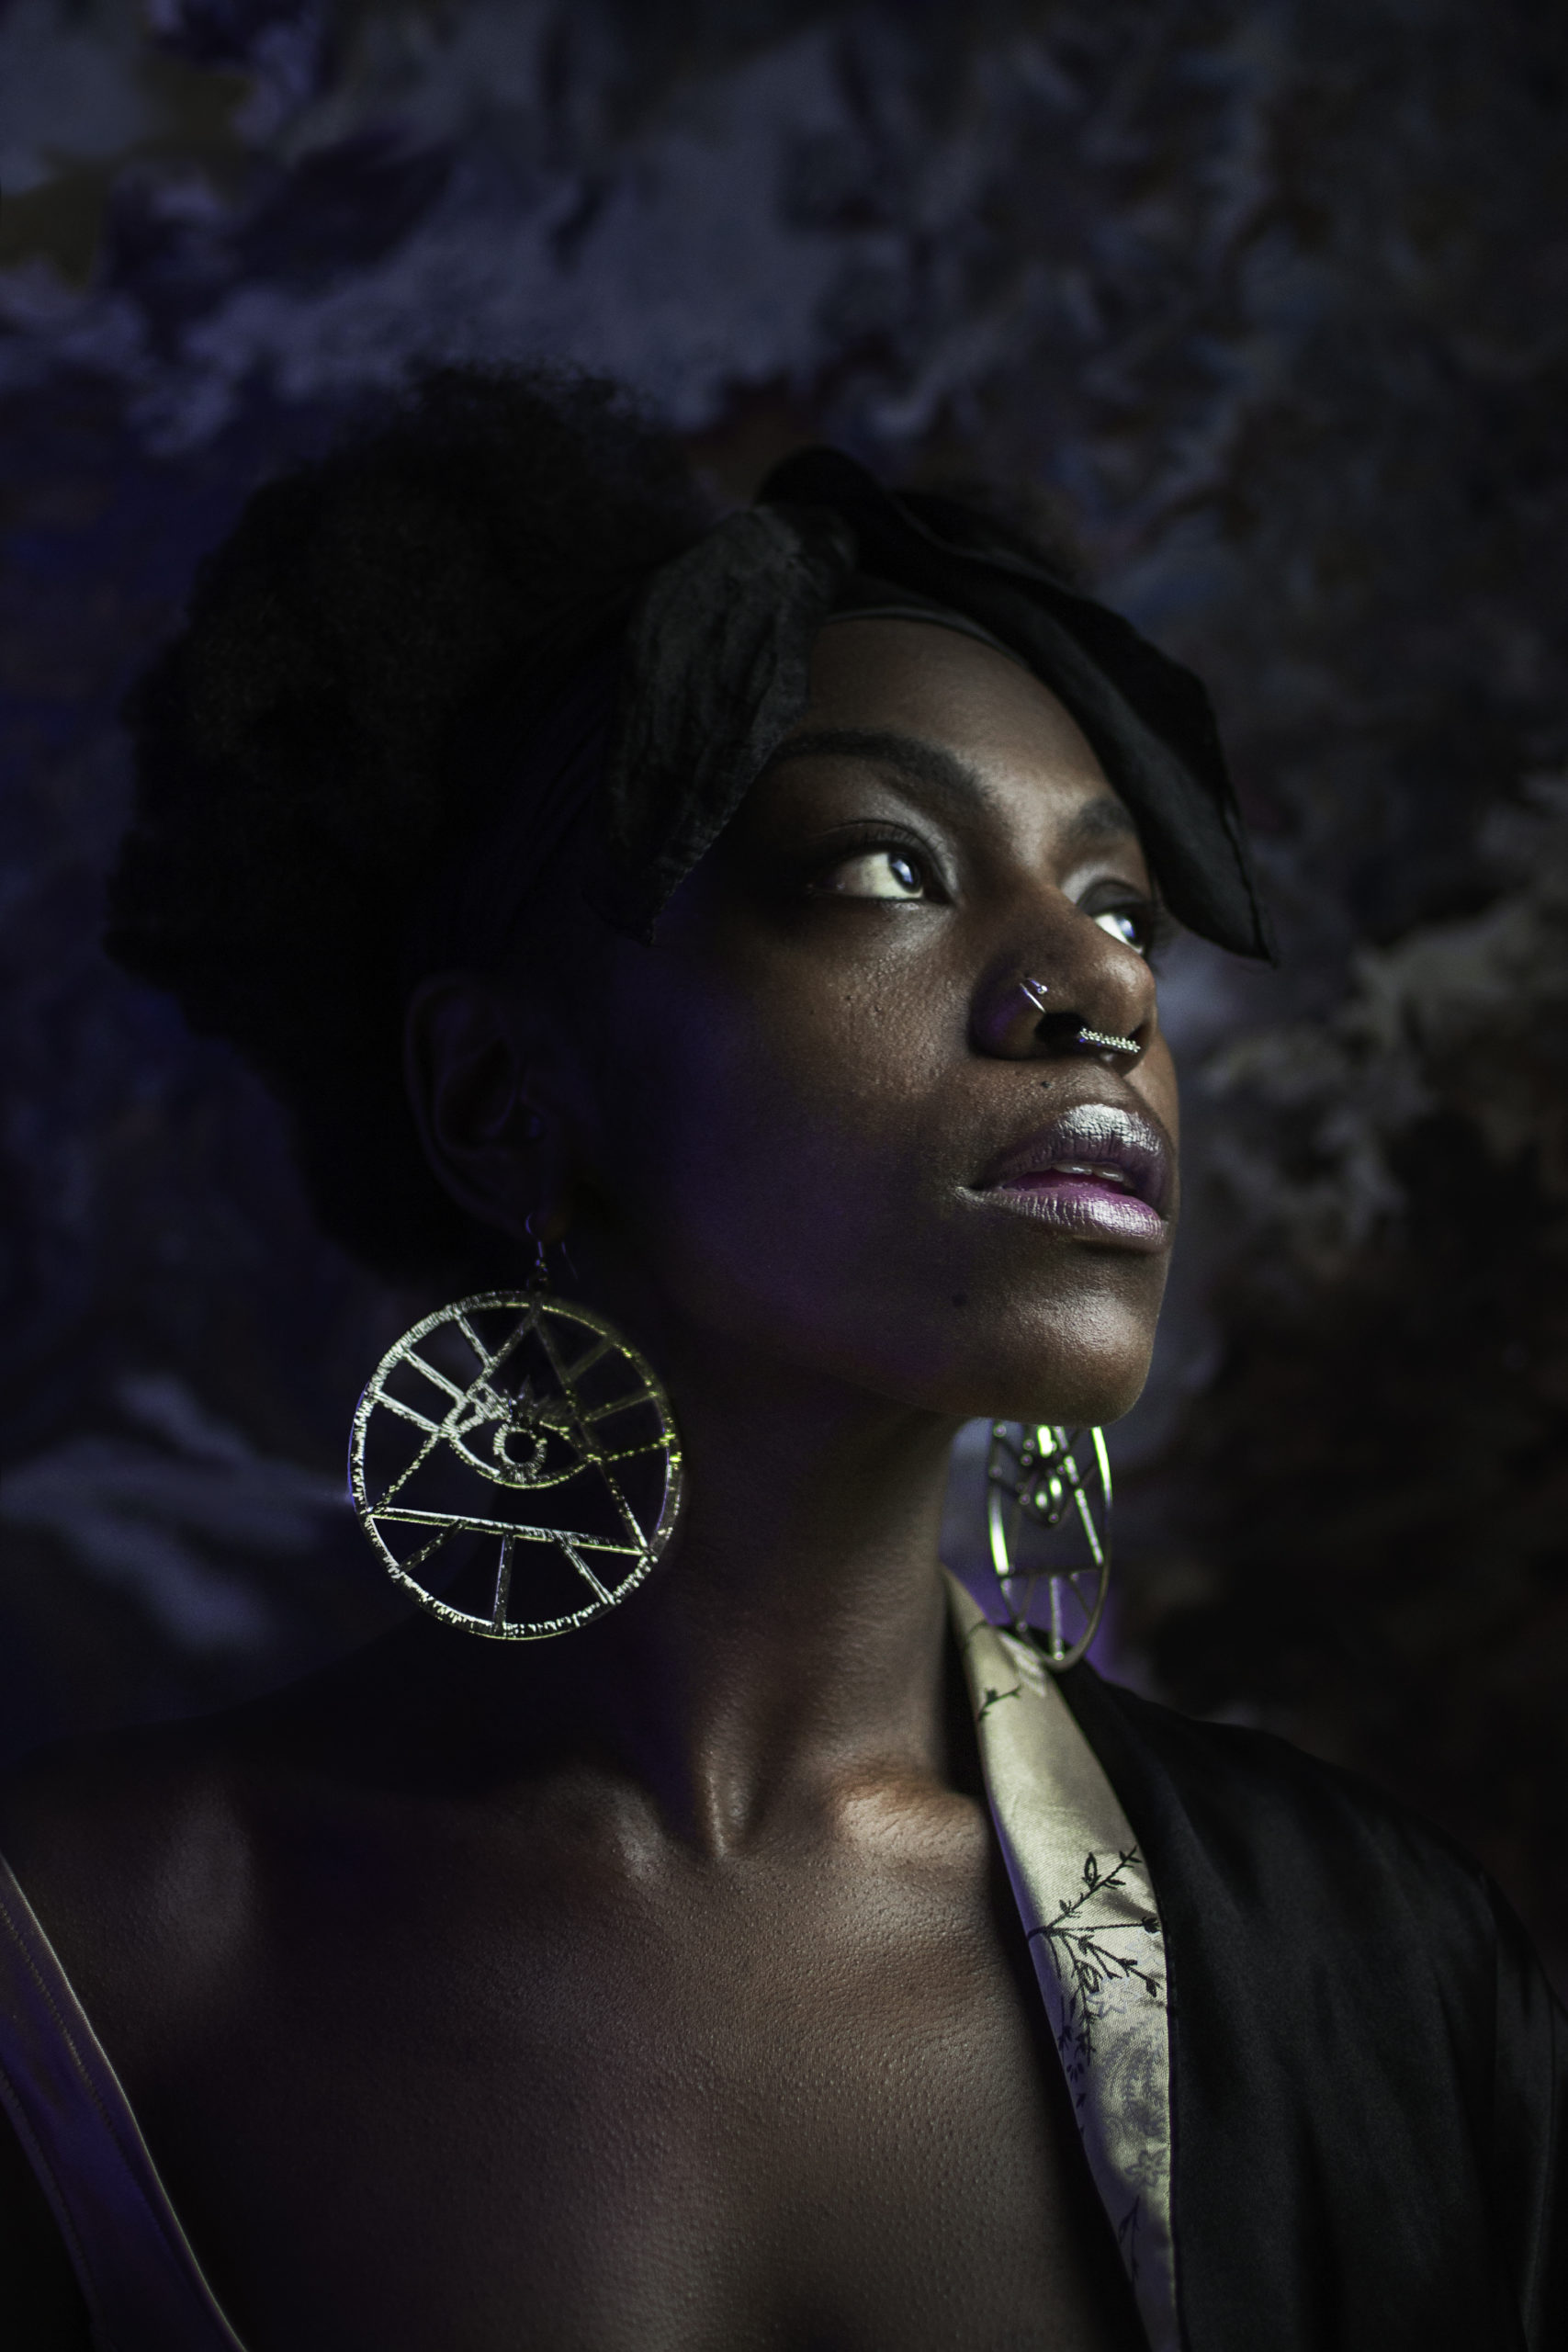


- Fixed blemishes using the Frequency Separation method.
- Enhanced purple light on the skin using paint brushes and Blend Modes.
- Colour correction to bring back the vibrancy of skin colour.
- Added lip colour and brightened eyes.
- Brightened earrings and details that were lost in shadowing.
- Added jewellery shine onto skin with Blend Modes and paint.
- Created a new background using Content-Aware and Lasso tool
Before
After
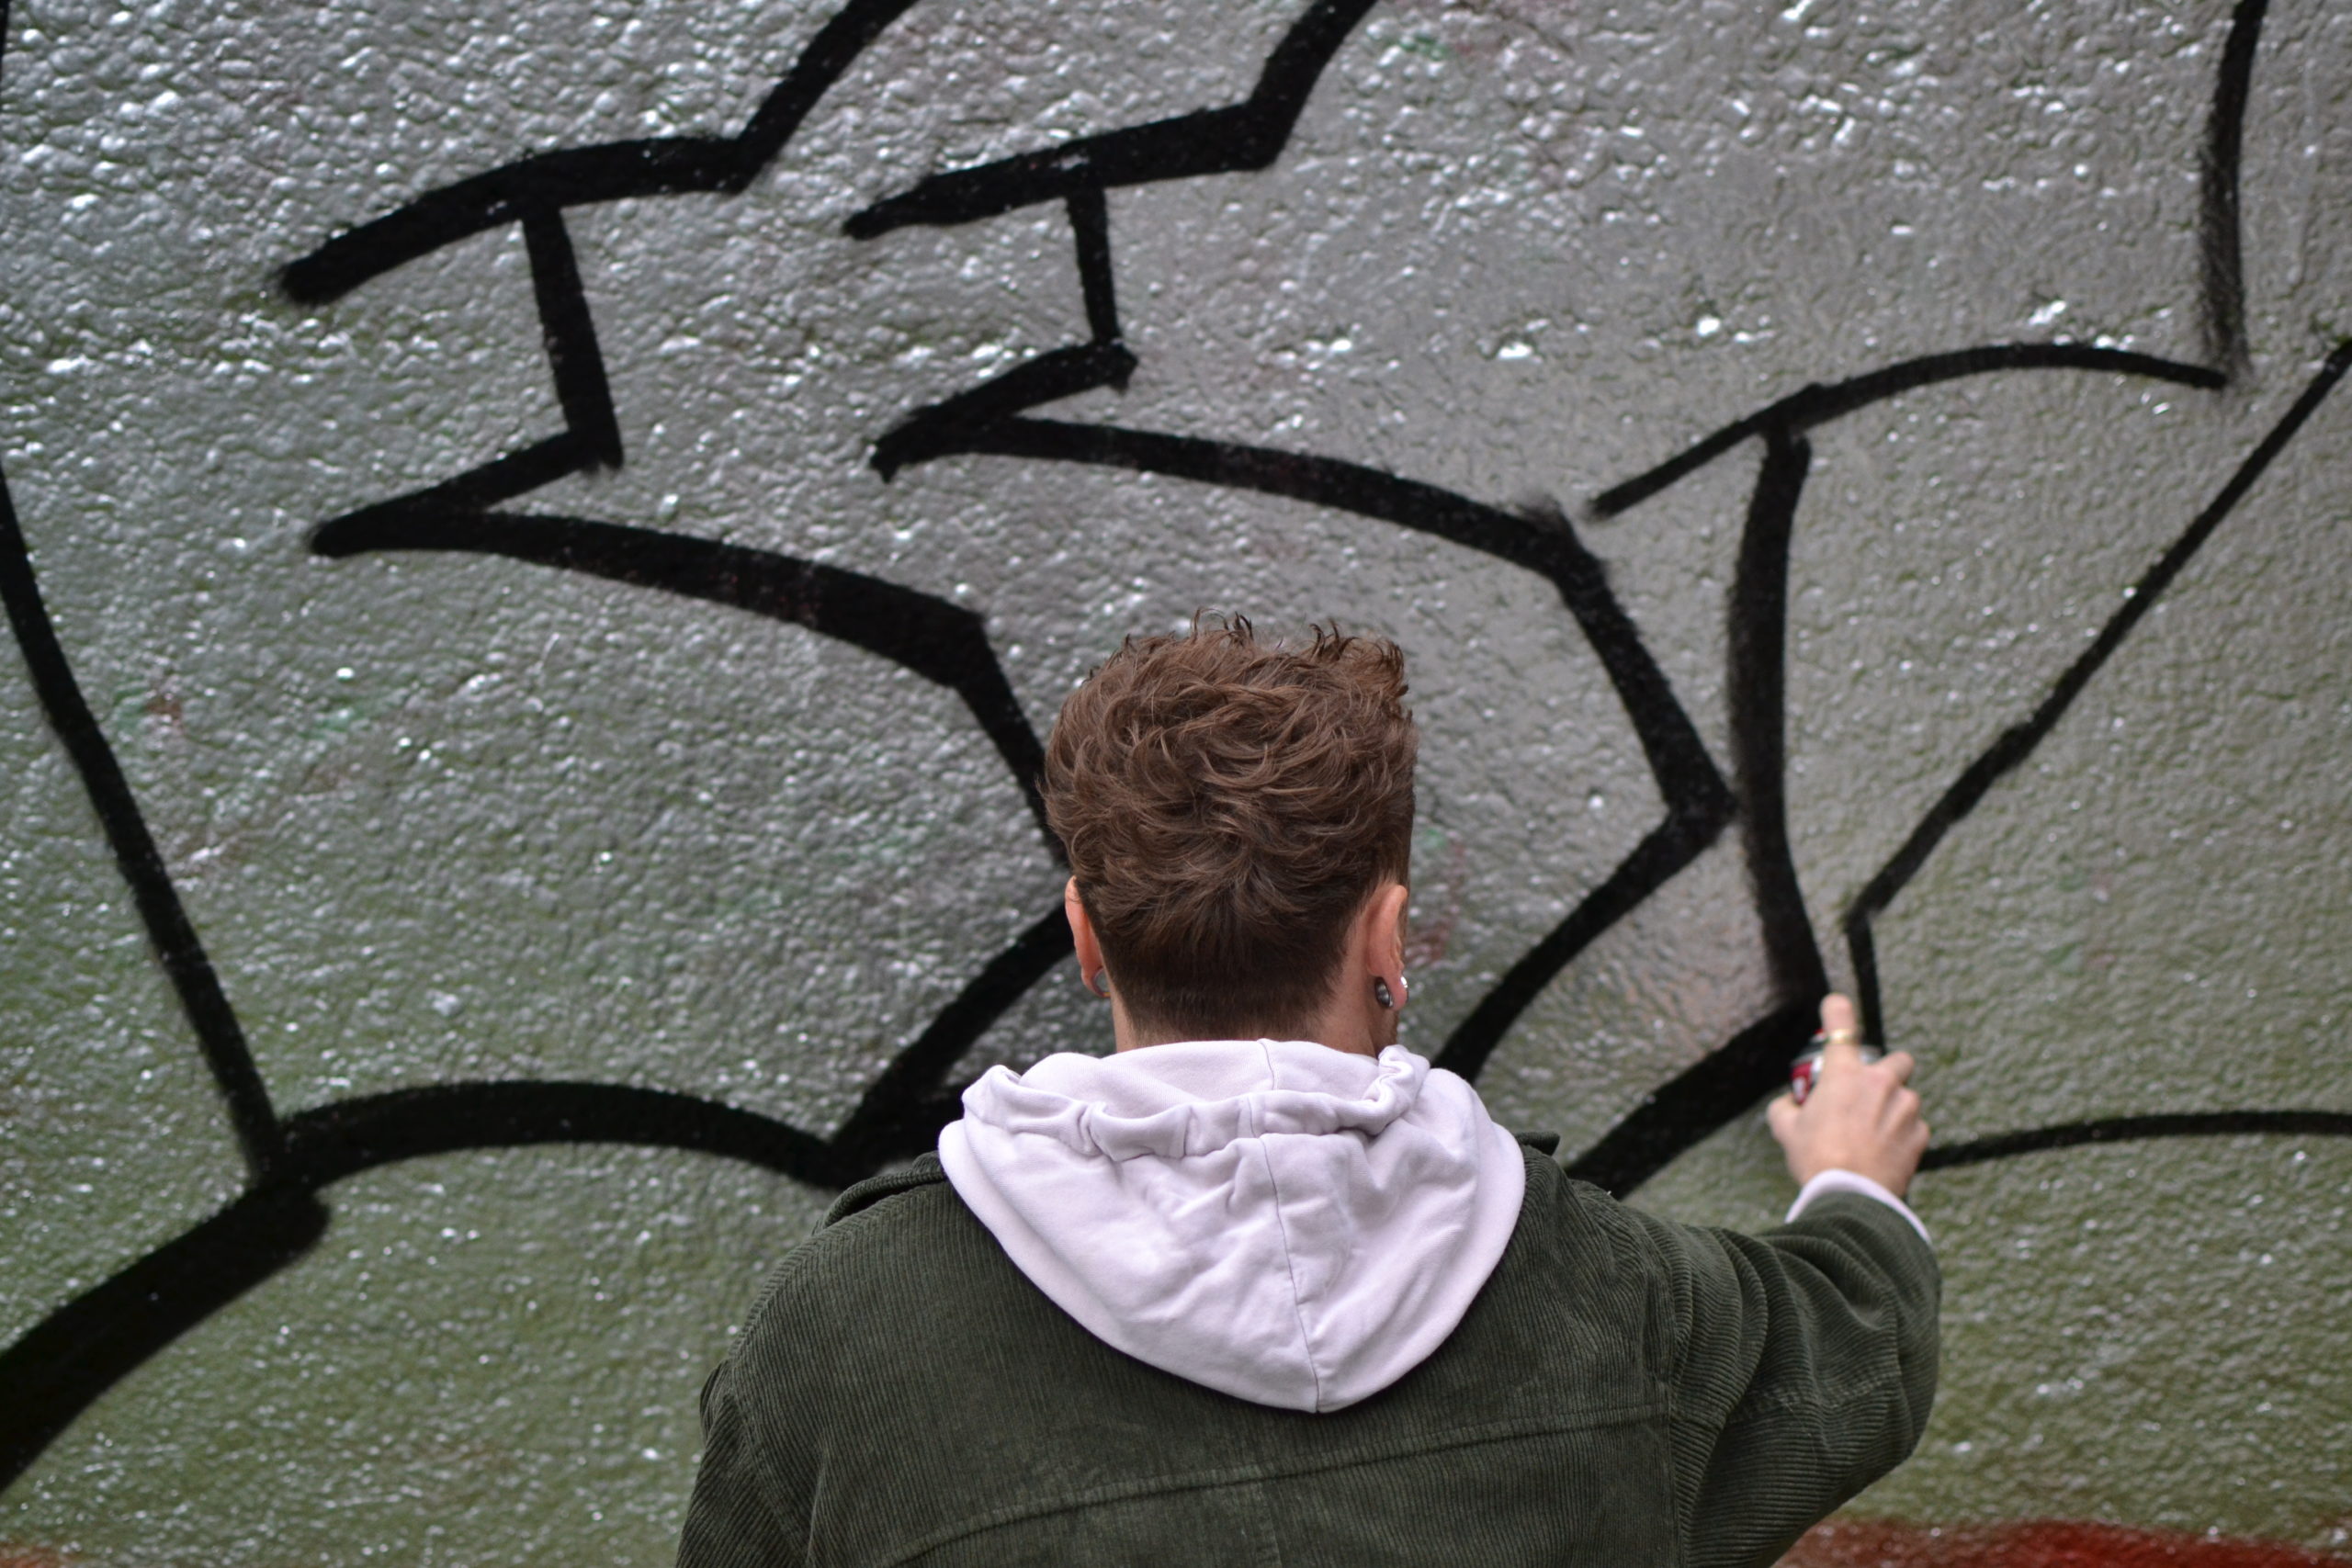
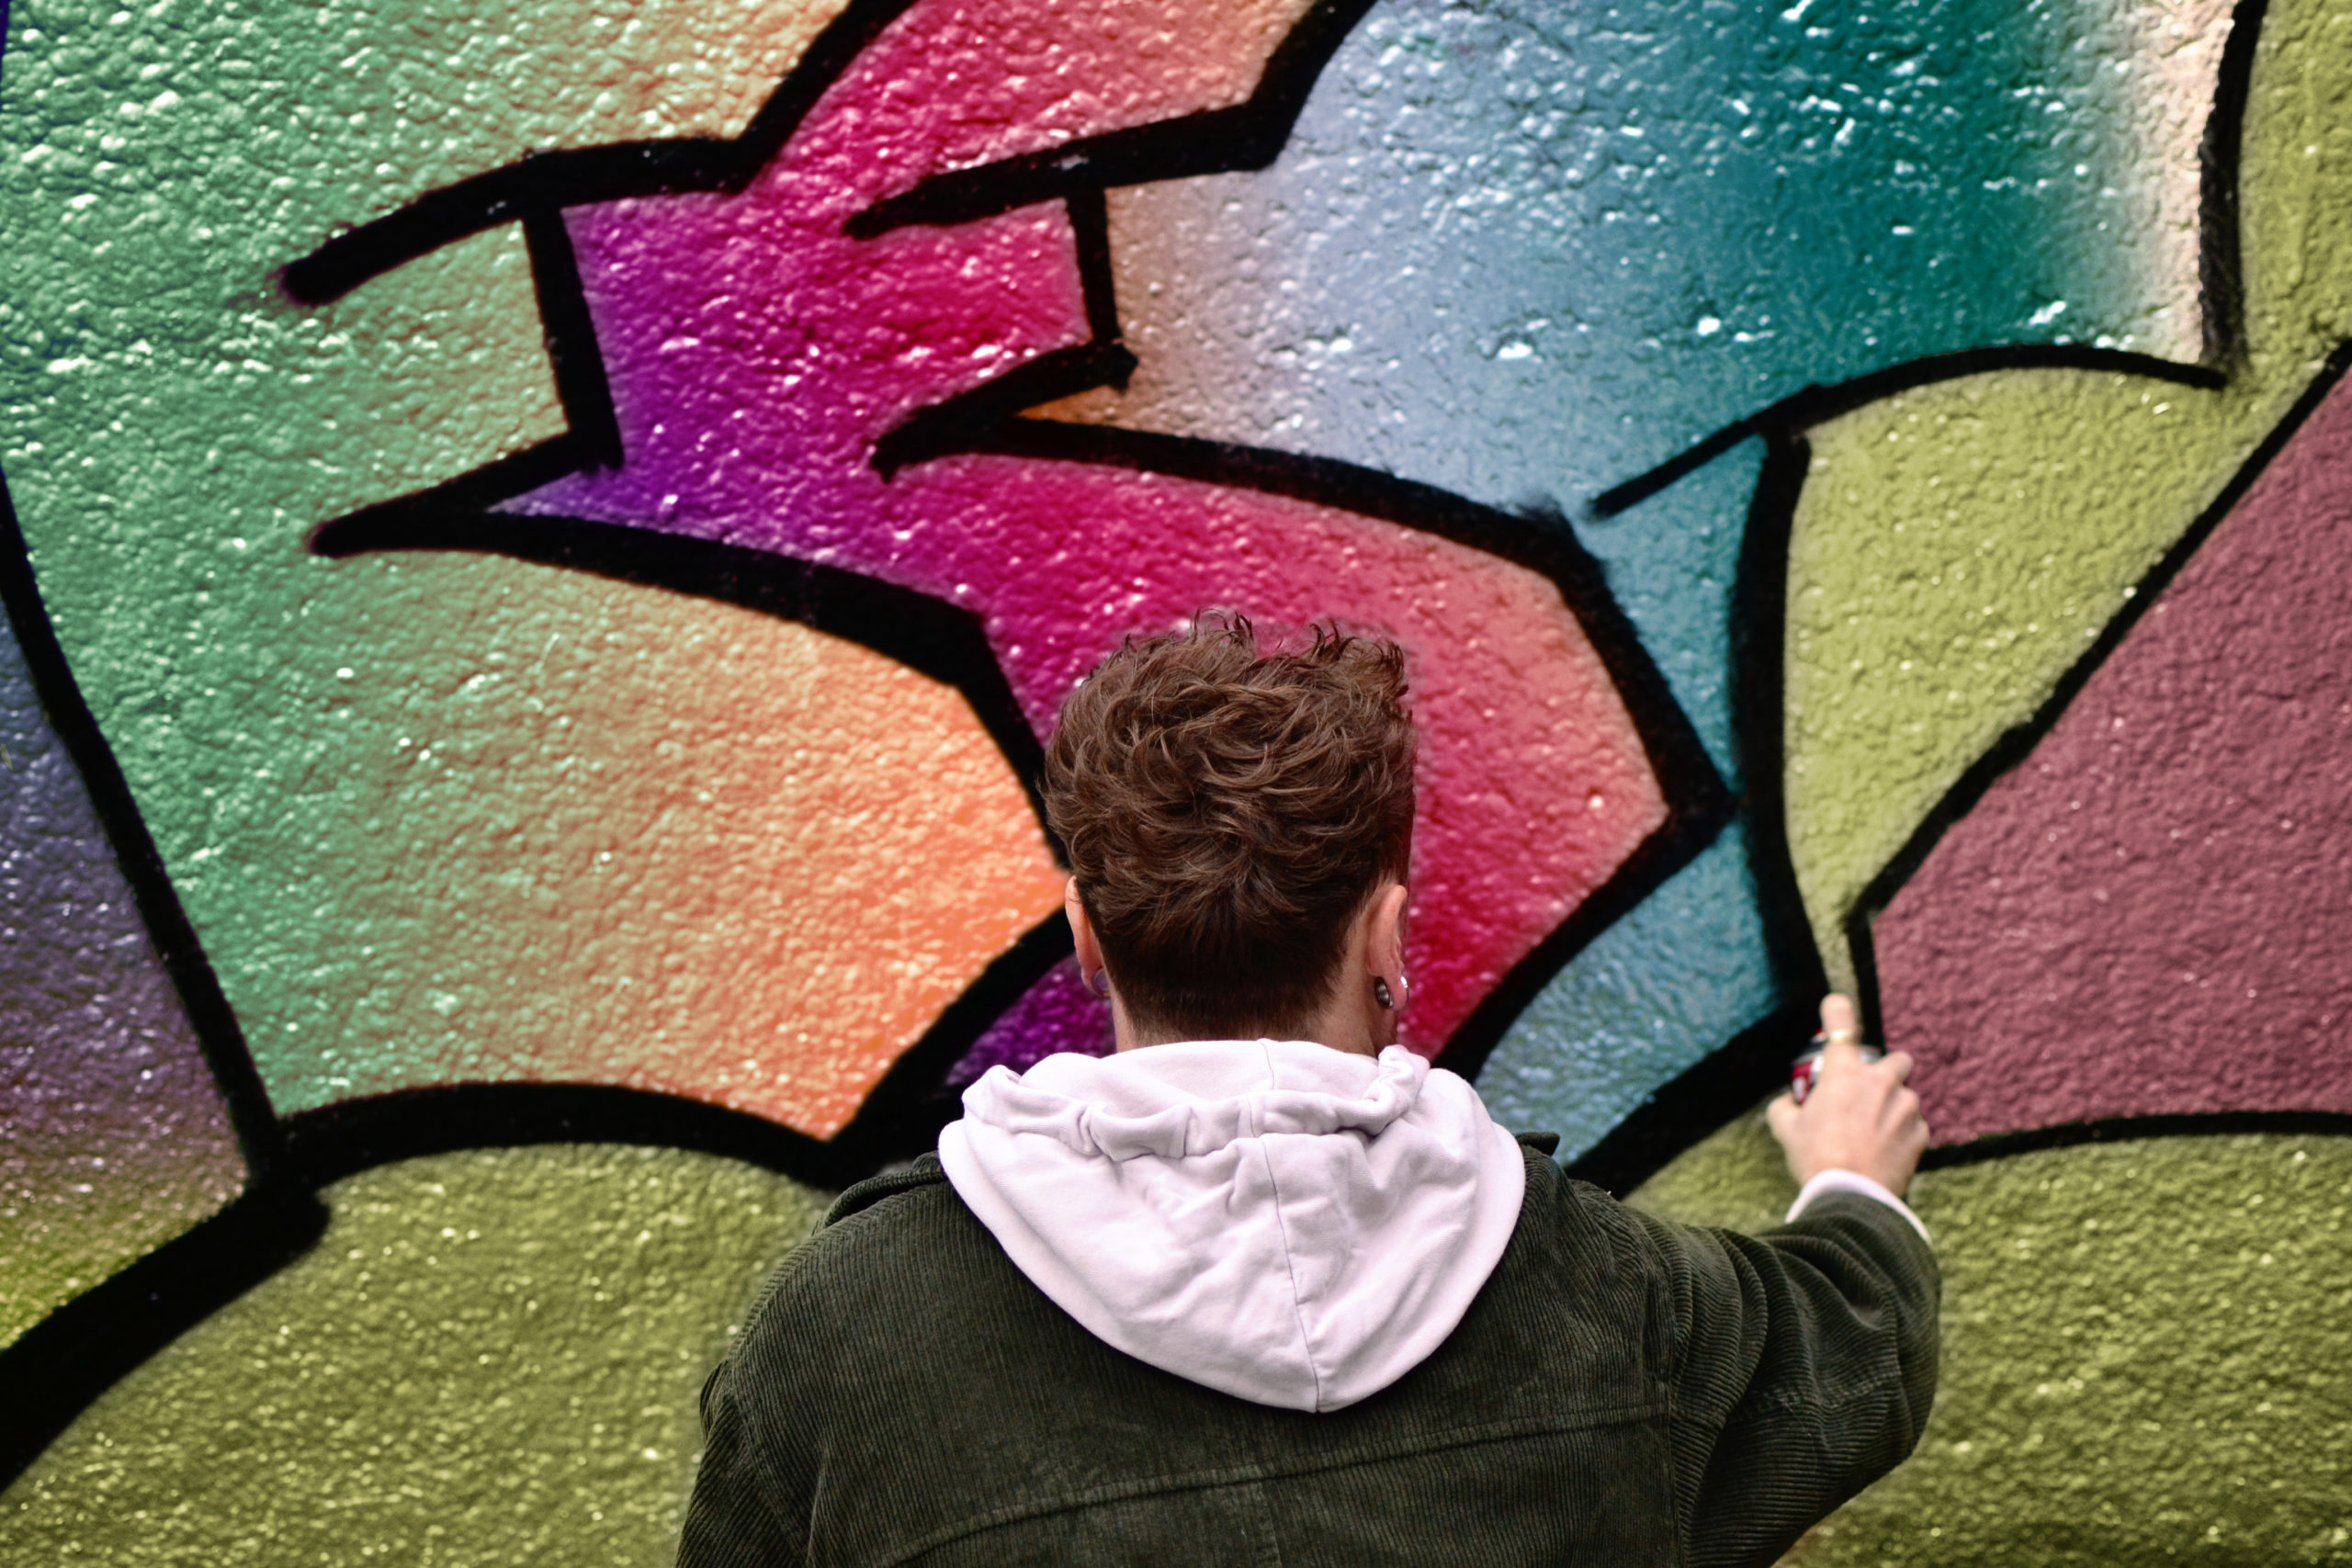


- Used Colour Look Up and Blend Modes to enhance colours.
- Used Gradient Map Adjustment Layers and Hue/Saturation to fill in graffiti lettering.
- Used Pen Tool and different selection tools to select the different lettering.
Before
After
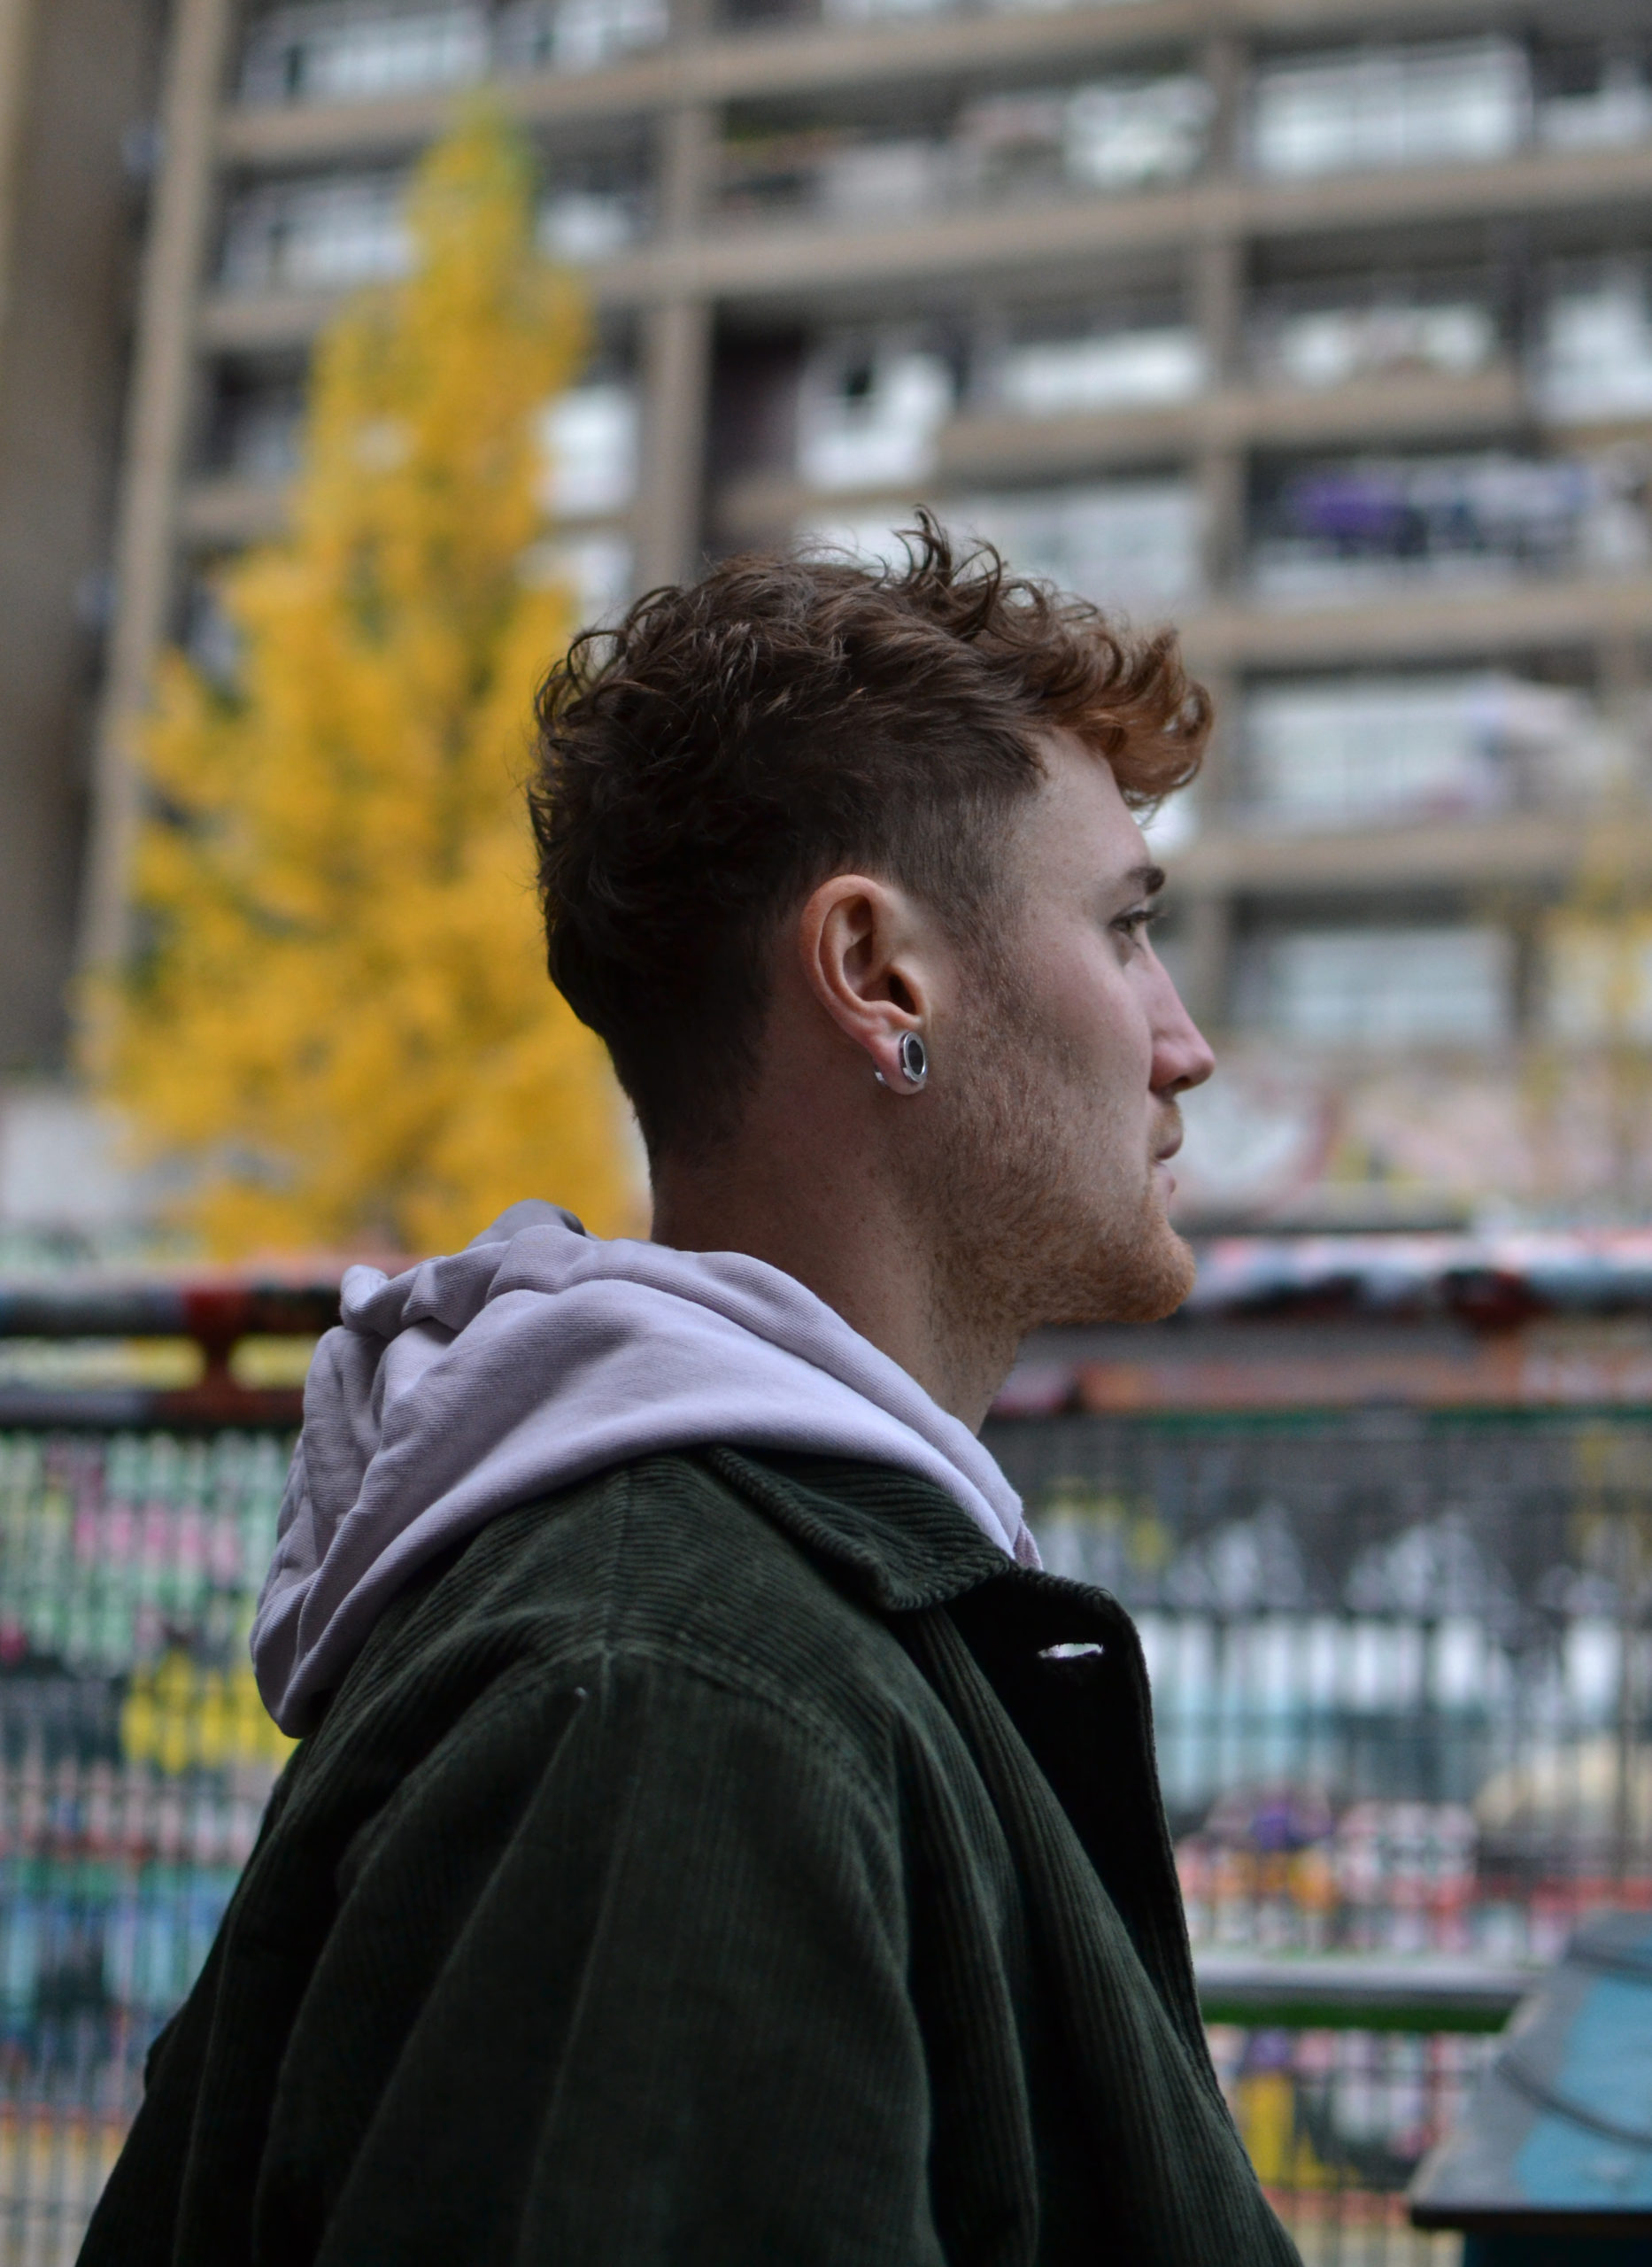
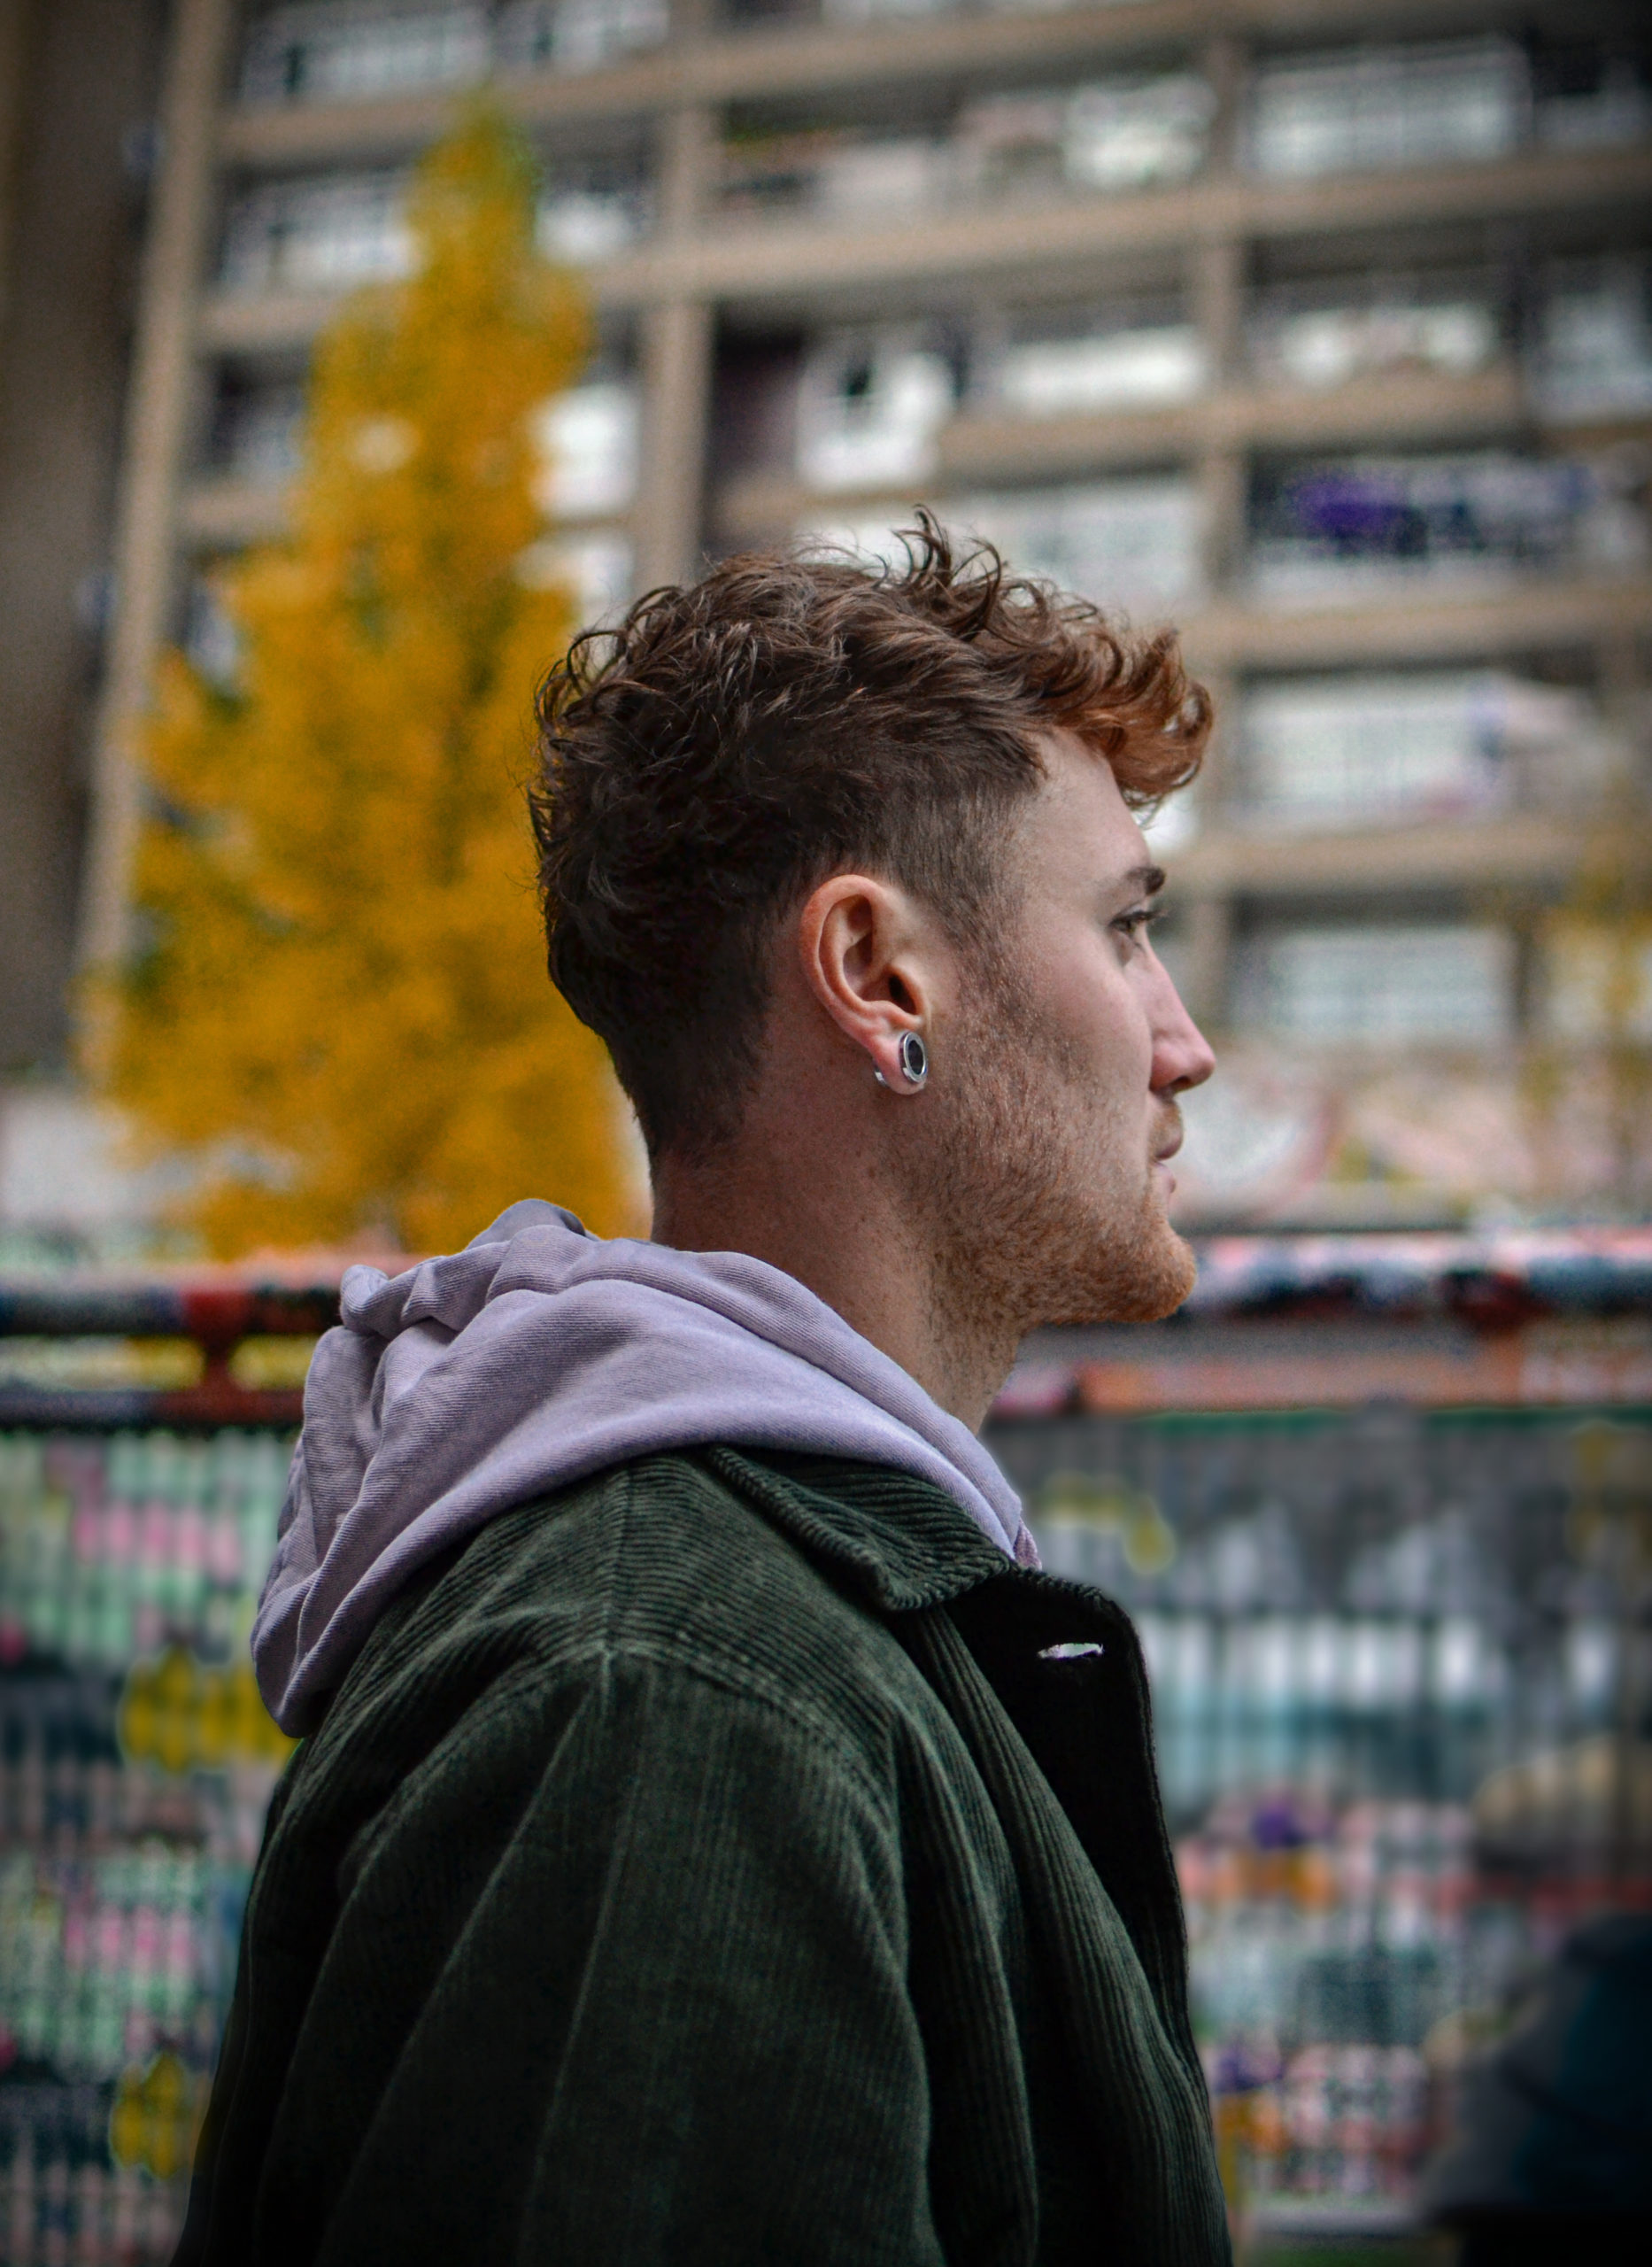


- Added Vignetting framing.
- Liquified clothing for camera correction from zooming with the lens.
- Used Lasso Tool to fix unwanted artefacts after using Liquify.
- Used Clone Tool to decrease his clothing.
- Tone down background colours to enhance the foreground.
Before
After
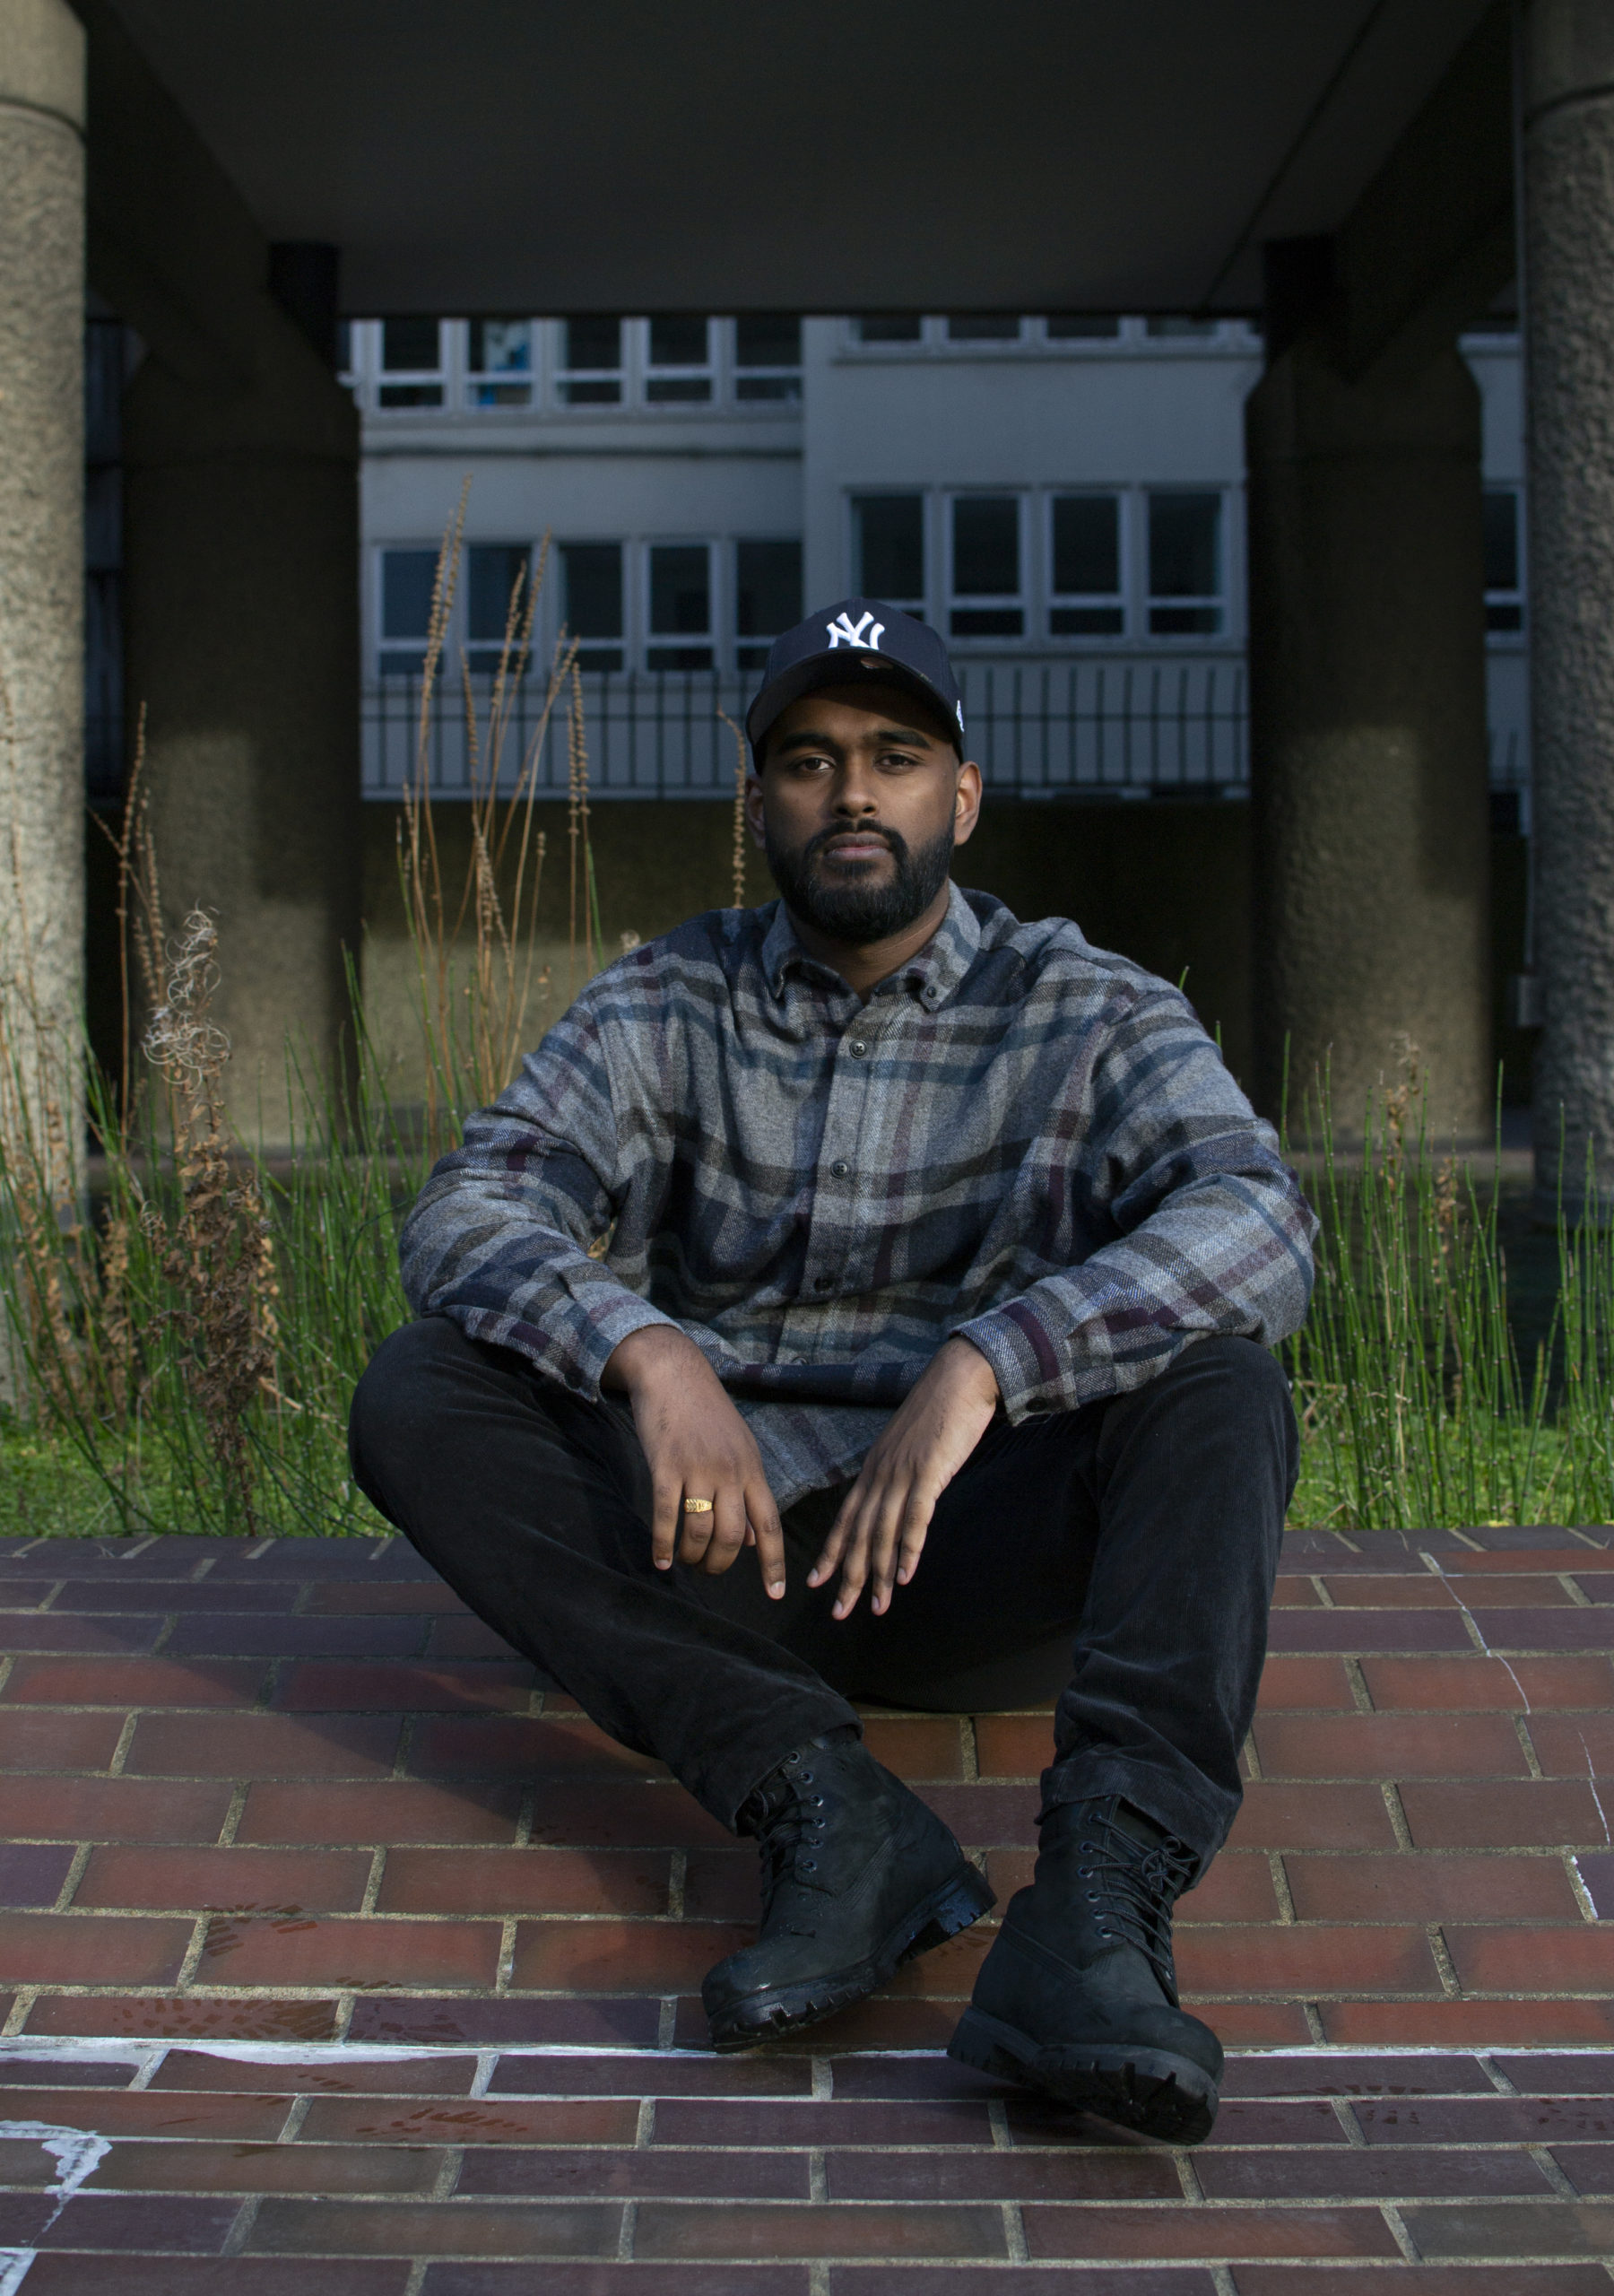
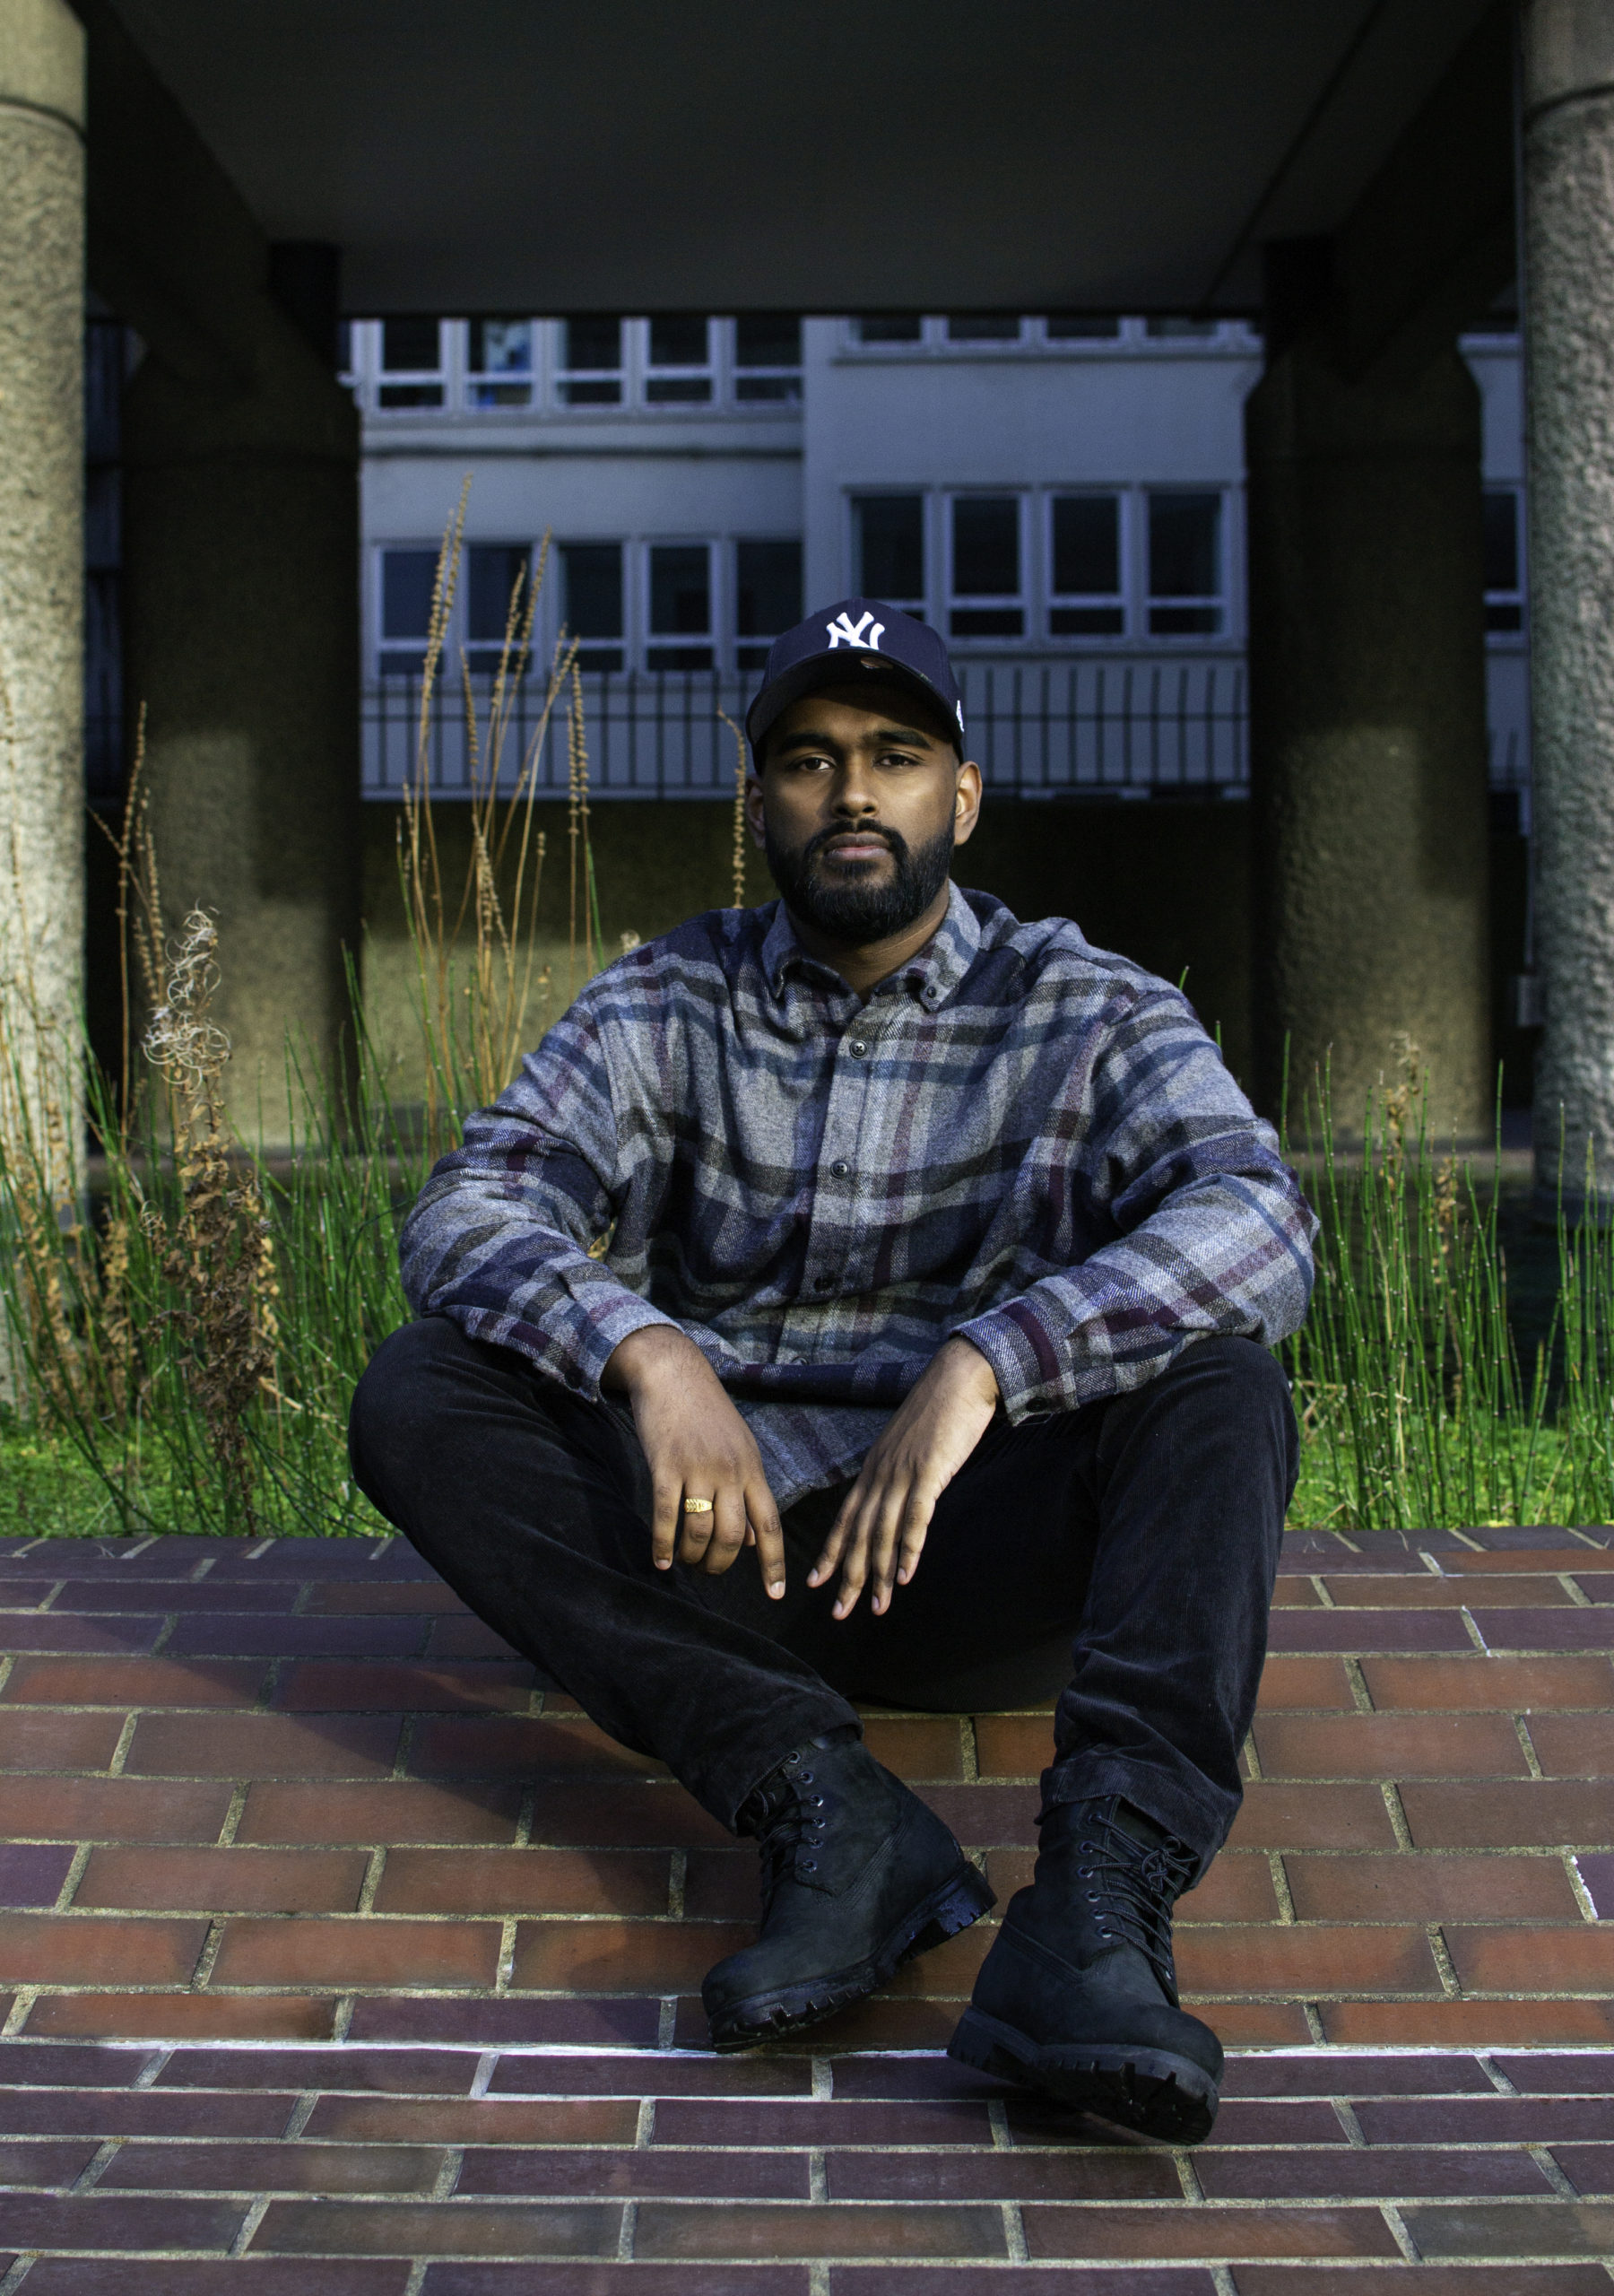


- Cleaned up boots and bricks using Patch Tool.
- Sorted out under eye bags but keeping a natural feel.
- Brightened the pole on the right to make the background symmetrical.
Before
After
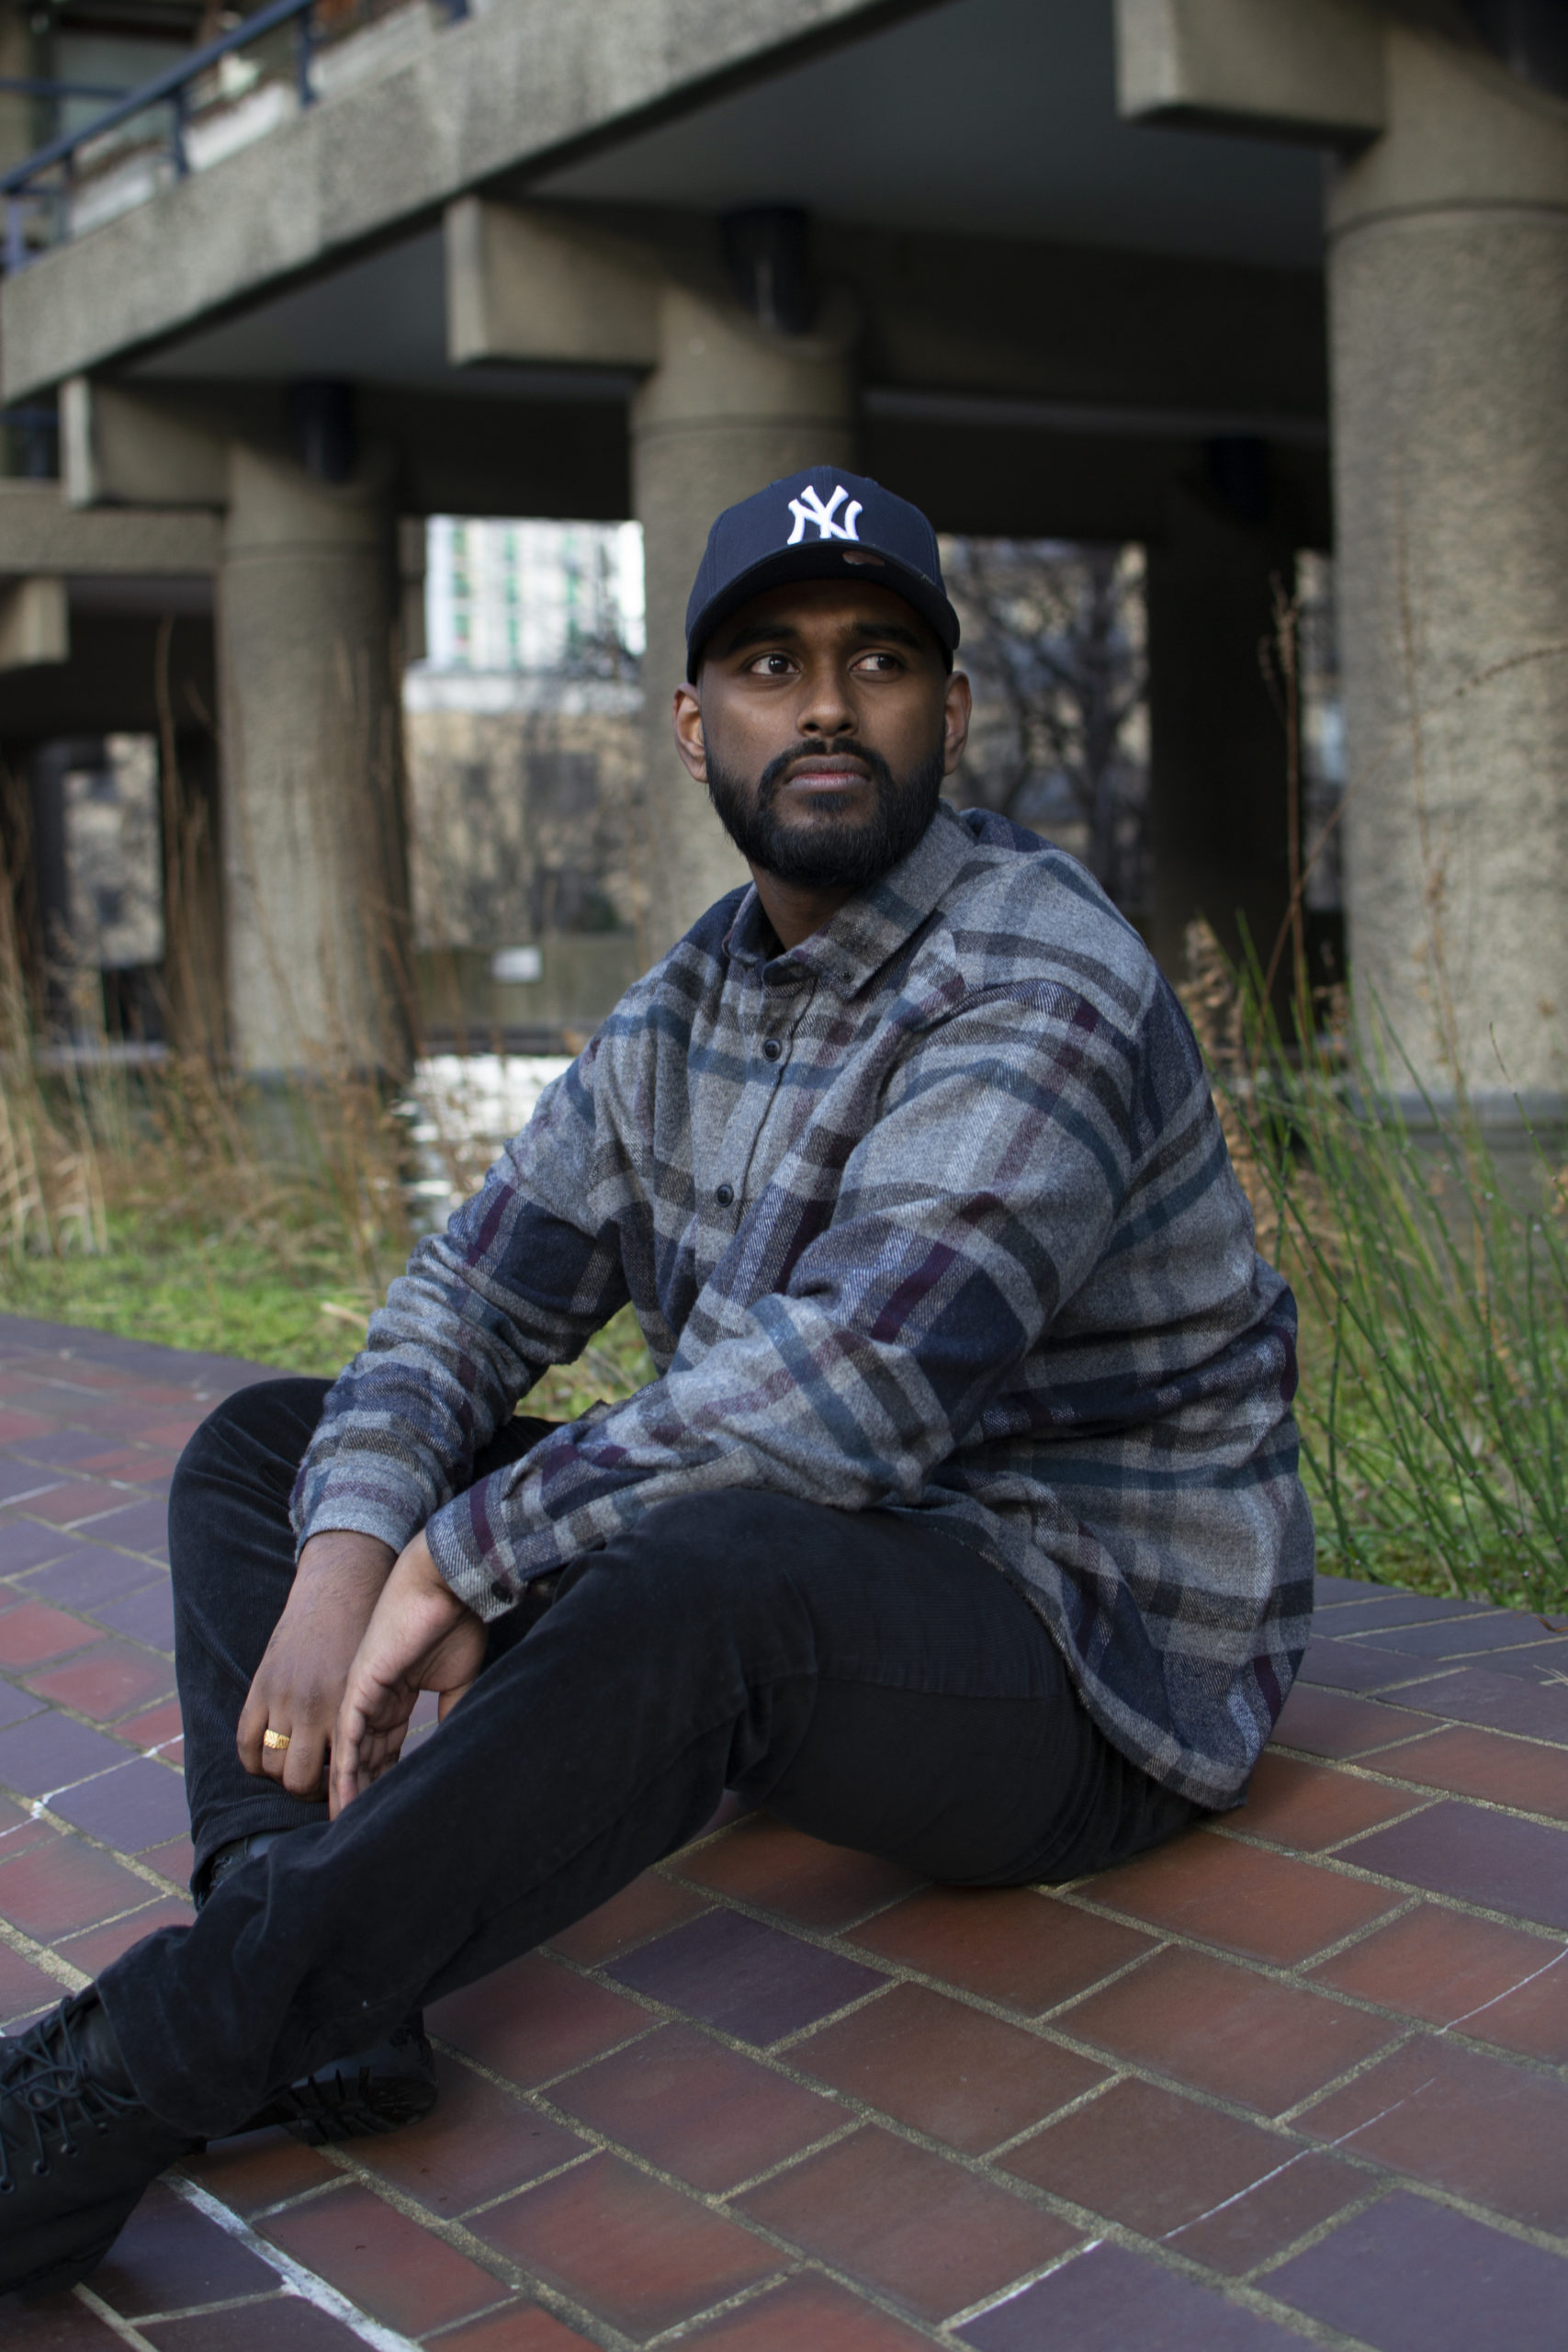
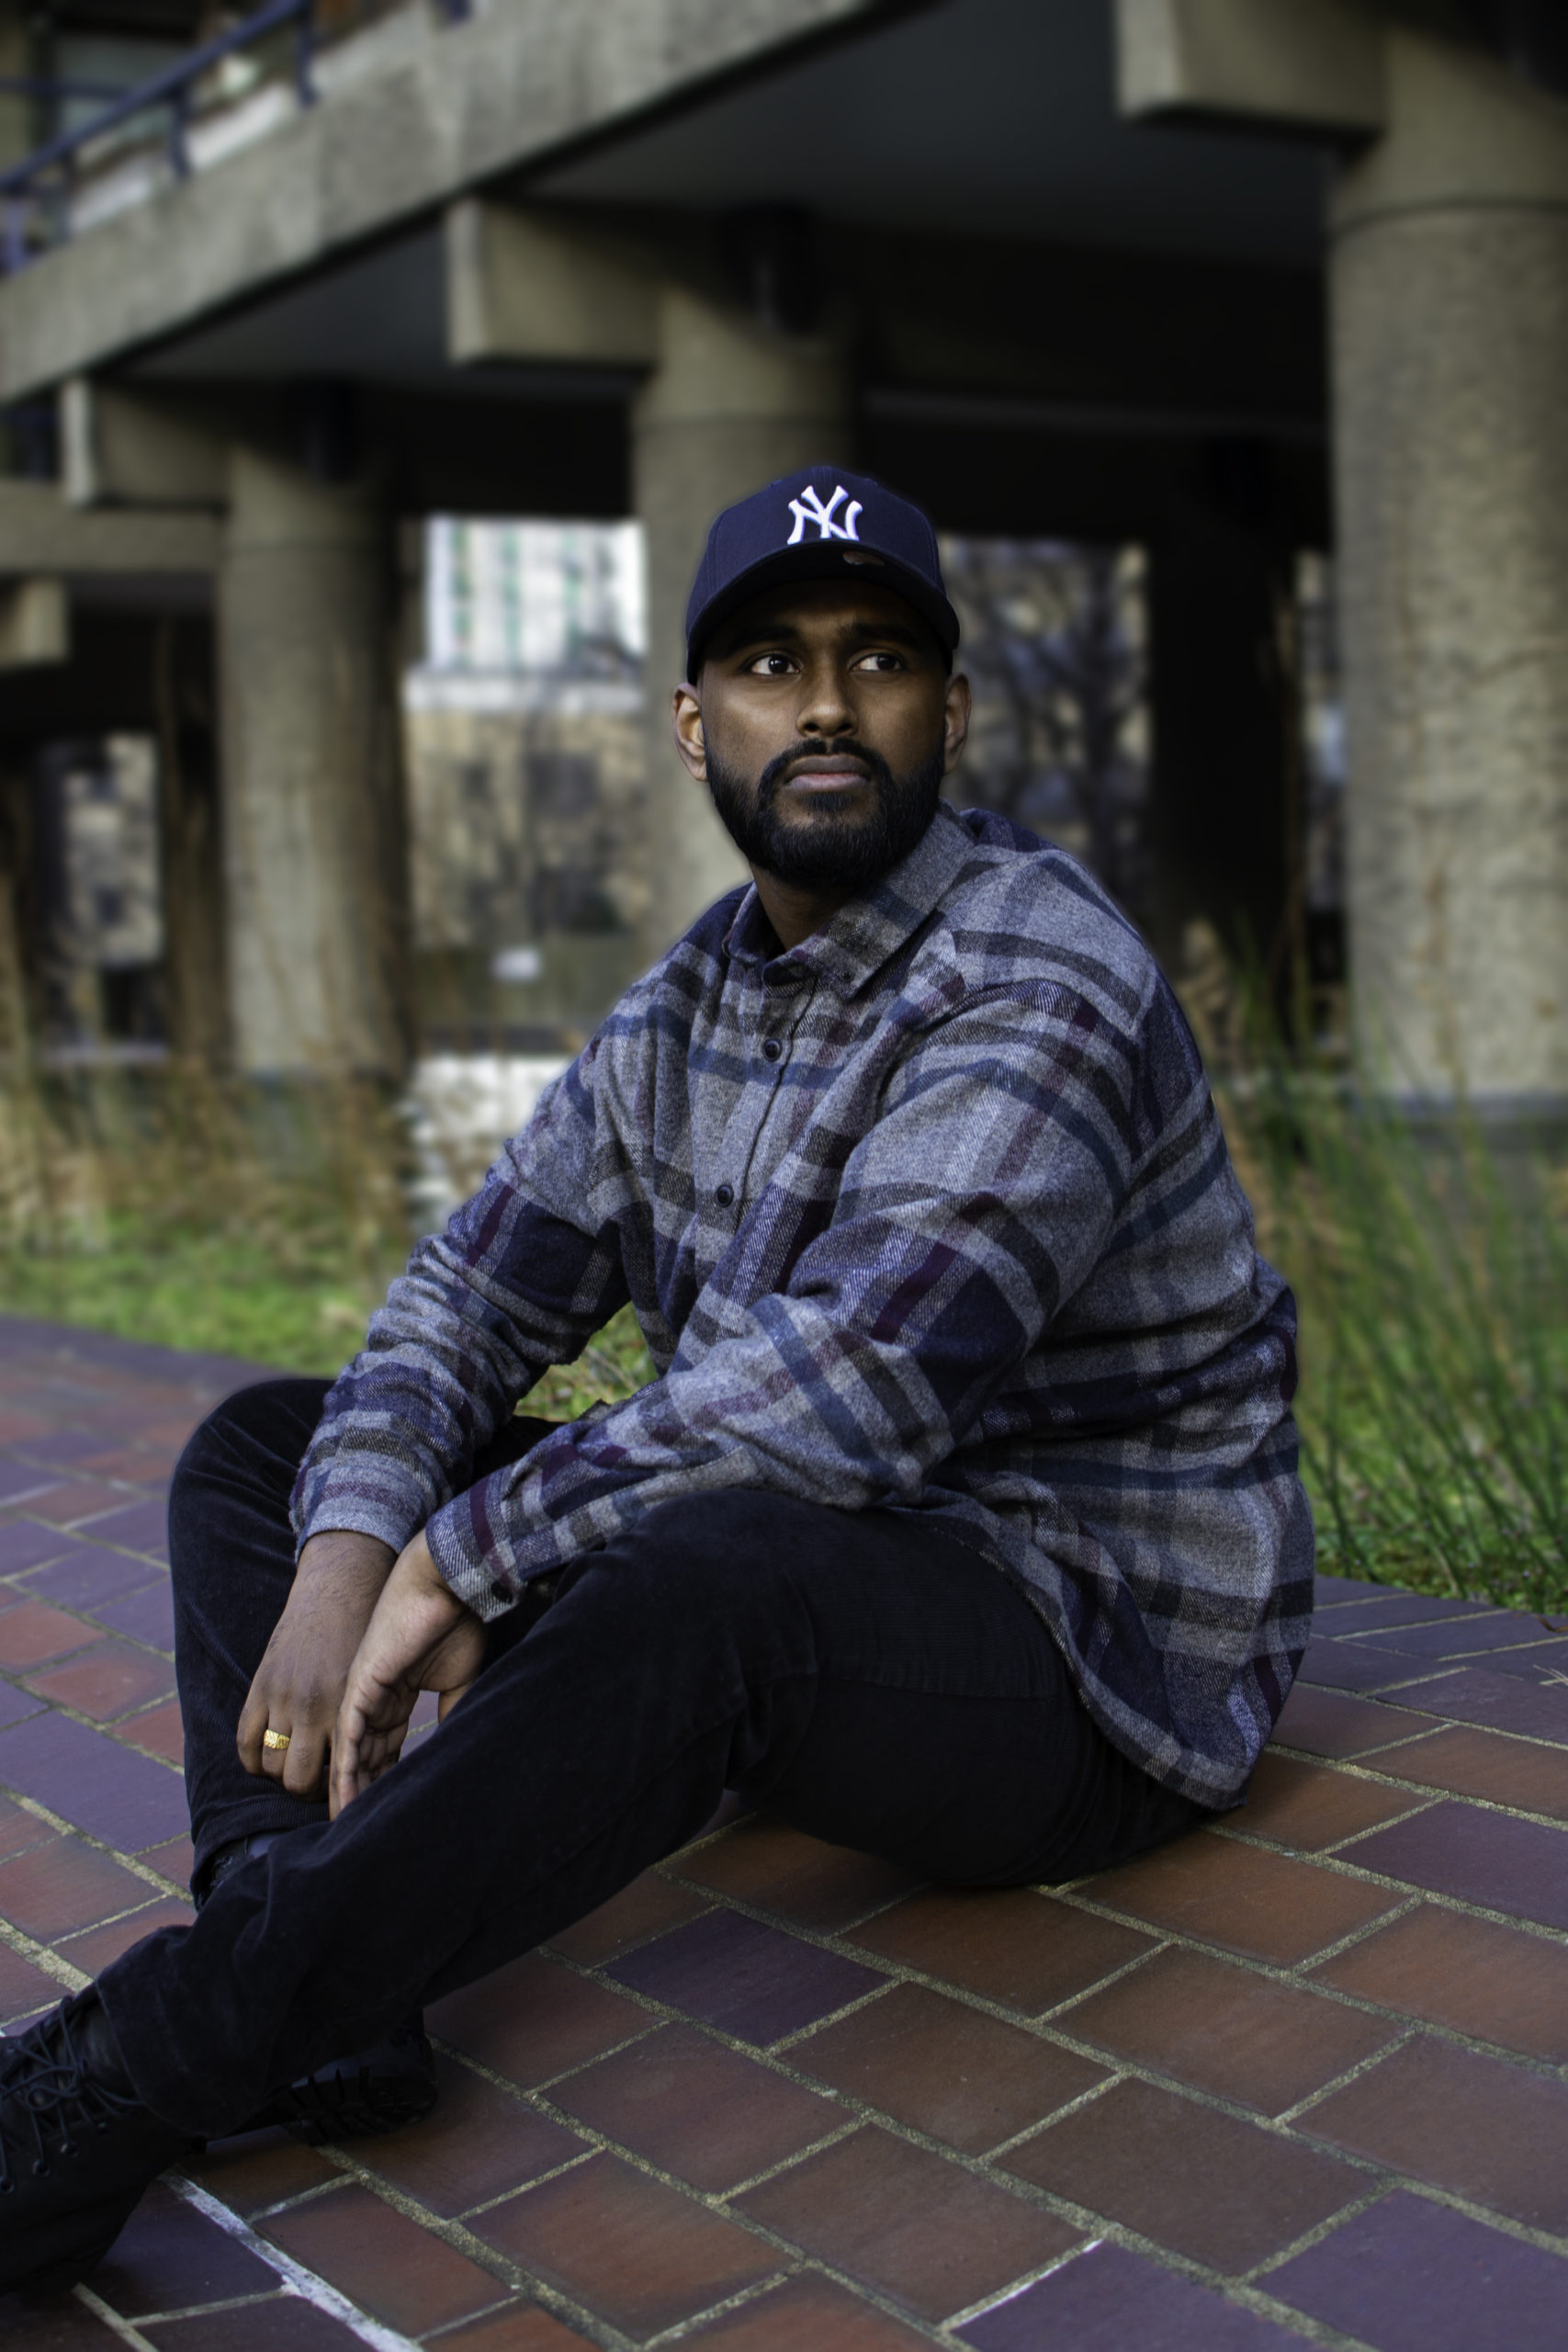


- Created sclera on the right eye using the Lasso tool.
- Spot Healing tool for blemishes.
- Smoothed lips with Gaussian Blur.
- Blurred background using various tools from the Blur Gallery.
Before
After
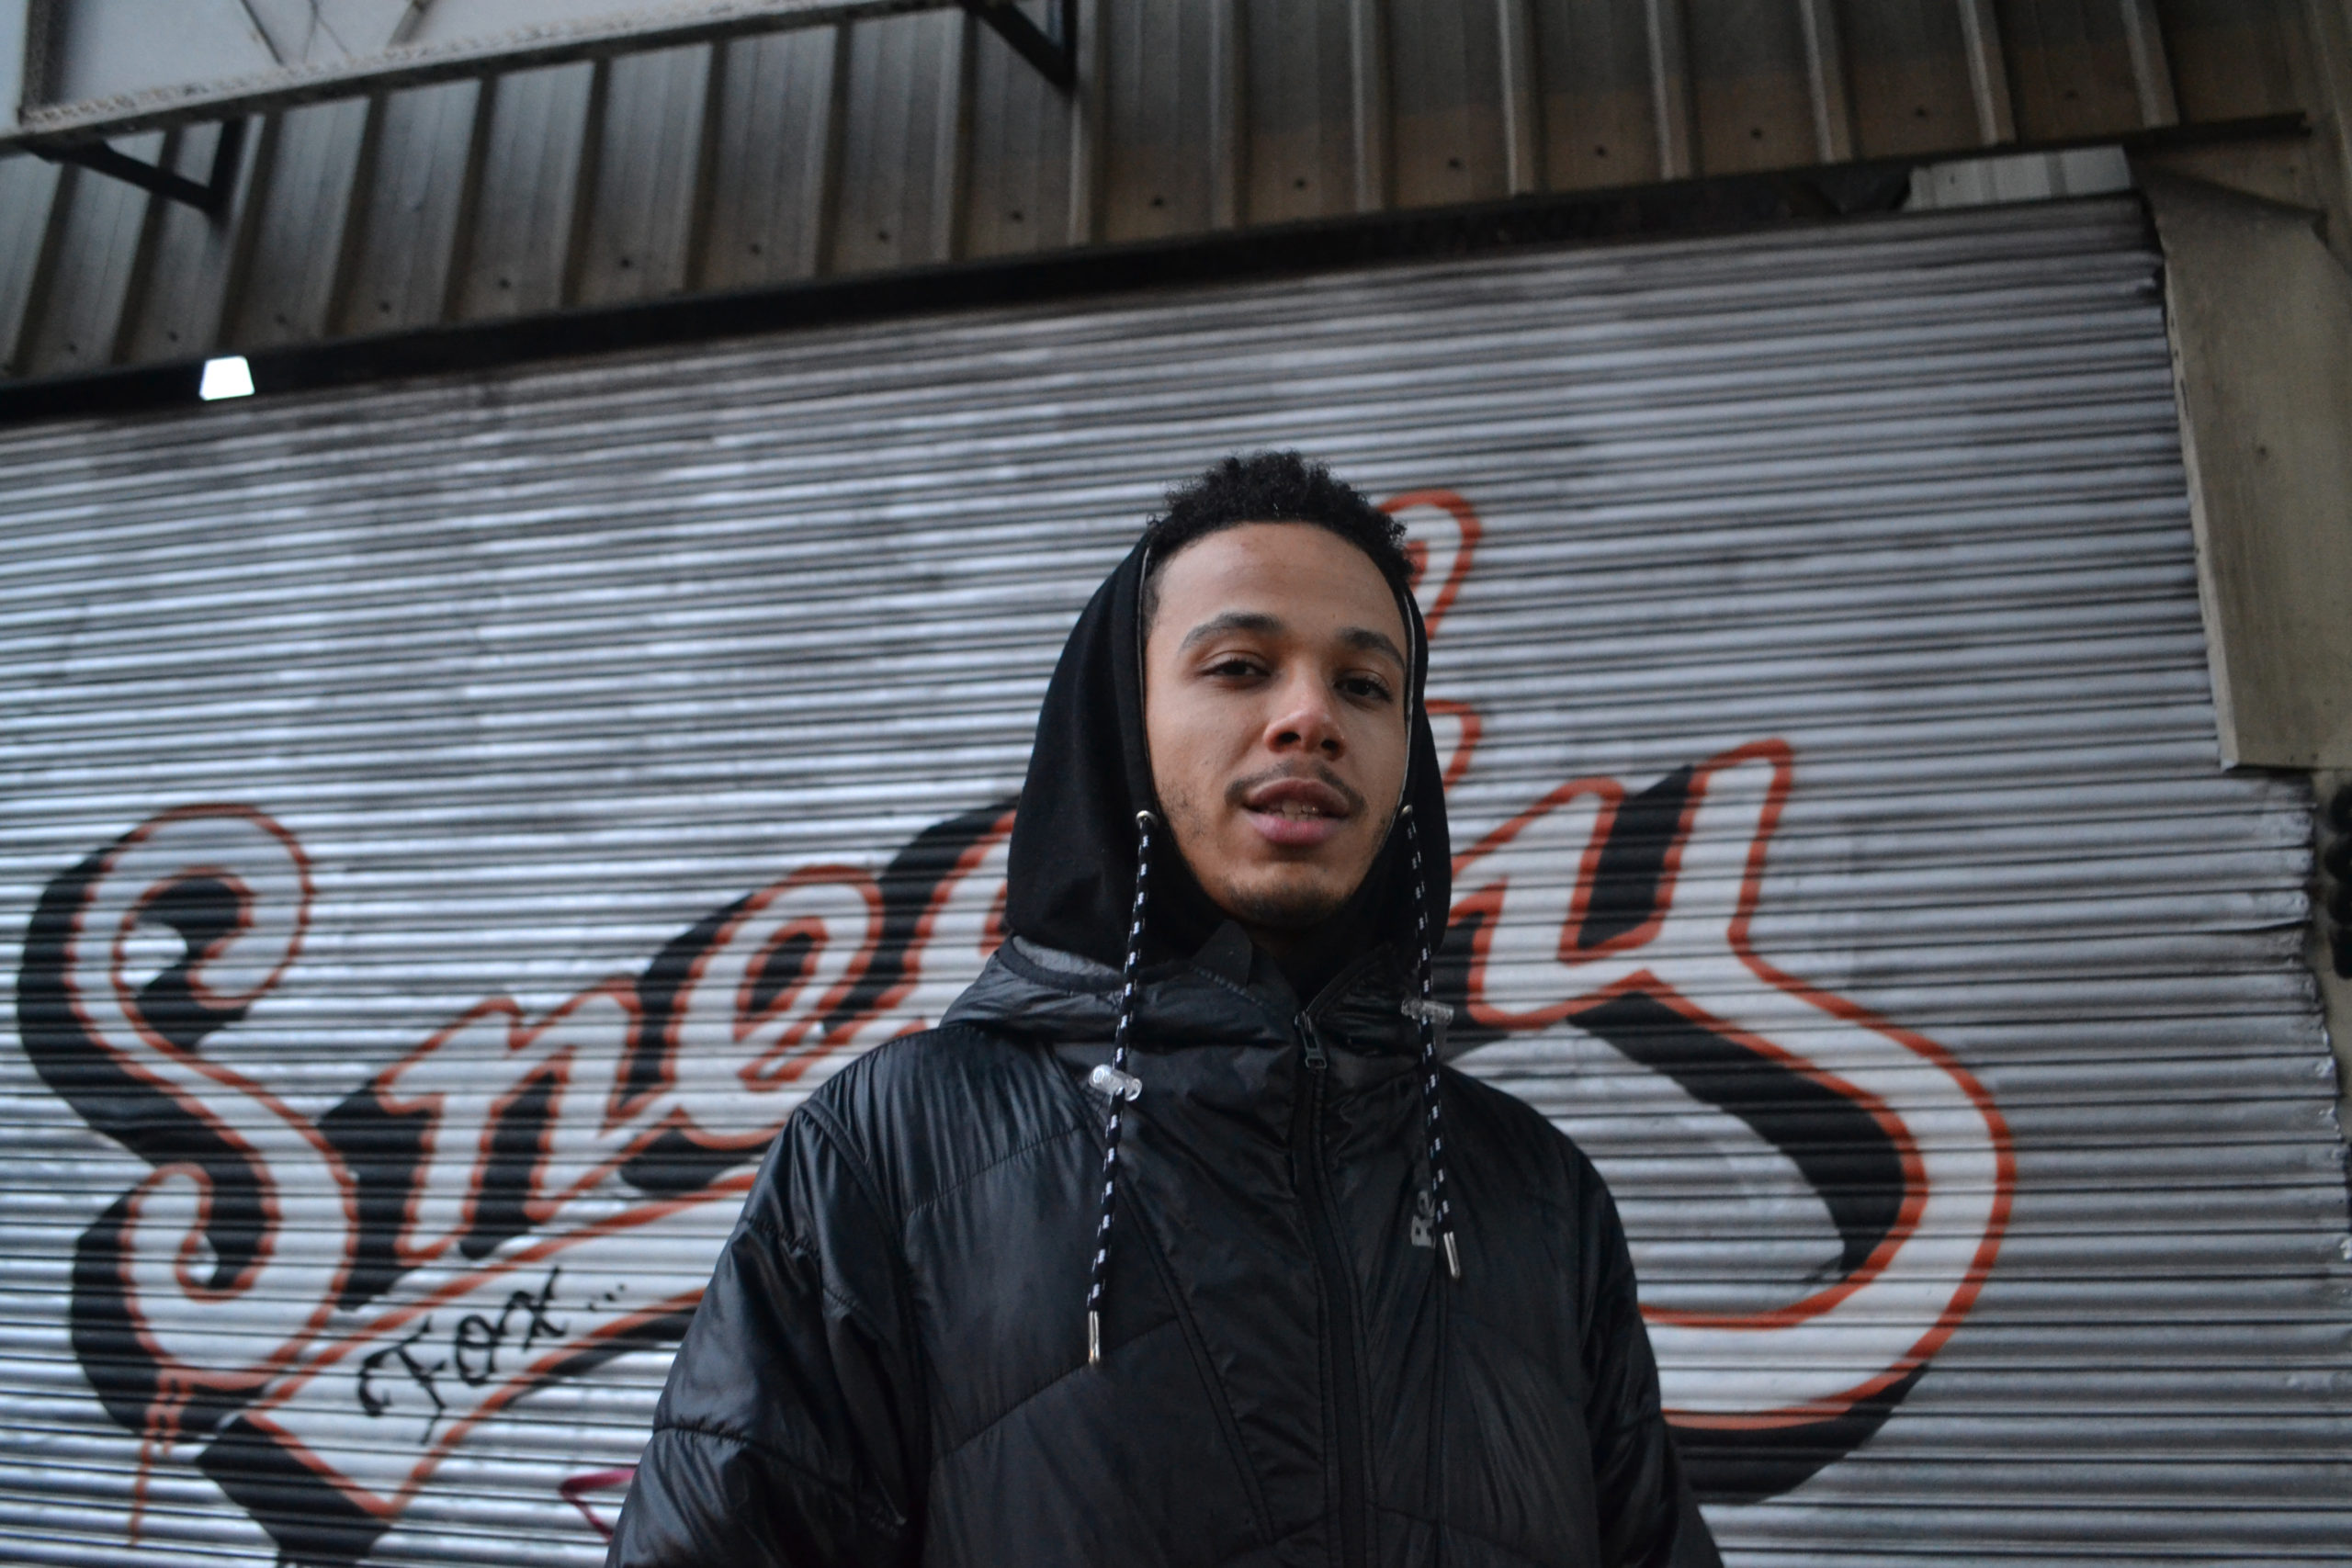
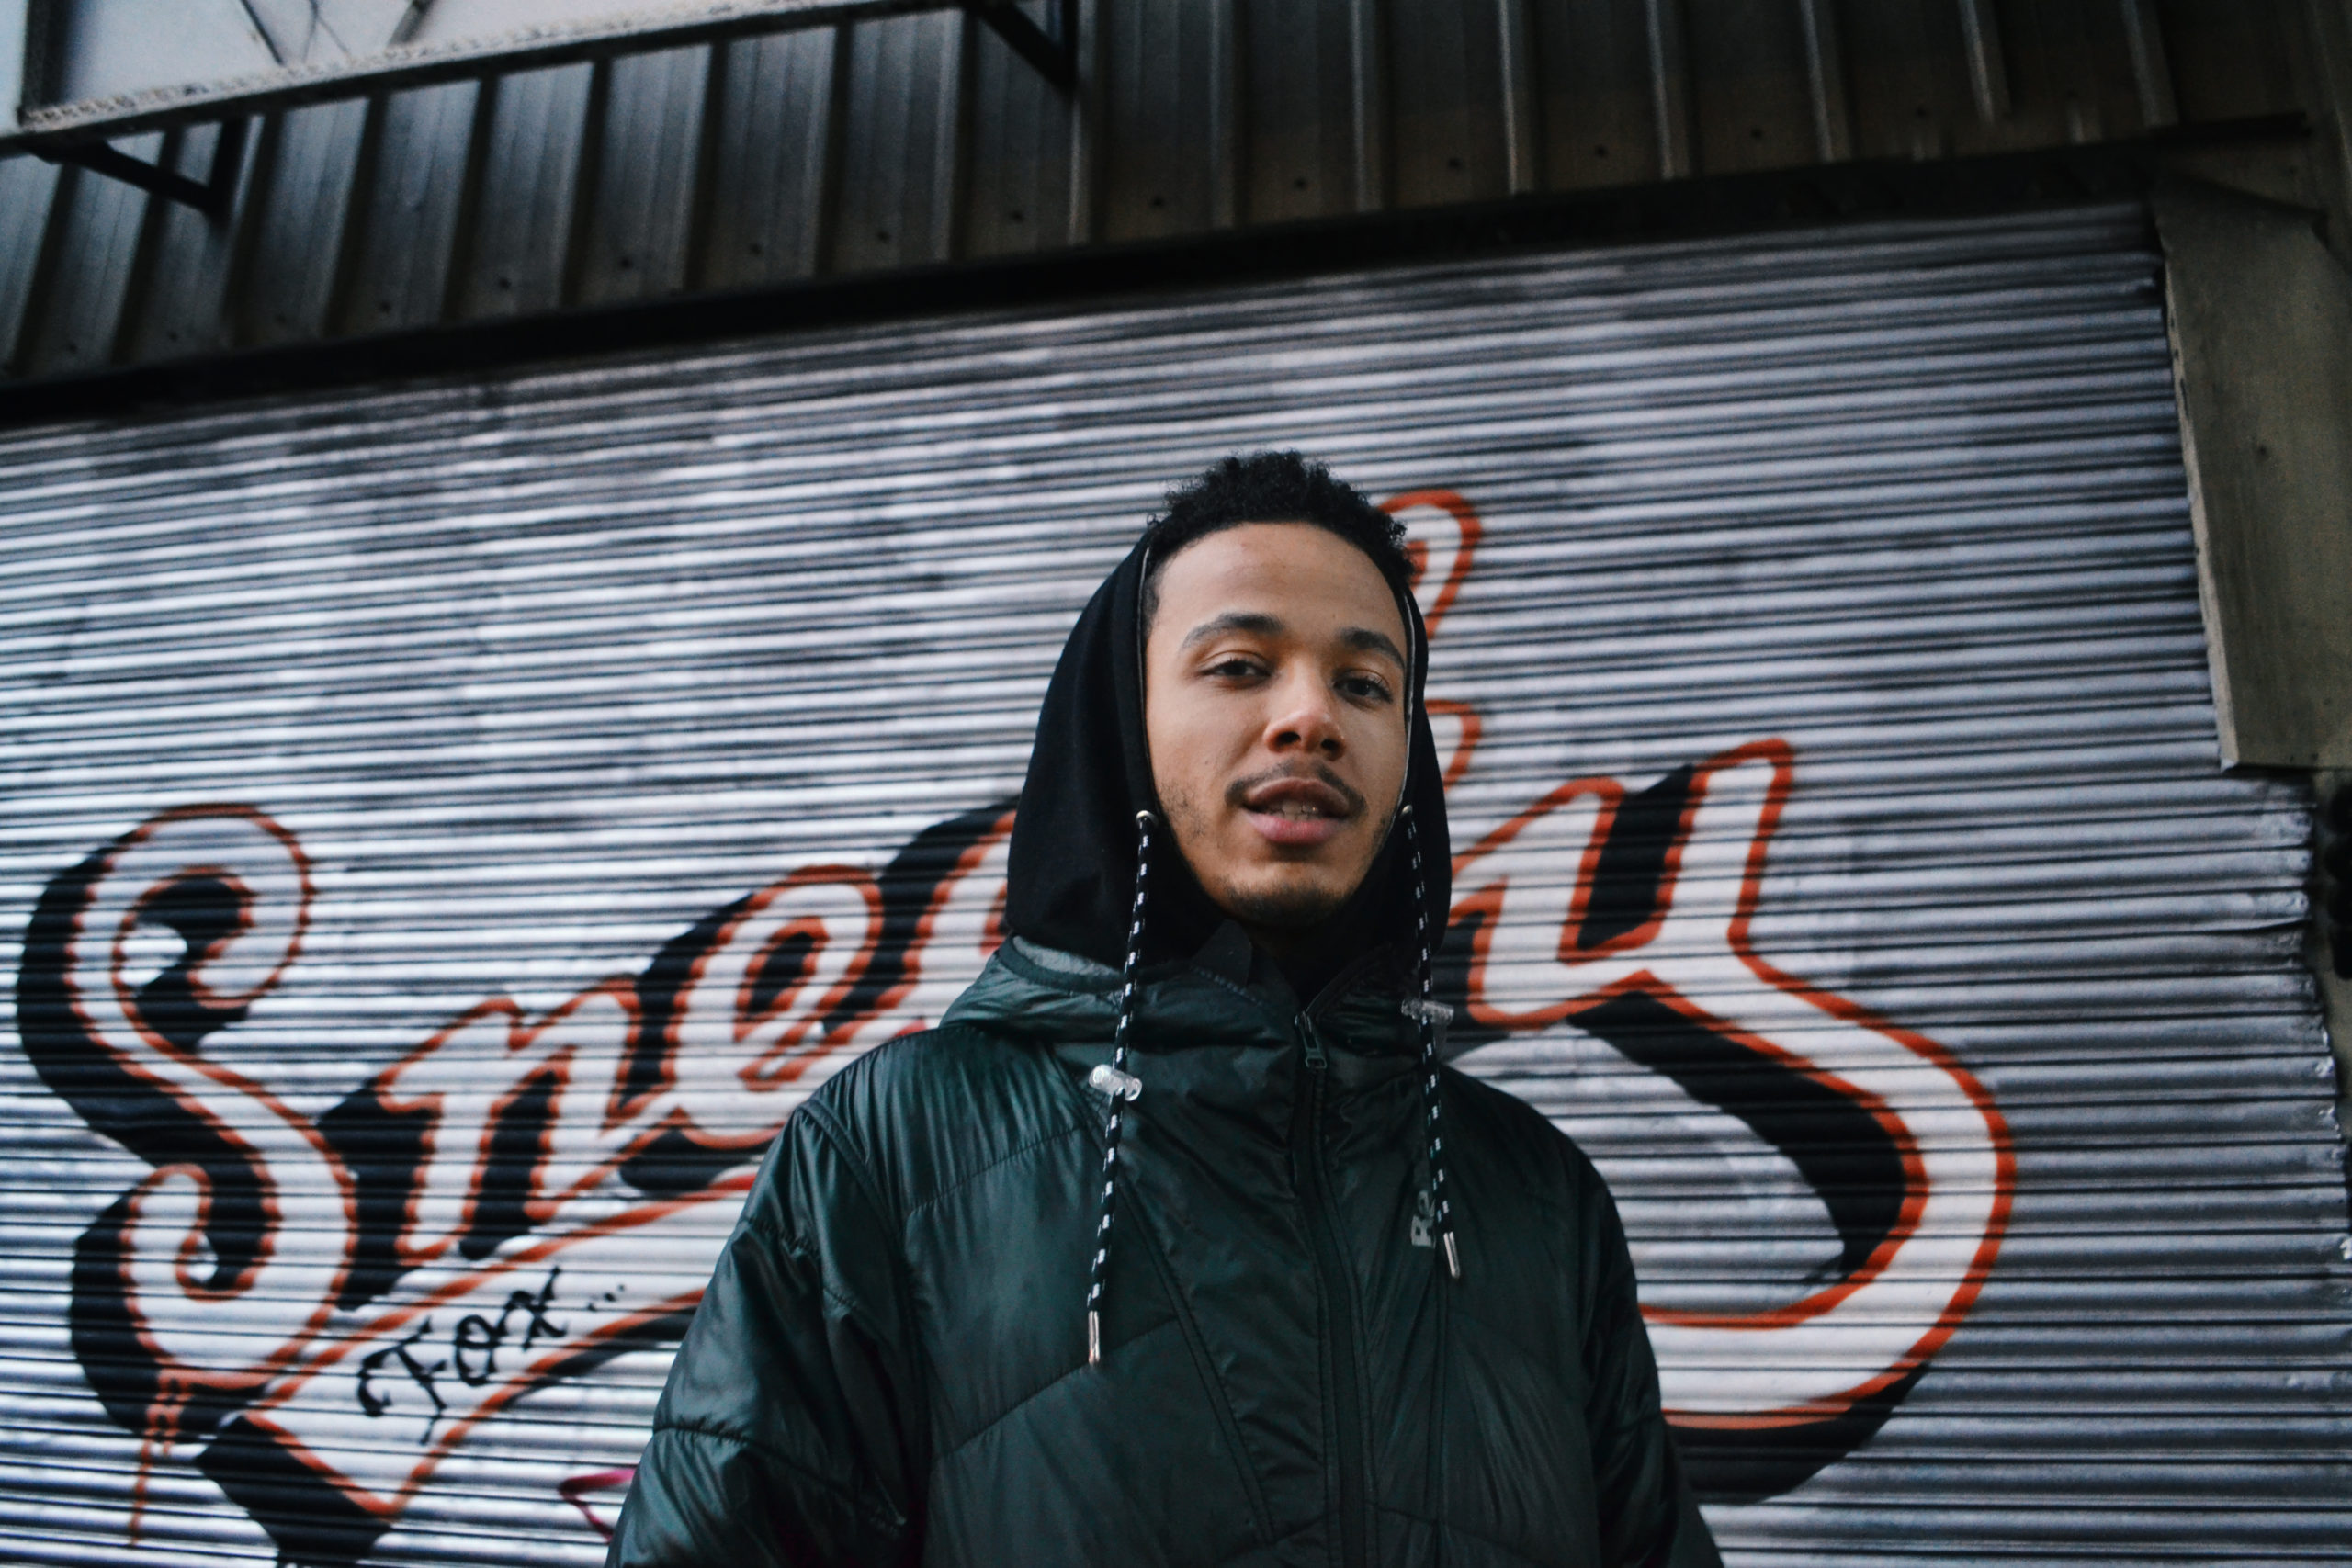


- Selective colouration using Colour Range selector and Masks.
- Fixing minor unwanted artefacts.
- Lighten eyes and teeth subtlety.
Before
After
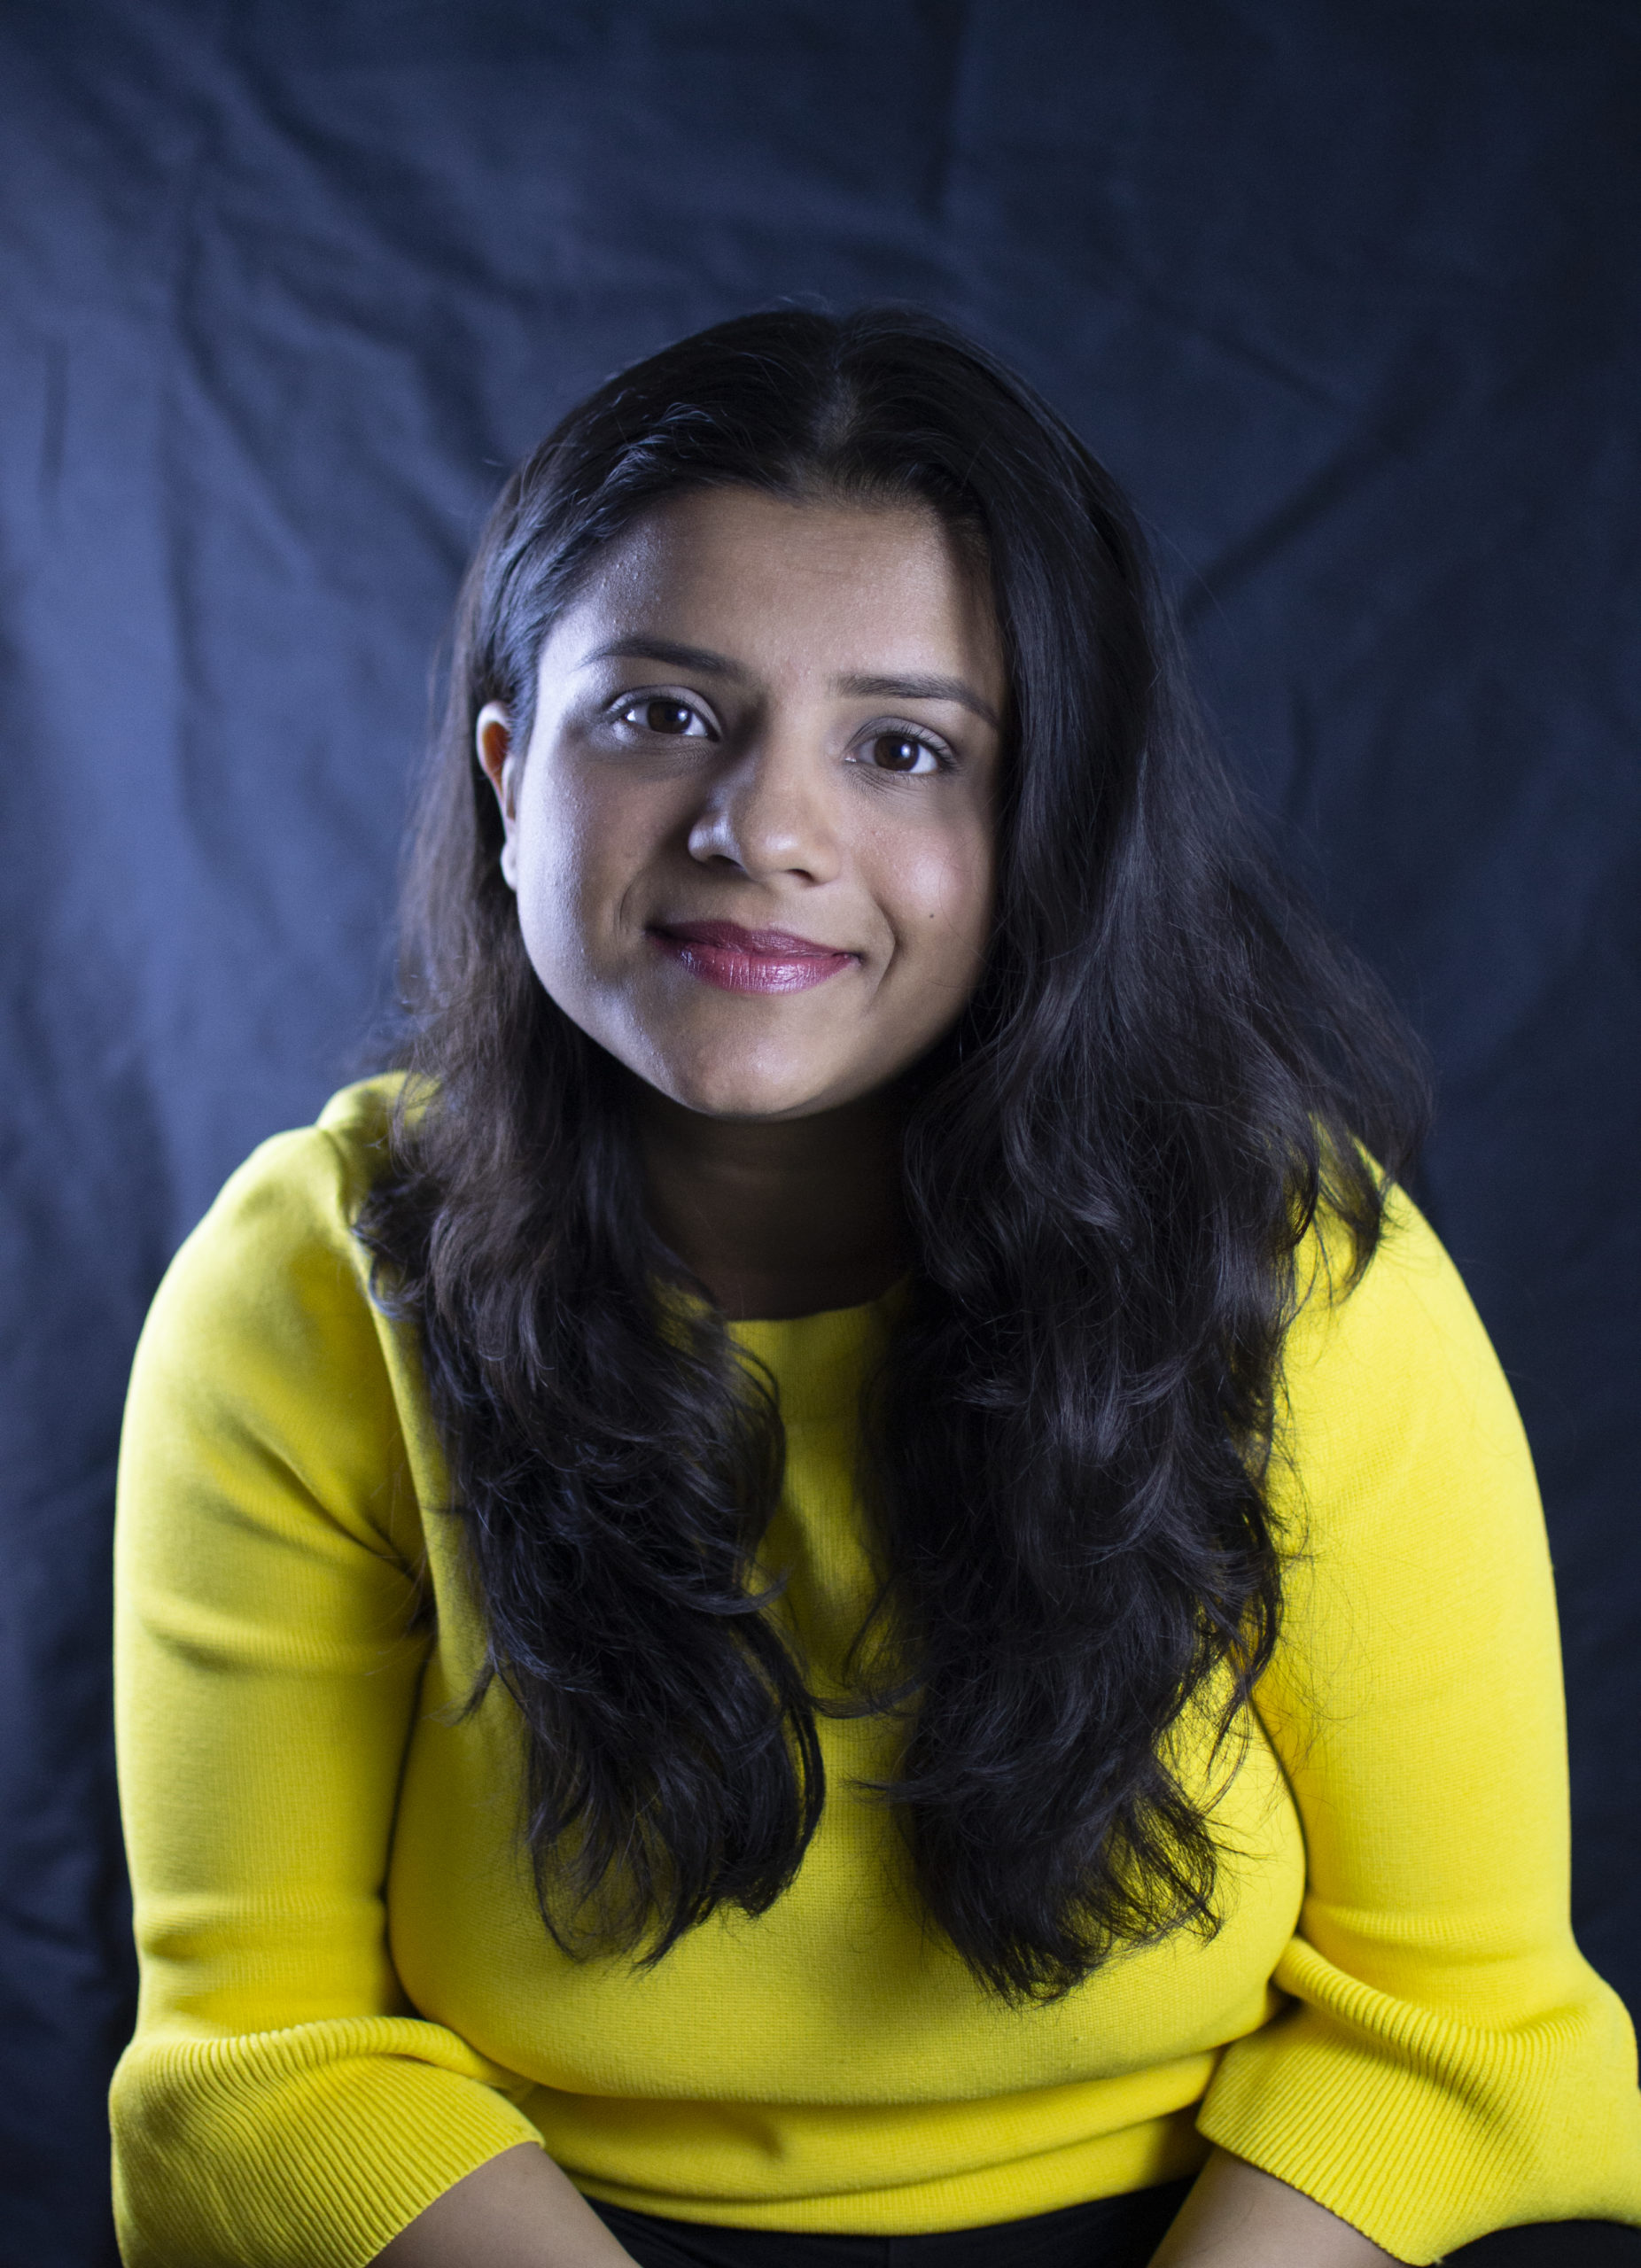
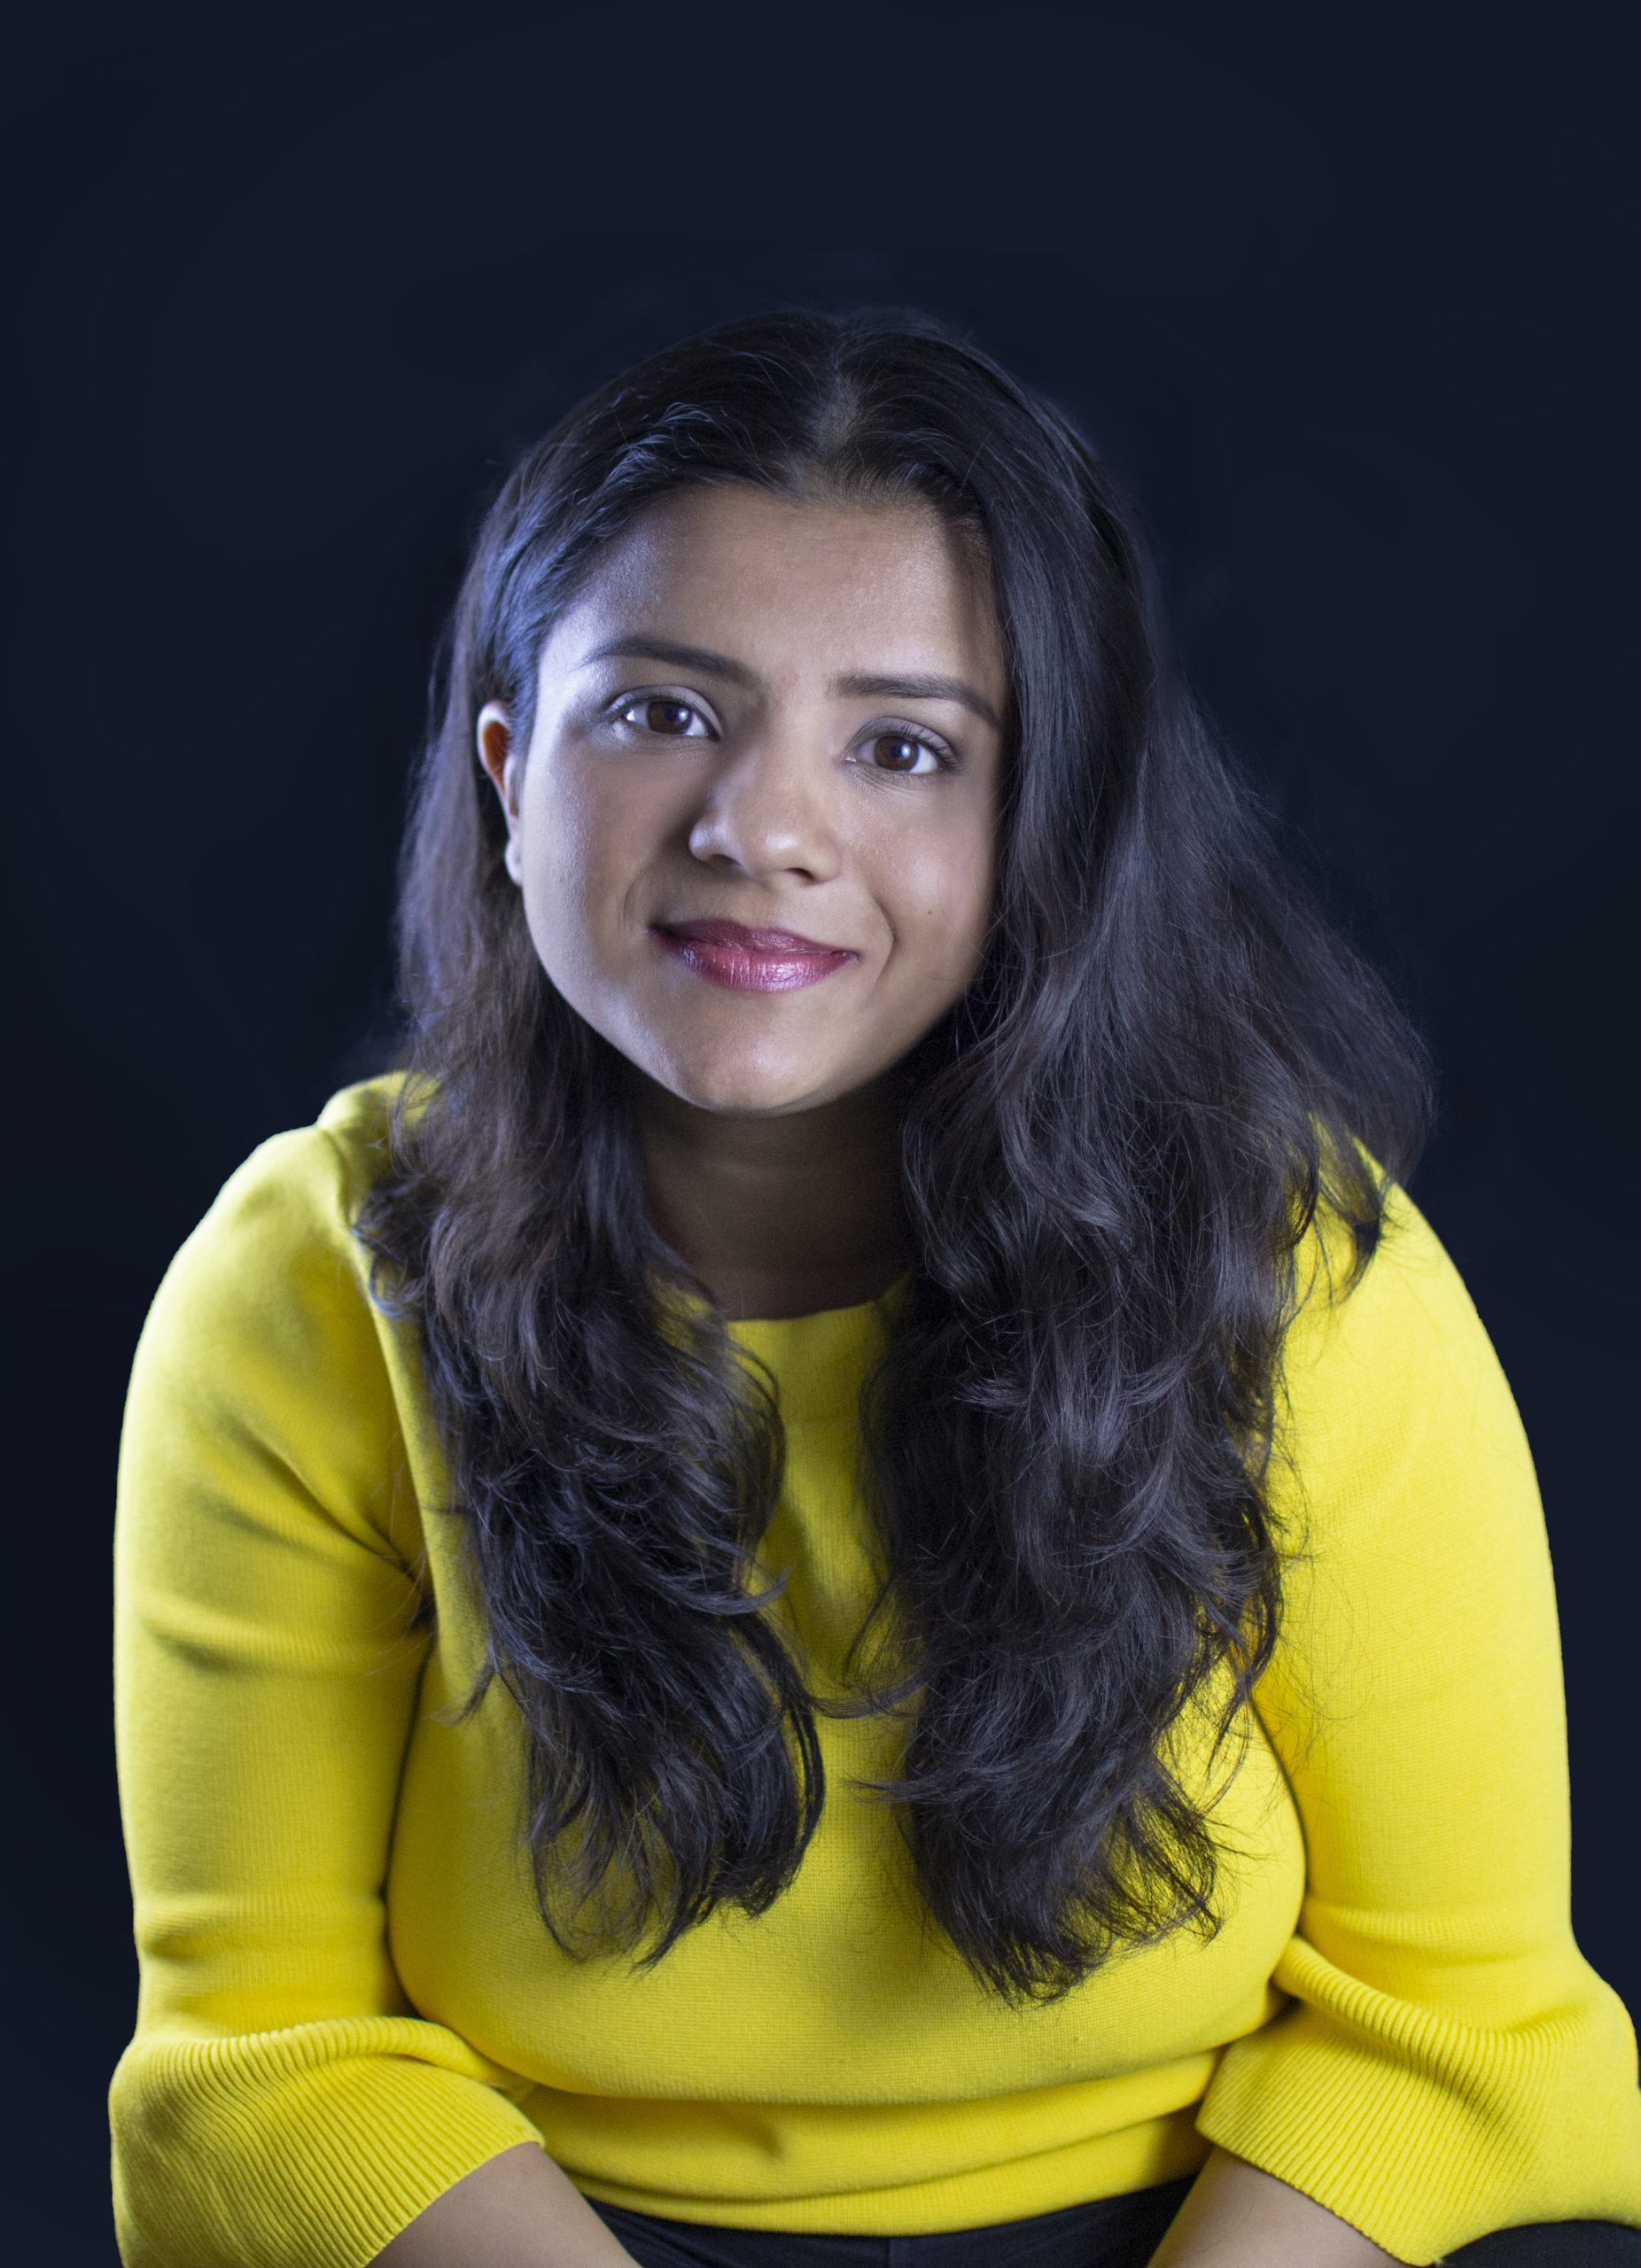


- Remade background using the Pen Tool and blurring methods.
- Clone tool to alter clothing.
- Dodge and Burn using Curve Adjustment Layers.
- Eyedropper and brushes to remove shadows on the face.
Before
After
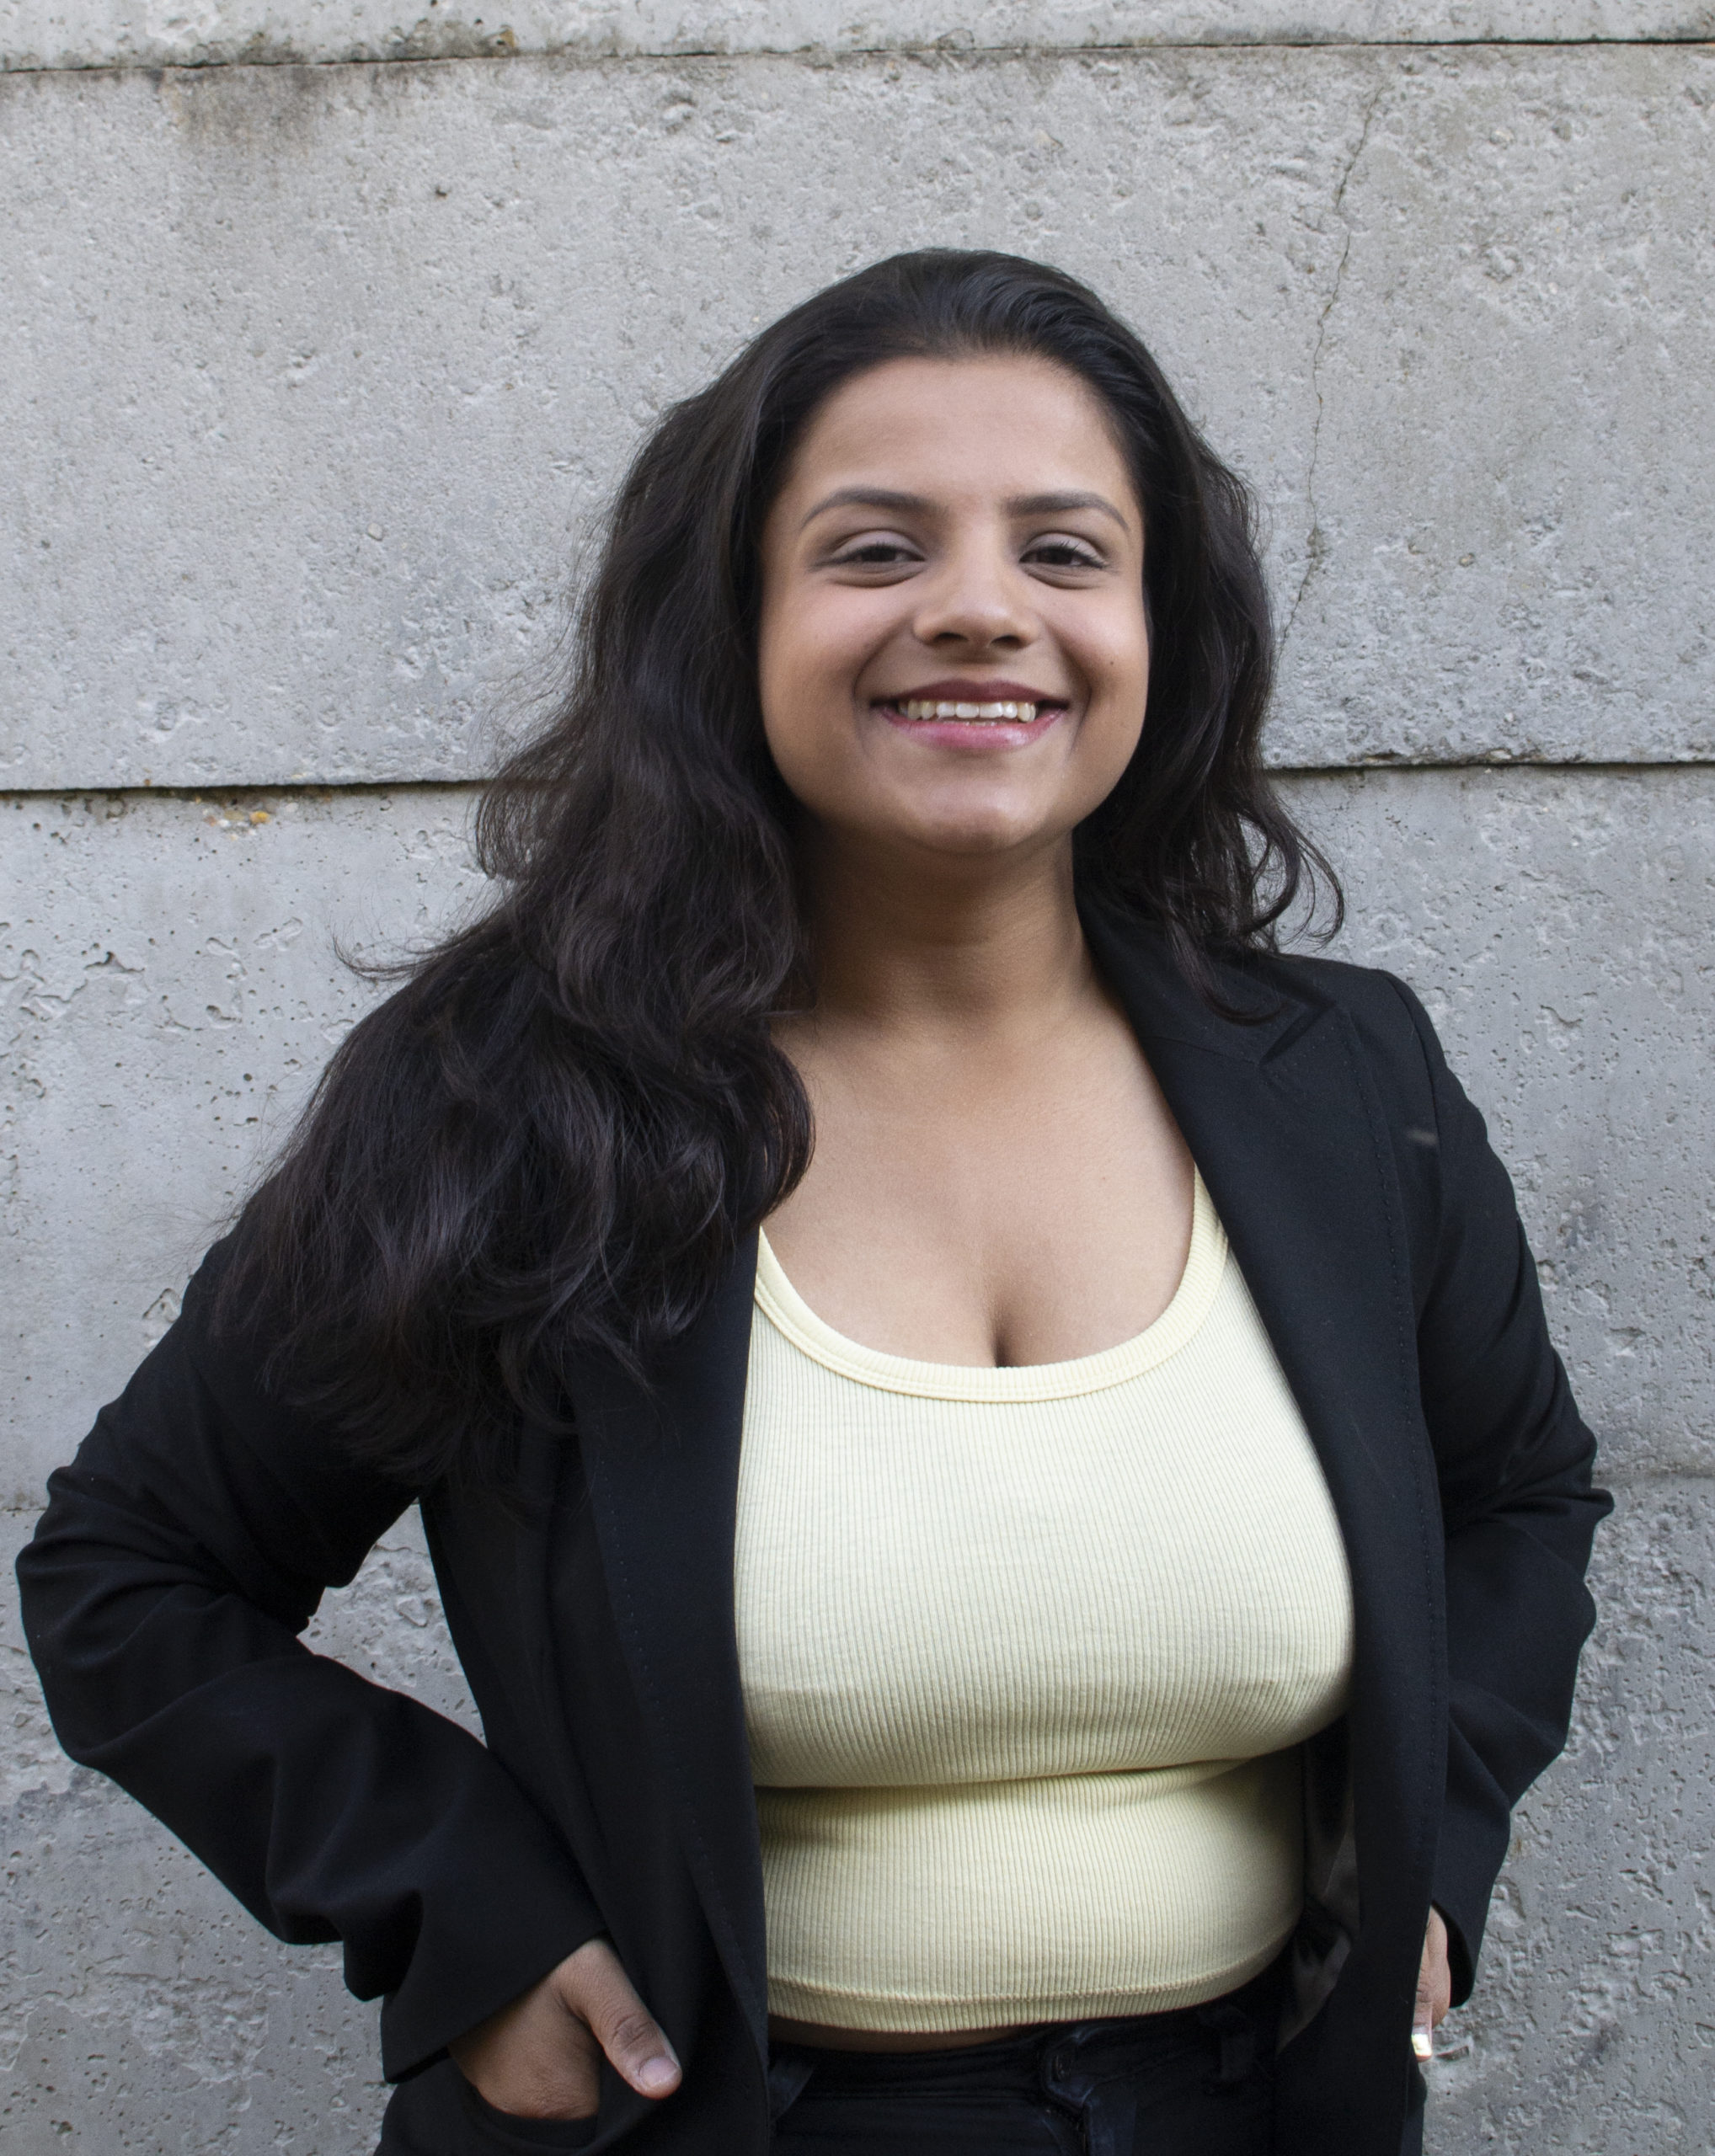
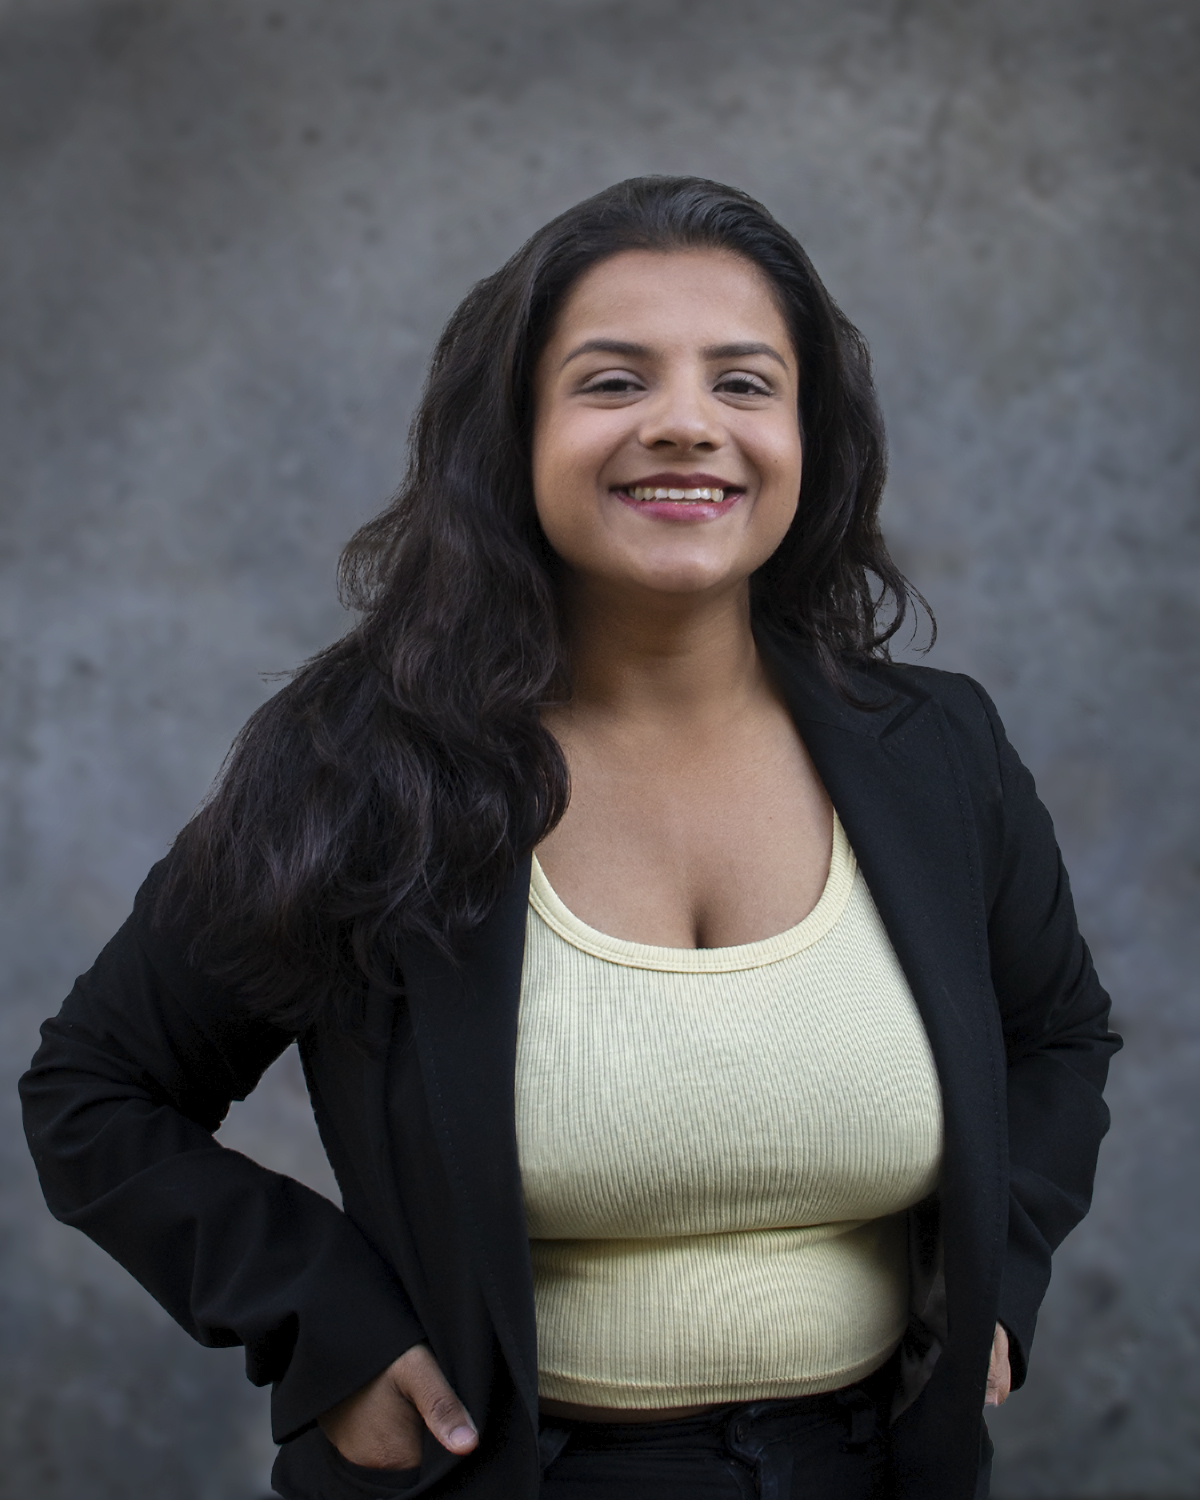


Before
After
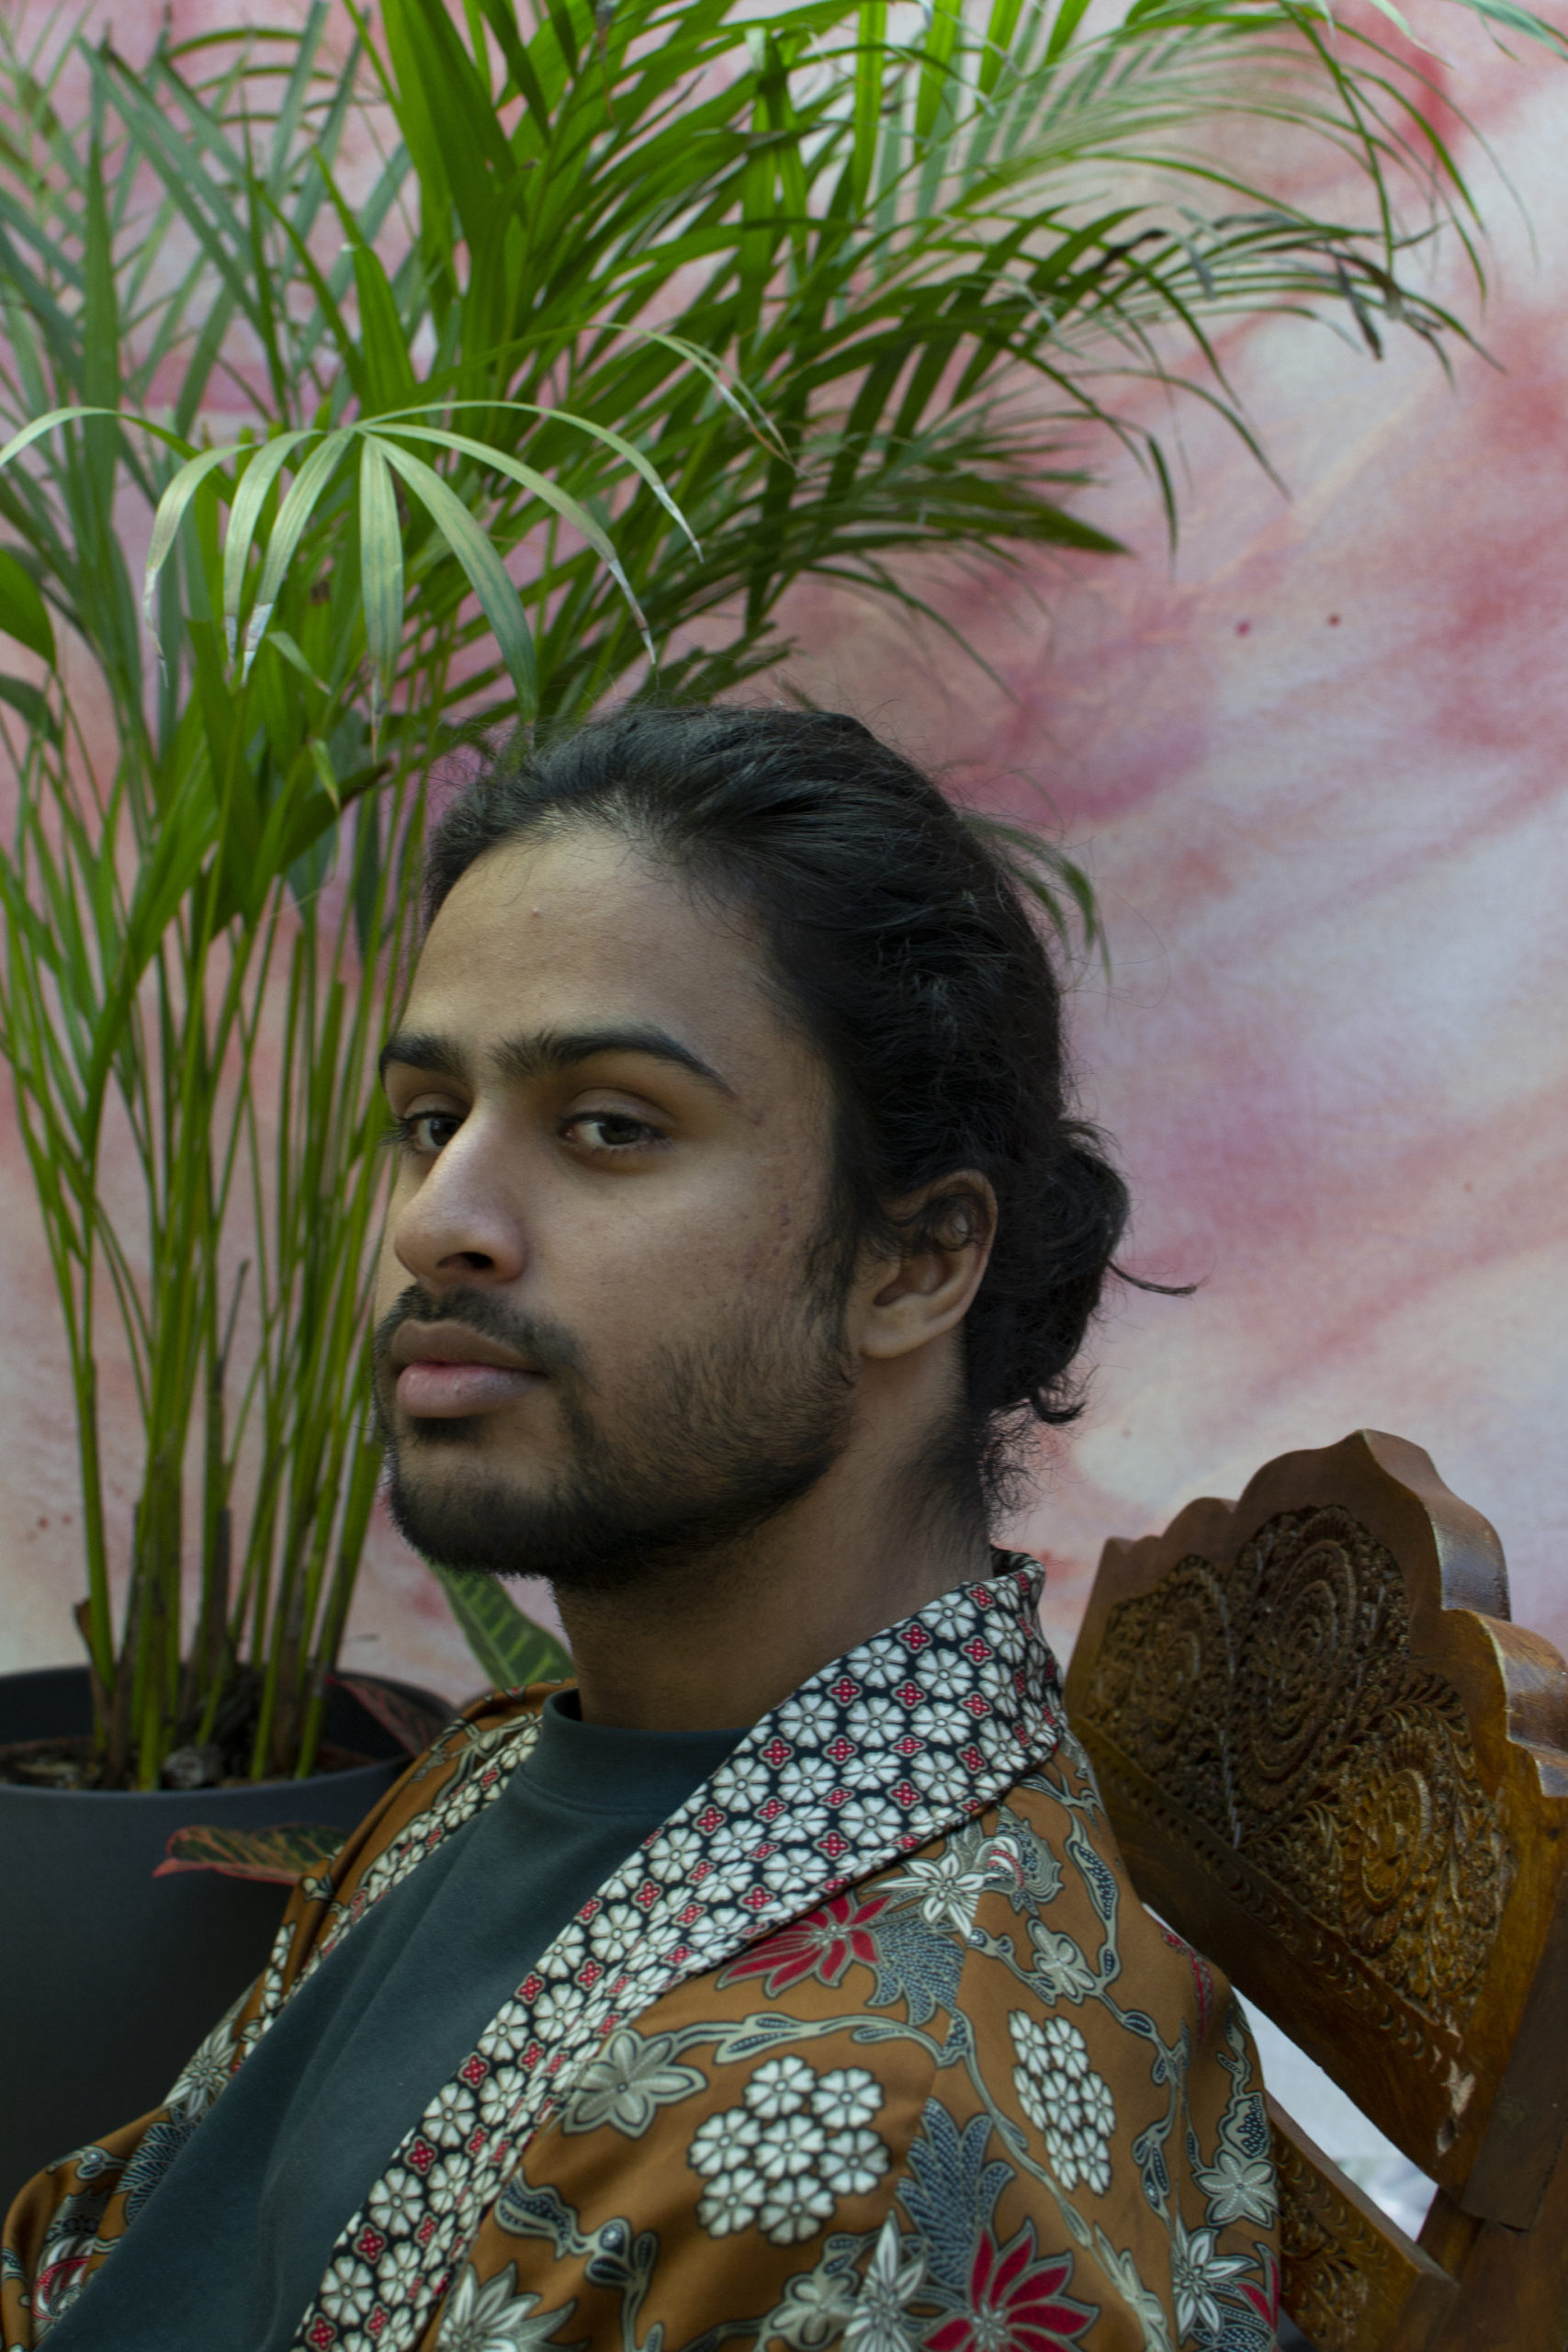
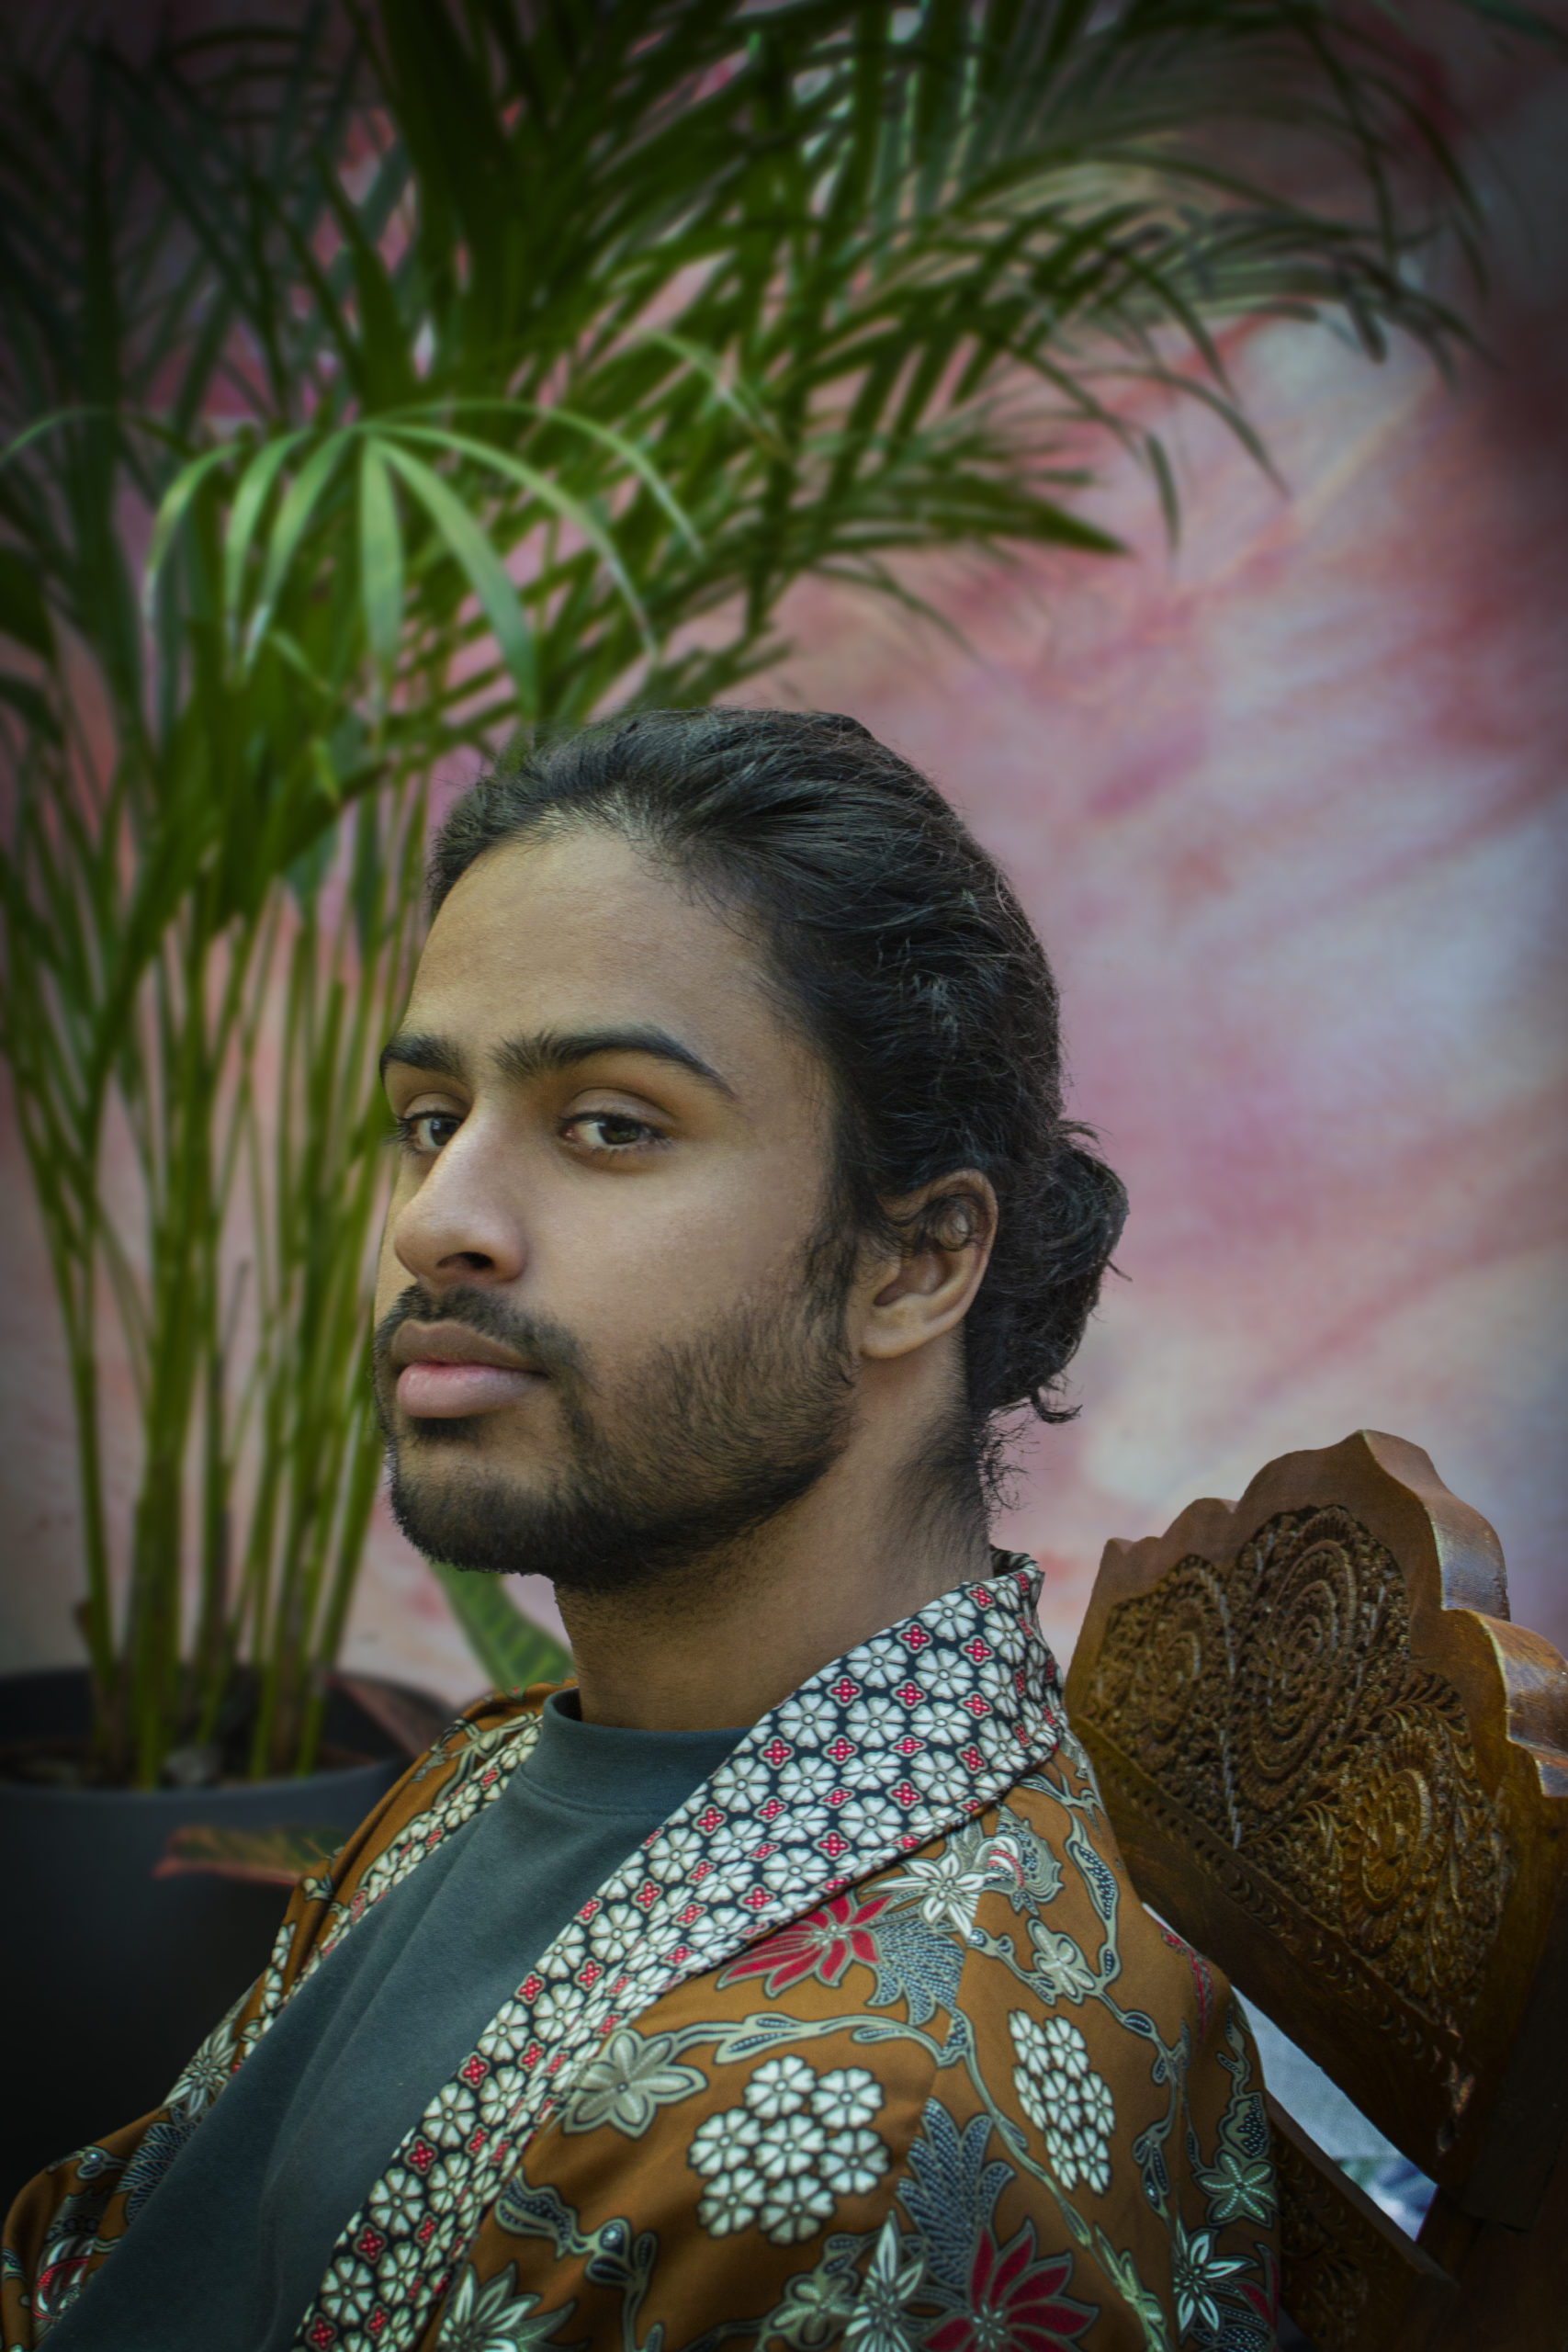


- Used Pen Tool, Content-Aware Fill and Gaussian Blur to create a blurred background.
- Used Spot Healing non-destructively to remove stray hairs and blemishes.
- Used Paint brushes to even skin tone.
- Used Curves and Masking to thicken beard.
